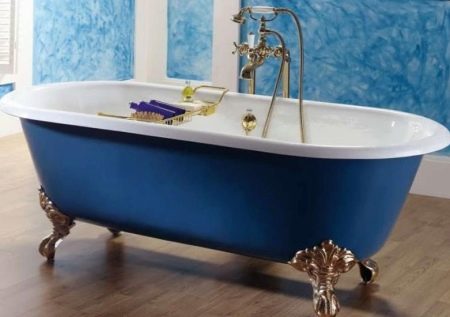
Acrylic bath installation

Not so long ago, the most popular and perhaps the only material for the manufacture of bathtubs was cast iron. Now on the market of sanitary ware there is a huge variety of options: in addition to the already mentioned cast iron baths in stores you can find baths made of acrylic, steel, faience, kvaril (an alloy of quartz and acrylic), marble and even glass and wooden baths. The range is really impressive.
Pros of
Buyers are increasingly choosing acrylic bathtubs because of the following advantages:
- A variety of shapes and sizes (whereas the choice, for example, of cast iron bathtubs is very limited), so there is an opportunity to pick up a bath even in the most non-standard bathroom.
- Light weight that greatly facilitates their transportation, assembly and disassembly.
- Their relative ease of installation, even a non-professional can cope with it.
- Price affordability - today it is probably the most inexpensive option.
Disadvantages
But the acrylic bath consists not only of the advantages, it is also not without disadvantages:
- Acrylic is a fragile material. The surface of acrylic bathtub is easily damaged, so it should be cleaned very carefully, with special detergents.
- Acrylic bathtub may well break under the weight of whoever is in it. To avoid this, it is better to make a special form of metal.
- Another disadvantage of such a bath is that it keeps heat worse than baths made of other materials.
Completion
As already mentioned, you can install an acrylic bathtub yourself, without resorting to the help of professionals. To do this, you only need to put a little effort and try to stick to our instructions.
To install an acrylic bathtub, we need the following:
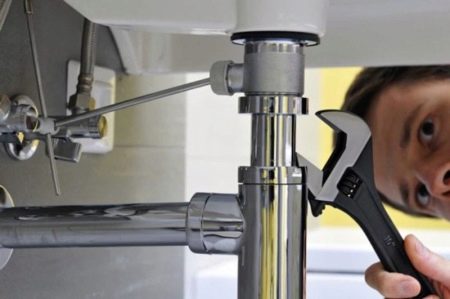
- drain siphon,
- fixing frame (frame),
- supporting legs,
- various fasteners, strips and drills.
All this can be sold together with the bathtub. But it is quite possible that you will have to buy these materials yourself. Therefore, even at the stage of buying a bath, you need to pay attention to related products and, if necessary, to choose the necessary accessories that are best suited to the selected bath.
Preparing the room
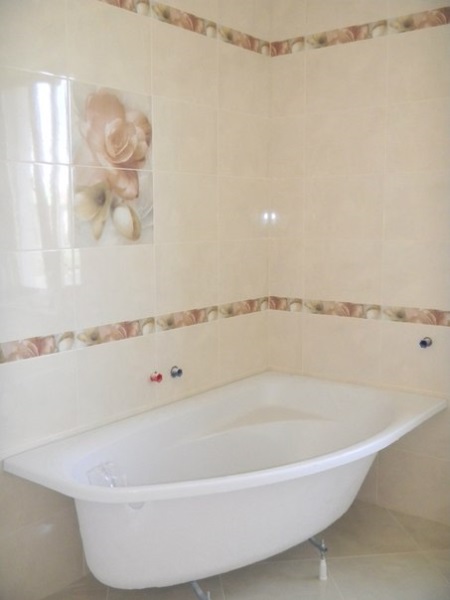
Acrylic bathtub is a fragile object, That is why before installing it you must make sure that all the work on decorating the room, during which it can be damaged (broken, scratched) is already finished.
If the bathroom project includes handrails, headrests and other accessories located in close proximity to the bath, they must also be installed before you start installing the bathtub.
Before you start the preparatory work, make sure that the water supply is shut off.
Stages of preparatory work:
- First of all, we need to dismantle the old bathtub, break out the former drain, clean the socket connection of sewer pipes.
- After you have cleaned the socket sewer must be inserted into it and lubricate the joints sealant based on silicone.
- After all the preparatory work is done, it is necessary to remove all construction debris from the room.
Materials and tools
To install an acrylic bathtub, we will need the following materials and equipment:
- drill,
- screwdriver set,
- wrenches,
- construction level,
- sealant, polyurethane foam,
- construction tape measure,
- A simple pencil or a washable marker.
If you will install the bathtub on the bricks, you need to stock up directly on the bricks themselves, cement and a trowel.
More about acrylic bathtub installation methods - in the next section.
Methods of installing a rectangular bathtub
There are three ways to install an acrylic bathtub.
- Installing the bathtub on the support legs and the mounting frame.
- Installing the tub on a base made of bricks. This method is more labor-intensive.
- Combined. It involves the use of supporting legs together with a brick frame.
The installation of the corner bathtub is discussed in detail by us in another article.
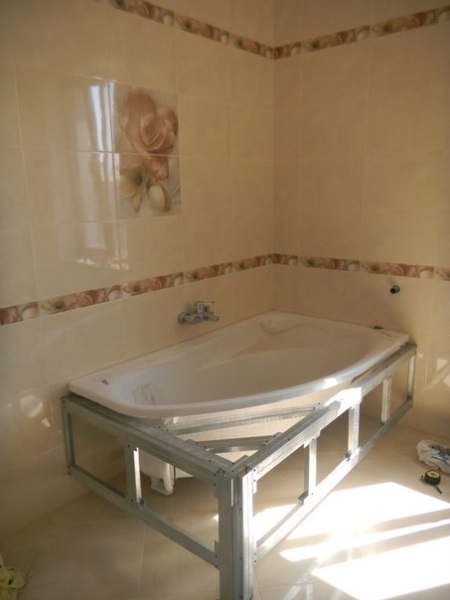
On the legs
If you choose a rectangular-shaped bath, it is best suited for the simplest method of bath installation, namely, installing the bath on the supporting legs. You must remember that with this method of installation, the bath must be fixed under the wall.
Bath installation on the supporting feet includes the following steps:
- First, the floor in the bathroom should be covered with some shock-absorbing material, such as wrapping film. Next, turn the tub upside down and try the assembled mounting frame on it. The instructions for assembling the frame usually indicate what indents should be observed when doing this.
- Then a simple pencil or a washable marker to mark the holes for fasteners (remember that the frame is fixed no closer than 17 cm from the edge of the bottom of the bath or drain). Next, according to the marks, we drill holes about 0.6-1 cm deep and 0.3 cm in diameter.
- After installing the mounting frame, start fixing the support legs. To do this, we screw the included parts - adjusting nuts, fasteners and plastic plugs - onto the threaded rods. Assembled in this way legs for the bathtub attached to the frame and secure with locknuts. Make sure that the feet are the same height.
- Let's measure the bathtub together with the already assembled frame on the legs to the future place of installation. Using a rule and a spirit level, try to position the entire structure strictly horizontally. When the desired position is found, remove the tub from the place of installation again and install the fastening strips, making sure that the indentation between them coincides with the width of the bathtub rim.
- We set the bath in its intended place and connect it to the water supply and sewerage systems.
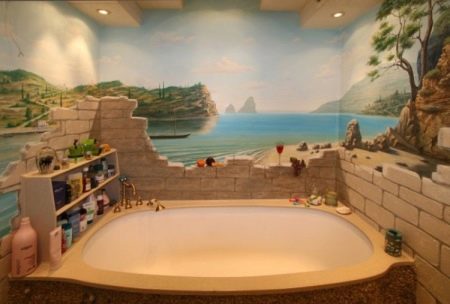
On a framework of bricks
If the bathtub doesn't come with a mounting frame and support legs, a brick structure can be the necessary support for the bathtub. This method of installation is excellent for acrylic bathtubs also because acrylic bathtubs are very light and fragile, and a brick support will help make our structure more solid and stable.

To begin with, we take the necessary measurements and lay out a brick frame half a brick wide. When building the frame, do not forget to provide a hole for the door, to ensure yourself access to the siphon in case it gets clogged. You also need to provide a gap between the brick base and the bottom of the bathtub. The gap this we will then fill with assembly foam, this will give a closer fit of the bathtub to the base.
To make the bathtub fit as tightly as possible, pour water into it.
Where the bathtub is adjacent to the wall, install the fastening strips.
You can do without them, but in this case you will need to put together a frame of a special shape, in which the bath will lie as in a bowl, and this requires professional skills.
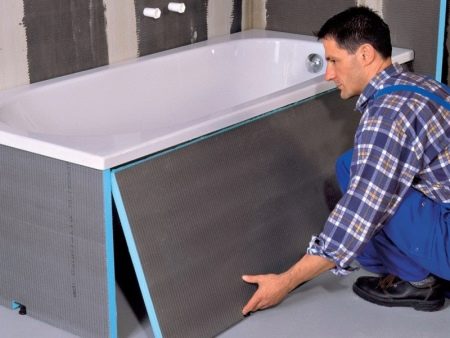
On a framework of drywall
The framework of plasterboard looks stylish, beautiful and neat. It fits perfectly into any interior.
First, we put the bathtub in place, under which the frame will be mounted.
Such a framework is made of profiles, aluminum slats and moisture-resistant plasterboard. Before working, be sure to measure the length and width. The frame stiffeners will be installed depending on these values.
After the frame is made, the drywall is cut into pieces of the required size and attached with self-drilling screws.
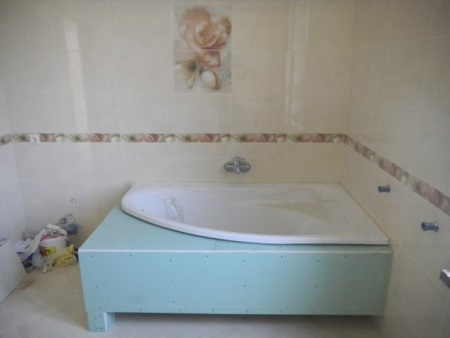
Next, the box is finished with the materials that were used to finish the room.
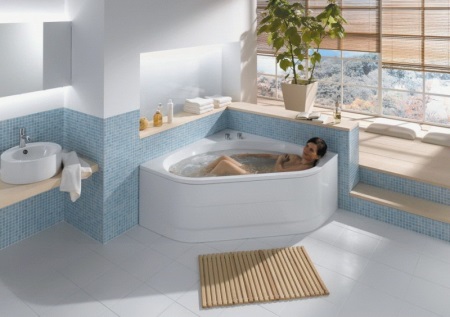
Installing a corner acrylic bathtub
Despite the fact that the angular bathtub looks more bulky than the rectangular one that we are used to, if it is properly installed, it can significantly save space in the bathroom and, in addition, it looks unusual.
If you have decided on a corner acrylic bathtub, be sure to make sure that the angle is not too narrow, Make sure that the angle in which the bathtub will be installed, is equal to 90 degrees. (because all corner bathtub models have such a corner). Therefore, before conducting finishing work, the walls should be made as even as possible.
The process of installing a corner acrylic bathtub is almost no different from the process of installing a rectangular bathtub.
To install such a bath, both of the methods we discussed above are used:
- on the legs
- on the brick.
However, you should take into account the fact that when installing a corner bath on the legs, you should use a special mounting frame and supporting feet, which must go with the bath itself.
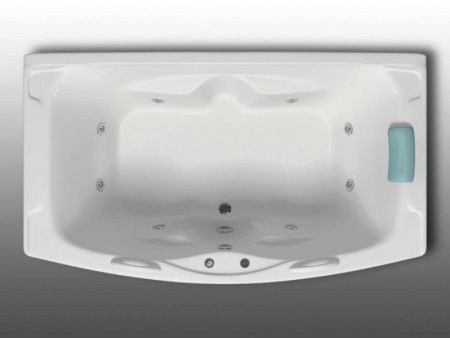
With whirlpool
Acrylic bathtub with whirlpool is installed in the same way as an acrylic bathtub without such functions. But you have to be very careful when organizing wiring to connect the whirlpool. So, it is necessary to ground the socket, to which the bathtub will be connected, and be sure to provide the location of the outlet. It should be as close as possible to the control unit, compressor, pump.
Installation of bath with whirlpool is discussed in detail in our other article.

Fastening of the bathtub to the wall
To fix the acrylic bathtub to the wall, you need to do the following:
- Before installing the tub on its feet or on the frame, lay it on its side and attach the pipes. Connect the floor trap to the pipes.
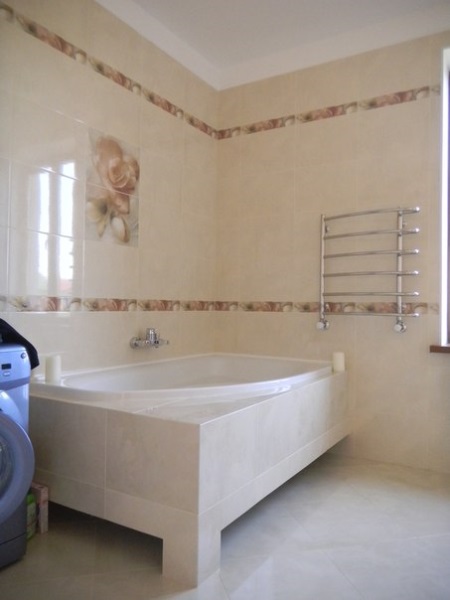
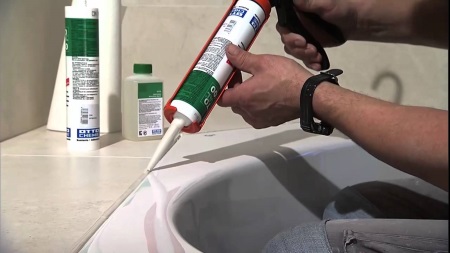
- Once the tub is placed on the base, seal the gap between the wall and the tub. To do this, you can use gypsum plaster mix or a special sealant, which will also provide waterproofing for your bathtub.
- On top, for reliability and aesthetics, plastic skirting is glued.
After completing the installation of acrylic bathtub, do not forget to make sure that it is stable and tight. To do this, fill it with cold water and make sure there are no leaks. Treat any areas of doubt with plumbing sealant..
This is the end of the work. Have a nice water treatment!


Thanks for the options. I will install on the frame of drywall. Thanks for the step by step photos - everything became clearer.