Making a screen for the bathroom with his hands
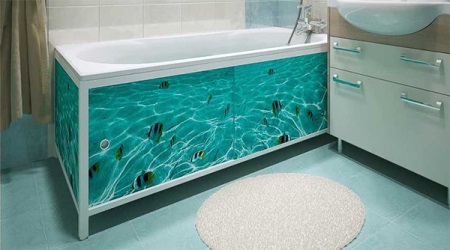
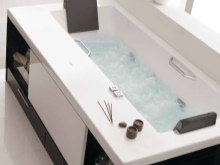
The main function of the screen under the bath is aesthetic. Agree, if all the pipes, valves and taps will be visible, there is little to be pleased about. This is what you need screen under the bathtub. Skillfully chosen and made in conjunction with the overall interior, it will bring a nice moment to the overall look of your bathroom. Imagine that your screen imitates the seabed. What a pleasure to take a dip in such a bath! How can you make a screen under the bath with your own hands?
The main functions
You can buy a bathtub with a ready-made screen, but it is an expensive pleasure. The screen is quite realistic to make yourself. Especially since modern industry offers a rich palette of materials for its manufacture. As a result we get both cost savings and exclusivity, according to your own taste.
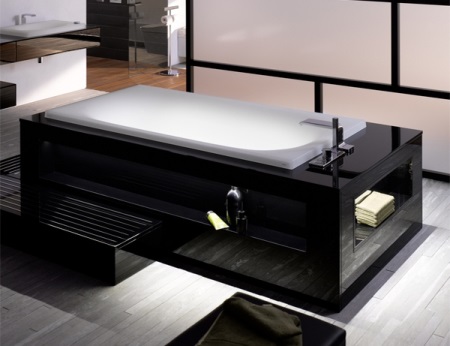
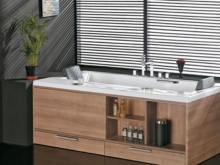
Another plus is that we can expand the functionality of our screen and turn it into a convenient place to put the things we need. Under the bathtub you can put all kinds of cabinets and shelves, where you can put detergents or other household necessities. Therefore, before you start to make a construction, you need to decide for what functions your screen will be designed.
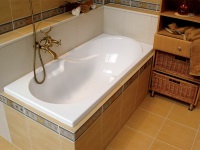
If under the bath there are communications, which disturb the harmony of the room and need to be protected from mechanical damage, then there is no need to talk about the placement of shelves. In this case, the screen should cover the communications and perform only an aesthetic function.
Materials
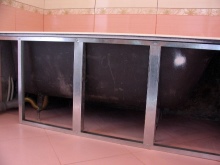
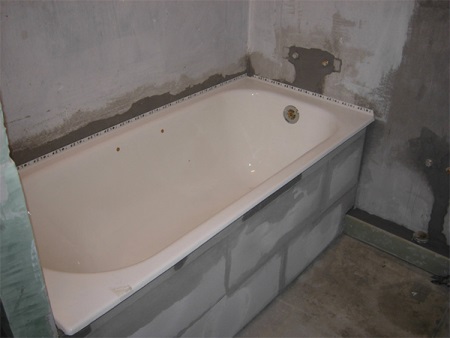
The most initial stage of the work is to make a frame under the bathtub. It can be made of wood slats or metal profile. Wood should be used moisture-resistant. Be sure to apply a compound that fights fungus and mold. When measuring, use a construction level. It is very convenient to work with when drawing the projections of the corners of the bath on the floor and walls.
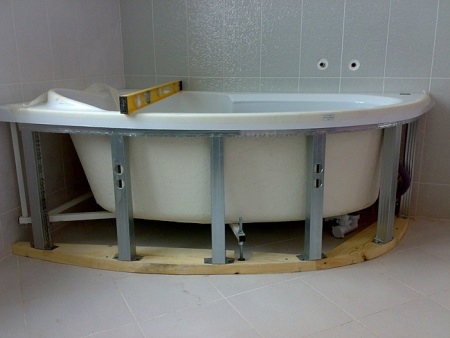
Measurements to create a frame
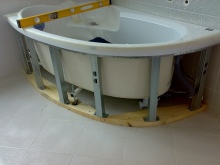
If the bathtub occupies a corner of the room, then we will work with its three outer corners.
- We put points-projections of these corners on the floor and connect them with a marker.
- Extend the lines on the wall to connect to the corners.
- Draw lines parallel to those already drawn. The second lines should be drawn inwards to a width that is equal to the width of our cladding material.
- From slats are cut bars of the required size, making a framework, on which then will be attached plasterboard, plastic or their alternatives. Two bars equal in length and width of the bathtub is made for the top and exactly the same for the bottom of the frame. And then the vertical joins are cut.
- Connect the fasteners can be self-tapping. It is recommended to make the holes with a drill smaller than the self-tapping screws. In this case, there will be no splitting of the wooden product. Metal corners can be used as fasteners.
- Do not forget to attach the structure to the two walls adjacent to the bathtub. The lower part of the frame is attached to the floor. Fasteners must be secure.
If the construction is made of wood and the floor in the bathroom is also wooden, then different self-tapping screws are used. And if the floor is concrete, you can't do without dowels. When the frame will be ready, fill the tub with water to see if the construction will give settlement. And only then you can proceed to the procedure of cladding.
Classification by material
Plastic .
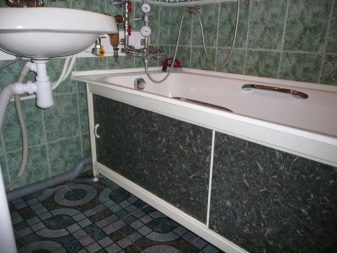
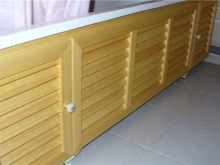
To make it, you will need plastic panels. The choice of shades is huge, so you can pick a color that will fit perfectly into the interior of the bathroom. The frame for such a screen can be made of wood. But if you want the screen to be more functional, you should make it sliding.
In this case, the frame for the screen should be aluminum. If it is made of iron, it should first be coated with primer and then painted to avoid rust. Plus, guides are needed to allow the plastic doors to move freely.
Procedure:
- The doors are easy to make. You need to measure the distance between the upper and lower rails - this will be the height of the door, and make a cut of plastic with the appropriate dimensions.
- To prevent our doors from falling apart during use, it is recommended to glue the inside of the doors with adhesive tape.
- Install the panels between the rails on a tongue and groove basis.
- Attach the handles, which can be purchased at any construction store.
- Be sure to work out the joints between the bath and the screen with sealant. Any sanitary sealant will do, the excesses of which can be removed with a normal rag. This procedure will save your construction from the formation of mold and mildew.
Made of plasterboard
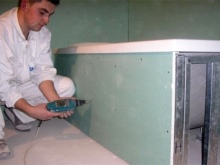
Gypsum board is considered the most flexible material to use. The screen frame can be either wood or metal. Wooden frame must necessarily be treated with antiseptic primer. Otherwise you can not avoid mold and rot.
When designing the framework, it is important to take into account that the drywall will be clad with some other material, so in the measurements do not forget about its thickness.
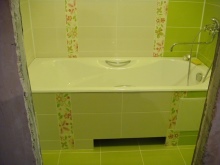
If you have tiled, the second inner parallel line, about which we wrote above in the section on modeling the frame, will be moved 4-6 mm deeper.
It is necessary to use moisture-resistant drywall. The level of humidity in the bathroom is elevated, so the usual will swell and collapse. It is important to choose the right length of self-tapping screws, so as not to damage the edges of the bathroom, if suddenly the self-tapping screw pierces the drywall. Self-tapping screws are placed at a distance of 15 cm from each other along the perimeter of the sheet.
Next, the drywall should be coated with primer and covered with the material that was previously selected for this purpose. This can be tiles in a variety of colors and textures, plaster, film and moisture-resistant wallpaper.
From MDF
The process of cladding the screen with MDF is almost the same as the plasterboard cladding.
An important point is the presence of slots that perform a ventilation function. They can be made small: 5-10 cm in length, width 2-3 cm. To ensure that these holes do not spoil the appearance of the screen, they are covered with plastic decorative grids. MDF sheets should be treated on both sides with a special water-repellent agent, then primer. After drying, the sheets can be attached to the frame.
Fibreboard
The screen from this type of material will be very strong, but voluminous because of the thickness of the plate (8 cm). Be sure to check the construction with a plumb line.
The places where such a screen will be attached: the walls and the floor, must be well cleaned and primed. As binders will be suitable: plaster on a gypsum base or tile adhesive. At the same time, the guttering boards should be moistened with water. The presence of grooves and ridges make the process uncomplicated. It is only necessary to carefully monitor the correctness of the laying.
A wood saw is used to cut the boards. Slabs need additional decoration, as by themselves they do not look attractive. For this purpose, various decorative plasters, paints are suitable. Or you can use facing ceramic tiles.
If you decide to use tiles as a facing material, it can be attached with liquid nails, applying dots of glue to the back surface of the tile. Five dots will be enough. Start the tiling process with the upper left corner.
Types by design features
Screens come in a variety of configurations.
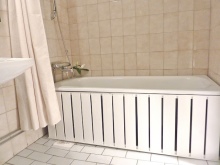
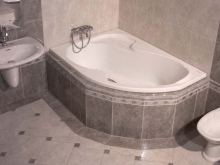
- If you have completely tiled the lower part of the bath, then it is a deaf screen. The disadvantage of this modification is that in the case of a leak, to look under the bath and liquidate the flood will be problematic. And even more so to do the repair. You will have to break your work of art.
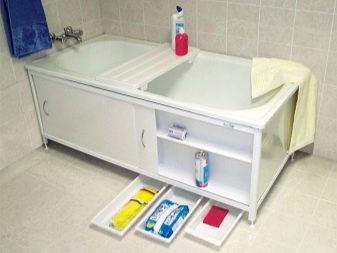
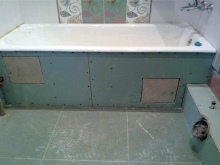
- One of the convenient components of the screen is a niche for your feet. If there is a small child in the family, such a niche is just a godsend for mom. You can use such a niche as a place to store laundry items.
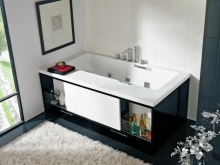
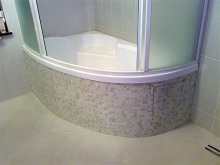
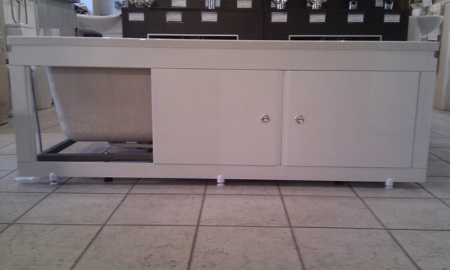
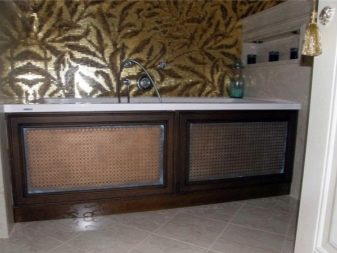
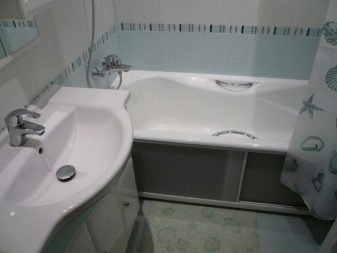
- Another type of design is a screen with doors. They can be sliding or hinged. The advantage of sliding doors is that they save space. If the size of the bathroom allows, you can install and hinged doors.
When designing your screen under the bathroom, be guided by its functionality. And, of course, it should not be a prominent spot that does not fit in the overall concept and style of your bathroom. Everything should be harmonious.
Design ideas
When making a screen, you can give free rein to your imagination.
- You can add a retractable shelf on magnets. It will come in handy for storing various little things that we use in the bathroom: combs, shampoos, bath foams and others.
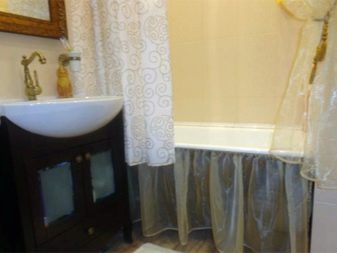
- Another element is the curtains. The most low-budget design element. It is suitable if your bath has non-standard shapes and it is impossible to make a rigid screen. With the skillful selection of curtains in combination with additional decorative elements, you can create quite a cozy bathroom. Take into account only that the curtains should be easy to remove, as textiles require washing.
- Mirror visually expands the space. It can also be used in the design of the screen.
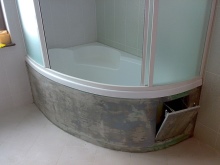
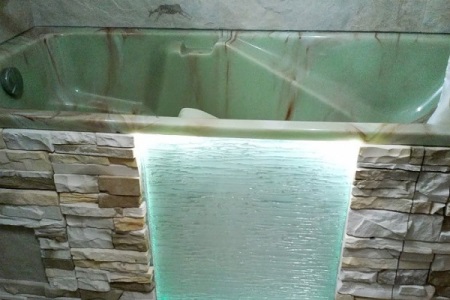
- Frosted glass is an interesting idea for decoration. They come in monochrome, frosted, colored, with patterns and different textures. Glass is quite durable, so its use is safe, so feel free to choose and combine it with the interior of the bathroom.


We'll make a plastic one - in my opinion it's the least of our problems.