Repair kit for acrylic baths
Today acrylic bathtubs are in high demand. Such a bathtub often replaces the old cast-iron or steel sanitary ware, because the product of acrylic has many advantages. They include not only ease of use and variety of forms, but also the ability to quickly and easily repair its coating in the case of stains, cracks, chips and other damages.
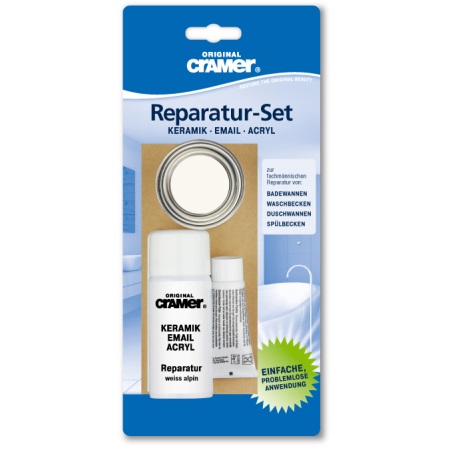
For self-repair of acrylic baths use special repair kits. In the sale you can see several such repair kits, different in their purpose. Some of them are universal and can be used for any damage to the surface of the acrylic bathtub, others are more specialized and suitable only for a certain type of treatment.
Types
From scratches and uneven surface
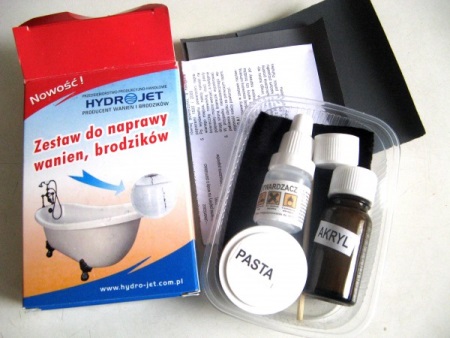
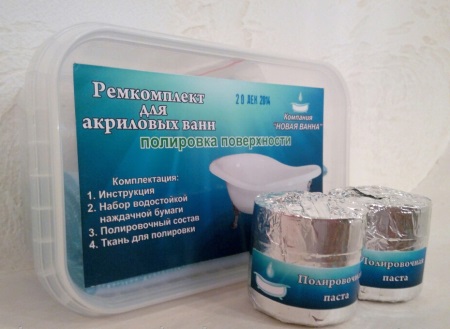
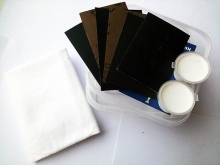
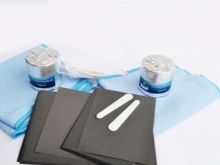
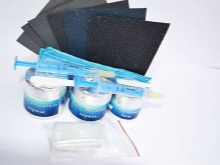
A kit that helps get rid of scratches or roughness on the surface of the bathtub includes a special paste for polishing (usually represented by liquid acrylic and hardener), as well as sandpaper with different grit sizes.
Some kits of this type include a special adhesive that is based on epoxy resin.
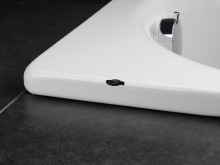
Against chips.
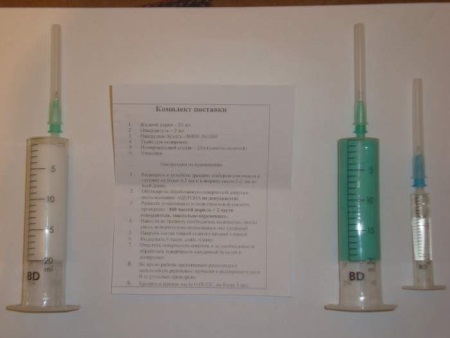
- Less than 1 mm. Epoxy glue is used to repair such cracks. Also in the repair kit should be sandpaper, an applicator for applying glue and polish.
- More than 1 mm. A special repair tape helps to remove such chips. In addition, the repair kit against cracks includes acrylic restorer, sandpaper and polishing paste.
From holes.
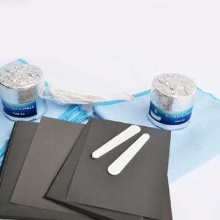
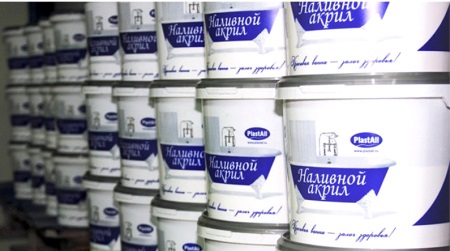
To seal a through hole formed in acrylic bathtubs, a reinforcing kit is used. Its composition includes sandpaper, special resin with hardener, reinforcing material (glass mat), repair tape, glue and polish.
From stains
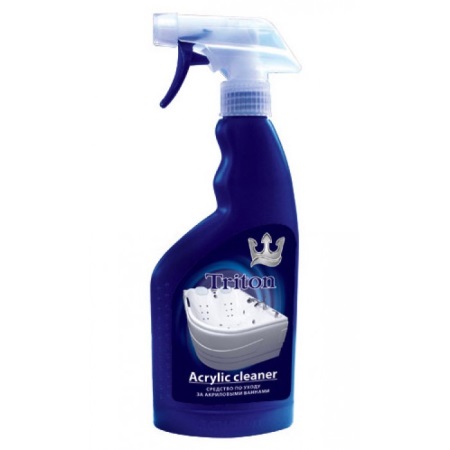
Normal stains are cleaned with detergents (often enough to use shower gel, dishwashing liquid or liquid soap), but for more stubborn stains use toothpaste, a special polish or liquid acrylic.
If the stains are limescale, they can easily be removed with vinegar (heat it up) or lemon juice.
To polish.
This repair kit is the simplest and includes sandpaper, polish and instructions for treating the acrylic surface. Such a kit will help to eliminate roughness and yellow stains, returning the acrylic bathtub to an attractive appearance.
Instructions for use
To remove scratches:
- Perform scraping of the scratched areas, using sandpaper.
- After medium grit paper, sand the surface again, using fine grit paper.
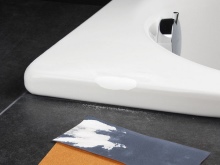
- Apply polishing paste to the desired area, and finally polish the area of the bathtub.
To remove chips and cracks:
- Deburr the damage itself and the area around it with sandpaper.
- Make a 1-millimeter indentation at the ends of the crack with a drill (this will prevent more cracking).
- After washing the cleaned areas with warm soapy water and drying them with a hair dryer, apply epoxy adhesive and leave it to dry completely.
- Sand the treated area.
- If the crack is large, apply repair tape instead of glue to the damaged area and then carefully smooth it out to remove air bubbles. Leave the tub treated with the tape to dry for three hours.
To remove stains:
- Apply the cleaner in an even layer to the acrylic surface.
- After five or ten minutes, wipe with a sponge and rinse.
- Repeat the process if necessary.
- You can also fill the tub with warm water, dilute the cleaner in it and after a while drain the water and rinse the tub thoroughly.
- If the stains are eliminated with liquid acrylic, the surface treated with this material must be mended with a special paste.
To remove holes:
- Drill to a depth of 2-3 mm several indentations on the edges of the through hole.
- Clean the damaged area with sandpaper, then degrease with alcohol.
- Tape the outside of the hole with repair tape.
- Apply resin mixed according to the instructions in the repair kit.
- Place reinforcing material on top and press into the resin.
- Apply another coat of resin to completely saturate the reinforcing material.
- Allow to cure for the period specified in the instructions.
- Scrub the treated area with medium and then fine grit paper for smoothness.
- After rubbing everything with alcohol, apply polish and wipe the caulked area thoroughly with a flannel.
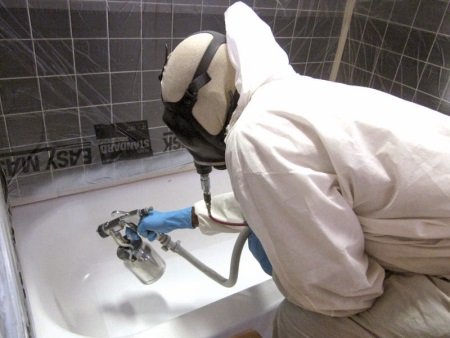
- If you do not have a white tub, paint the treated area with an airbrush, and after the paint dries completely, polish the tub again.
In Mikhail Klimov's video you can see how to repair an acrylic bathtub with your own hands.


