How to disassemble the washing machine?
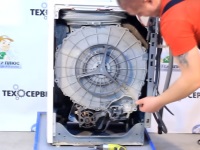
All washing machines break down and malfunction from time to time. And if the owner of the equipment wants to understand the breakdown and repair the machine with their own hands, he should first learn how to disassemble the washing machine, as well as how to then properly assemble this technique.
About what tools you may need and about independent repair of the washing machine Read in another article.
The disassembly process
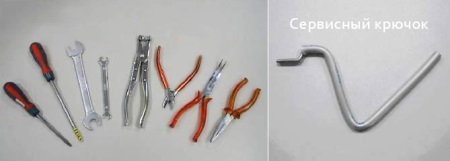
First, you should pick up and put next to the machine all the tools you will need for work.
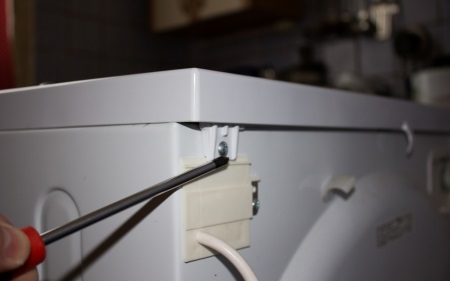
Disconnecting the top panel
It is fastened with several screws, to unscrew which a Phillips screwdriver will help. Grasp the back of the panel with one hand and lift it slightly. At the same time, use your other hand to move the panel to the back. Once you notice that the panel is no longer attached, it can be freely removed from the machine.
Disconnecting the control box
First of all, you should remove the reservoir in which the detergent is poured. This is not too difficult.
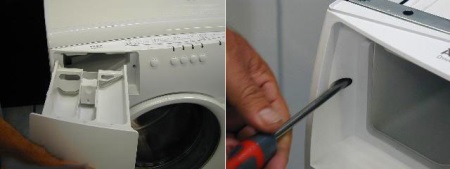
Next, remove the distributor box. Since it also uses screws to hold it in place, you will again have to use a Phillips head screwdriver.
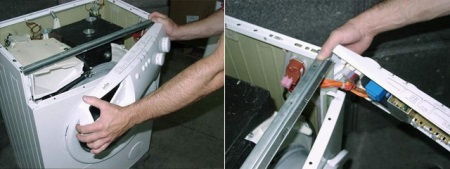
Use one hand to grasp the right side of the control box, and with your left hand, pull the panel 90 degrees. This will disengage the panel from the right side fasteners.
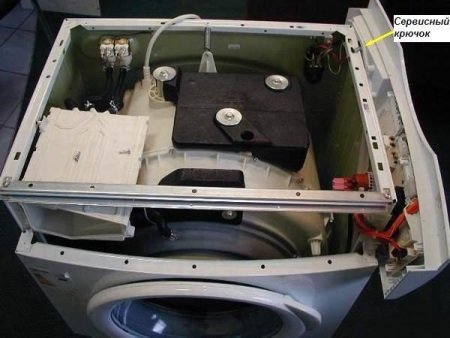
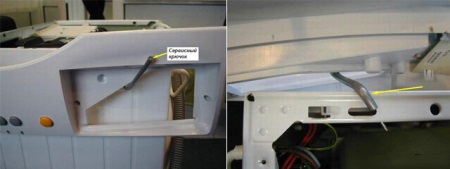
Next, you need to lock the panel in place, which the service hook will help with. Your goal is to turn the panel 180 degrees and hang it on the side of the washing machine. At the same time, place the larger end of the hook in the cutout of the control unit, and the smaller end in the wall of the machine.
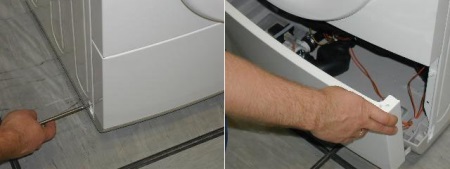
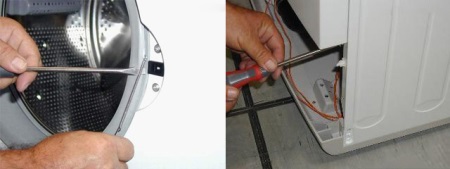
Removing the service panel
Using a screwdriver, unscrew the screws, then remove the panel with a crowbar, which should be wooden or plastic. Push the machine very carefully so as not to damage the service panel.
Then, after dissolving the door, take a flathead screwdriver to remove the clamp that secures it. Set the tool aside, then use your hands to remove the collar, which is mounted on the center panel.
Removing the center panel
Four bolts are responsible for its attachment to the sides of the machine. After unscrewing these bolts with a Phillips screwdriver, remove the fasteners and remove the central panel at the same time as the window. At the same stage, pull out the connector, which performs the function of locking the door.
The next goal is to remove the hose that goes to the distributor. Take pliers and loosen the clamp on the hose, then pull out the hose, and then remove the clamp itself.
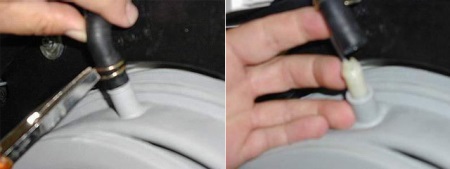
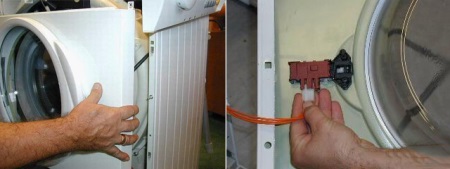
The same steps will help you remove the hose that goes to the pressostat - after loosening the clamp, disconnect and remove the hose, then the clamp and the collar.

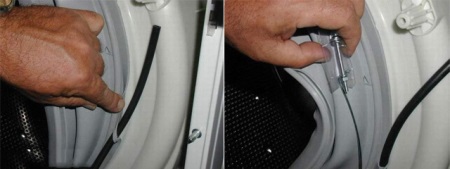
To remove the collar on the hatch, first loosen the screw collars that are on the tank. A Phillips head screwdriver will work for this purpose. Next, using a flat screwdriver, unscrew the cuff clamp and remove it, after which all you have to do is unhook the cuff itself and remove it from the drum.
Removing the rear wall
To this end, unscrew the screws that are responsible for its attachment to the body of the equipment. After this, disconnect from the drum all the elements that will prevent its removal (these are all the hoses connected to the tank).
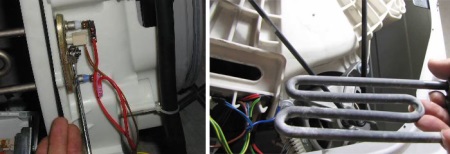
Removing the heating element.
Carefully disconnect the wires from the heating element by unscrewing them. You can skip this operation if you unscrew the nut and pull out the FET completely.
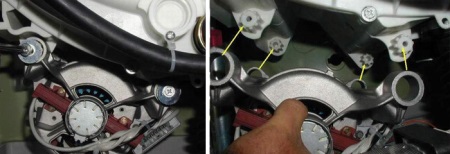
If you are going to remove the tank, unscrew the counterweights and put them aside. Next, disconnect the shock absorbers holding the tank in place with a wrench. Unscrew the bolts that hold the shock absorbers to the body of the equipment and then remove them. Now it remains to carefully remove the tank from the springs and pull it together with the engine out of the machine.
В. Khatuntsev in his video clearly describes how to disassemble the washing machine to replace the heating element.
If there is such a need, then the electric motor is unscrewed from the tank. Disassembling the tank, you may be faced with the fact that in some models of machines it is glued. Such a tank will have to saw with a hacksaw, and during the reassembly use bolts, nuts and silicone sealant.
As an illustrative example, watch the video channel "Washing +", where the washing machine brand Zanussi is disassembled.
How to assemble
The process of assembling the washing machine should be performed in the same sequence in which you disassemble the machine. First perform the last operations, gradually getting to the first steps in order.
When reassembling the machine, it is important to make sure that the cuff fits on the door exactly in its place. The triangle symbol on it should coincide with the vertical axis of the machine - directly opposite this symbol should be the escapement groove (this should be the lowest point of the cuff).
Also, when tightening the clamp bolts on the cuff, make sure that their heads are at a level that corresponds to the location of the free stretch pin. When disassembling the machine, you can take pictures of particularly difficult joints in order to use such hints when reassembling the unit. This will help you not get confused when working with wires and complicated fasteners.
Abouto replace drum flanges, bearings in a top-loading Whirlpool washing machine, see V. Khatuntsev's author's video.
About replacement of bearings in front-loading washing machines Electrolux, Zanussi, AEG see in the following video of Vladimir Khatuntsev.


