Installing the faucet: a master class
Installing faucet is a mandatory part of the list of works on the arrangement of the bathroom. Depending on the situation, whether it is replacing the installed faucet with a new one or installing it in a new place, this procedure may be different. It's not an easy process, but it's an interesting one.
We'll try to help you with the task at hand in both cases with the following tips.
Choosing the type of installation, configuration and design
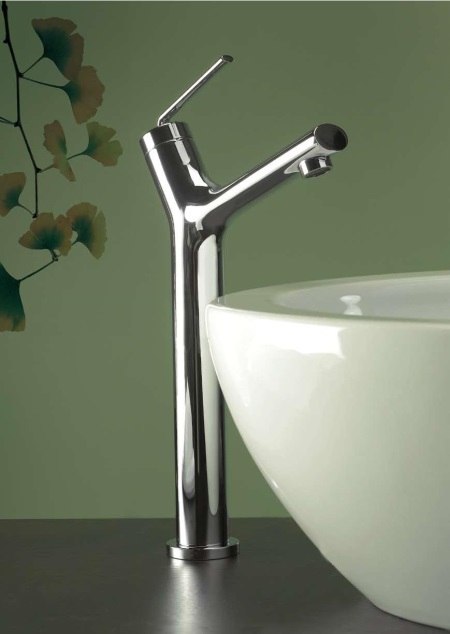
In order for your new purchase to last long and work properly, it is important to choose a quality product. Quality is easily determined by the weight of the product. A durable faucet is always weighty due to the greater thickness of the metal. Do not forget that flaws occur in heavy products, but the fact that the manufacturer did not skimp on the material should be reassuring.
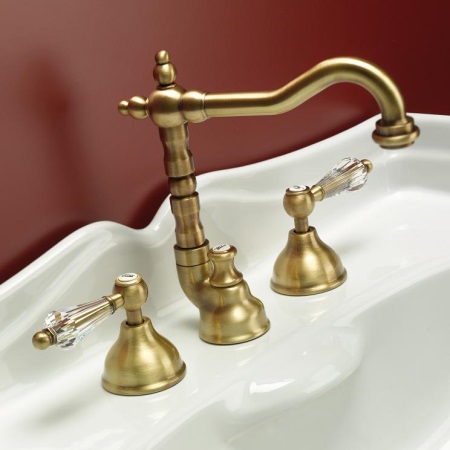
As a material for the manufacture use brass and silumin.
Products made of silumin weighs much less than brass, and its price is more pleasant. However, silumin does not have enough strength. A constant disease of silumin faucets is lever breakage and burst nuts. They owe their popularity to their price, but not to their long service life.
In turn, products cast from brass are heavier and more expensive. Brass is a ductile material, so the cap nuts and spouts do not crack from the forces they endure during installation and use.
Keeping in mind that the miser pays twice, we highly recommend opting for a brass faucet.
You can learn more about the different types in our article on to choose a faucet..
Modern faucets have 3 different designs:
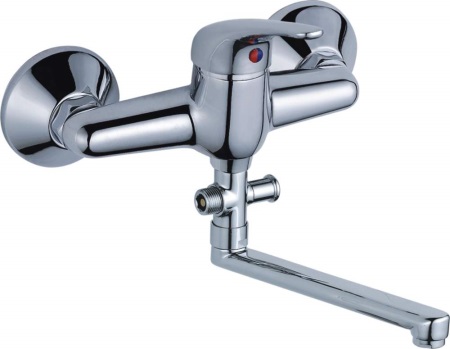
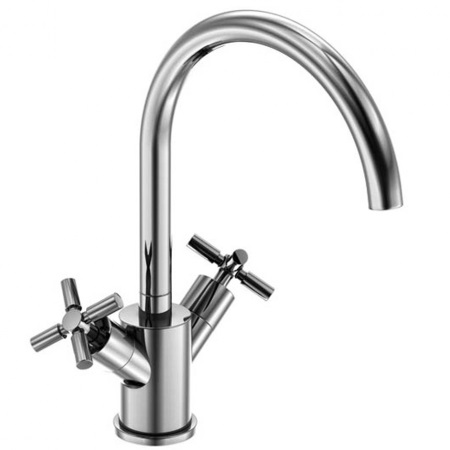
- Lever taps .. Compact and easy to use. One lever regulates both the temperature and the pressure of incoming water. A significant disadvantage - if one element breaks, you will have to change the entire cartridge.
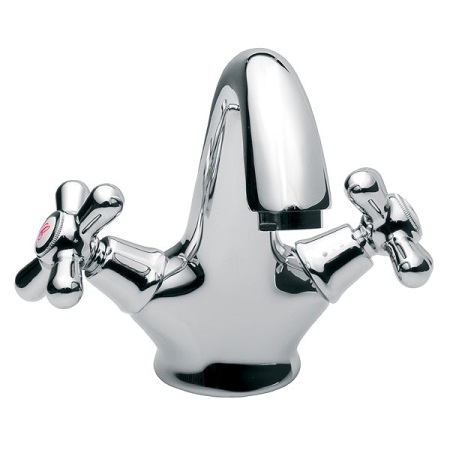
- Valve. Two valves to regulate the flow of cold and hot water. Less convenient to regulate the temperature, but there is a great variety of design valves and housing.
- Thermostatic. Can be set to automatically maintain desired water flow and temperature. It is a good addition to modern interiors due to its stylish design, plus it helps save water.

Technical indicators such as size are very important for the installation.
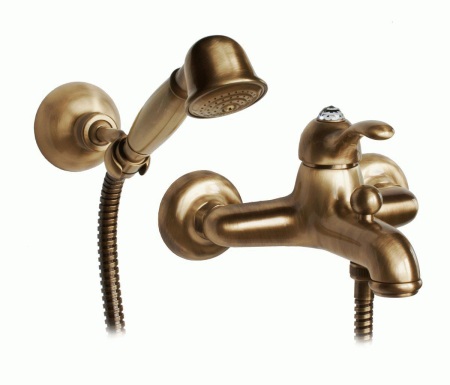
For personal comfort, pay attention to the size and shape of the faucet element - the length of the shower head, the shower hose, the presence of a wall holder for the watering can.
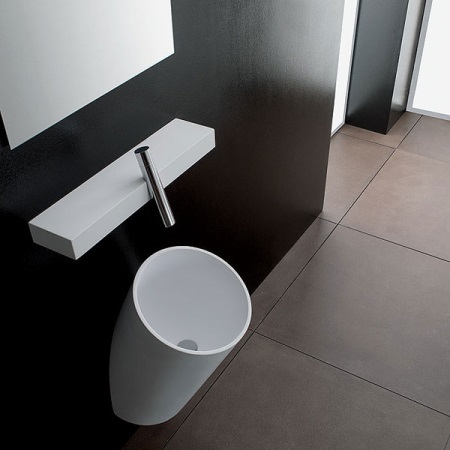
Models vary depending on where they are installed: faucet, recessed into the bathtub, cannot be mounted on the wall, and vice versa. There are some models with a fixed spout as well as a swivel spout. Almost everywhere the sink is located side by side with the bathtub, so it is convenient to install a wall-mounted model with a swivel spout and shower head.
In turn, whirlpool baths or showers are always equipped with separate faucets.
Removal of the old mixer tap
Once you have chosen a convenient and practical option for you, you can proceed to the dismantling of the old faucet:
- First, shut off the water supply to the bathroom.
- After opening the faucet, drain the remaining water and use adjustable wrenches to unscrew the clamping nuts of the mixer at the connection to the supply pipes. Work carefully so as not to break the threads on the pipe fittings brought out.
- Loosen the threads of the fittings from the old gasket.
Types of Installation
Depending on where you choose to mount the faucet There are variants that are mounted directly on the wall or built-in. The latter are placed on the side of the bath or recessed into the wall. Also, models mounted on a rack or on a shelf can be classified as built-in. All variants have their disadvantages and advantages.
Wall mounting is performed when the sink and bathtub are adjacent. It is made quickly and allows you to replace or remove the faucet at any convenient moment.

Built into the wall faucet, you can give the interior a more aesthetic appearance, but access to the connection hoses will be closed.
Installation on the rack is possible if the pipes are led through the floor and if there is free space in the bathroom. Racks are available in a wide range of designs: from austere modern to pompous baroque. Rack-mounted faucets remain the most expensive today.
Installation on the edge of the bathroom or sink shelf also limits access to connections and supply hoses, but allows you to install smaller models. If installation of this type is provided, the bathtub and sink are usually equipped with the original faucet.
Installation rules
Products are often sold disassembled and, buying them, be sure to check the completeness. The composition of the kit is listed in the instructions inside the box. Each part is packed in cellophane separately.
The kit includes the following parts:
- Mixing unit;
- Nosepiece;
- Shower head and hose;
- Eccentric sockets;
- Gaskets;
- Decorative shades.
Check all items for chips and cracks. Also make sure that the threads of the eccentric couplings and fastening nuts are not torn off. Only then reassemble according to the instructions
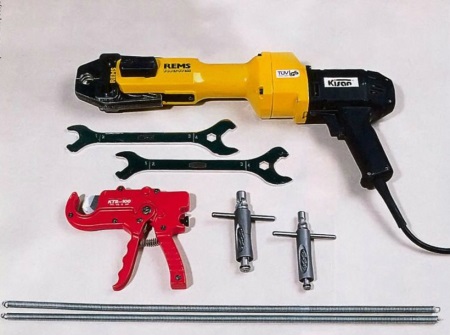
Necessary tool
Prepare the necessary tools in advance:
- Wrenches and adjustable wrenches;
- Pliers;
- Screwdriver;
- Sealant;
- Sealing materials (FUM or gasket);
- An electric drill with a core drill bit.
Having done this, you can proceed to the installation itself.
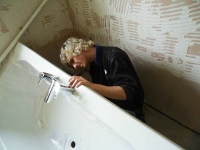
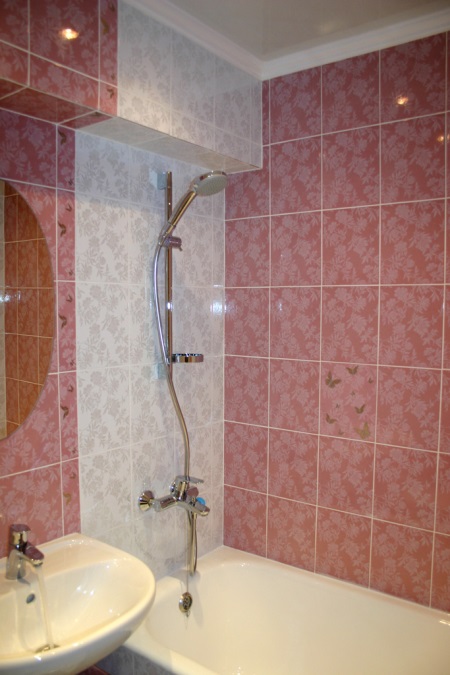
Installation of a wall faucet
Let's review the installation procedure on the example of installing a wall faucet.
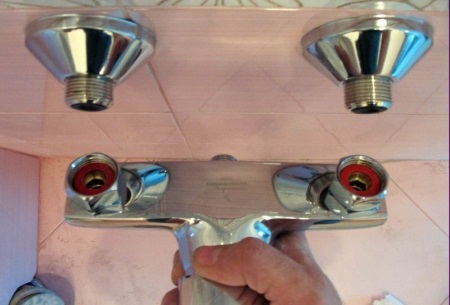
When withdrawing the fittings of water pipes from the floor or walls, maintain a distance of 150 mm between the pipes. If this distance does not coincide with the similar on the mixer, it can be adjusted with the help of eccentrics. Wrap the gasket around the eccentrics and screw them into the fittings of the water pipes, maintaining the required distance. Check that the eccentrics are level.
After aligning the eccentrics, try on the faucet block and begin screwing it on. If the eccentrics have been aligned correctly, the unit will screw on evenly on each side.
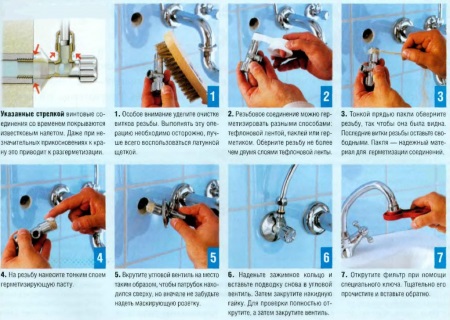
To conceal the mounting location of the unit, we will have to remove it and put decorative plugs on the eccentrics. If the eccentrics are mounted correctly, the shades should fit snugly against the trim surface.
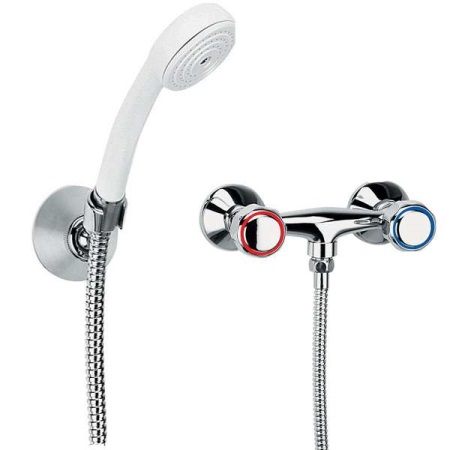
When attaching the unit itself, do not use any additional sealing materials, there will be enough gaskets inside the clamping nuts for a tight shrinkage. Tighten them by hand and lightly crimp with a wrench at the end. In general, work with an open-end wrench and adjustable wrench should be very careful not to damage the chrome finish of the product.If it is necessary, put a cloth over the tightened nut and screw without effort.
When installation is complete, open the taps on the water pipes and check that there are no leaks on the body and connections, and that the pressure is not excessive. Repair any remaining leaks by tightening the connections more.
How to install a kit faucet
Before you perform the installation of a faucet on the side of the bathtub, it is worth remembering that in the case of malfunctions, you need to provide yourself with access for dismantling. For this purpose, put a removable raised panel.
Stages of installation:
1) First, study the design of your faucet. As a rule, a lever faucet is built into the side of the bathtub. Note for yourself where the installation hole will be located, the convenience of its location, the sufficiency of the length of the spout and the shower hose, the height of the mount for the shower head on the wall.
2) Note that only acrylic and polyurethane bathtubs will have a hole drilled by themselves. Holes in cast iron and steel products are made only at factories to prevent chipping of enamel and cracks in the body.
Read more in our article about bathtub mixer.
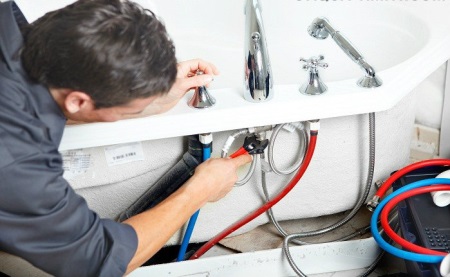
3) After marking the hole for the installation, drill it with a core drill. Place the original gasket from the kit under the faucet. Insert the mixer itself and tighten it to the side of the bath with the fixing stud and a half washer. Fix the unit in position and tighten the fasteners firmly.
4) Attach the flexible hot and cold water hoses to the faucet. Make sure that the flare nuts of the hoses have gaskets and the sockets screwed into the unit have o-rings.
Manufacturers may furnish mortise faucets with mounting panels. They additionally reinforce the mounting point, because the mounting hole weakens the rigidity of the bead. Unfortunately, the mounting plate often does not fit the dimensions and shape of the edge and needs to be trimmed. If you have doubts about the durability of the bathtub rim after the faucet is embedded, you should ask a mounting specialist for advice.
Features of installation on the wall from scratch
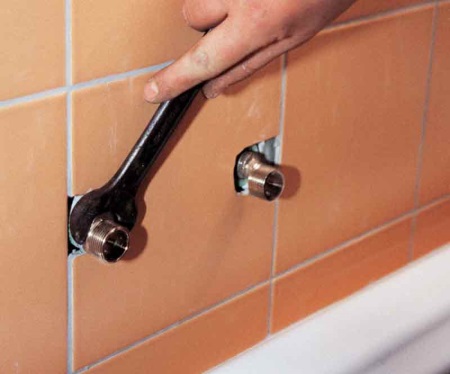
In the case of wall mounting, it is necessary to provide a pipeline from the main water supply to the location of the future faucet. Metal and PVC pipes are commonly used for this practice. To connect them to the mains, be sure to purchase suitable tees and transition couplings. And do not forget to put ball valves in front of the outlets on the mixer. It is convenient to install it at a height of 30 cm.
When equipping pipe outlets fittings remember the following:
- Maintain the interaxial distance of fittings in 150 mm, it is obligatory to observe the level.
- The end of the fitting should not protrude beyond the lining.
- Fittings are aimed strictly perpendicular to the wall, the height of the installation should take into account the dimensions of the mixer.

Mounting on the rack and on the shelf
With this type of installation it is necessary to supply water to it through the floor. The platform for installation can be at the same height as the rest of the floor, or slightly higher. The latter is convenient because. allows you to equip a removable panel pedestal to replace the mounting elements and couplings.
In the matter of installation, it is necessary to proceed from the convenience of using the faucet. It must be positioned at the right distance, height and on a certain side of the bathtub. In key points, the installation of a stand mixer repeats the installation process of a wall-mounted one: similarly, eccentrics are screwed into the outlets of water pipes, aligned to the desired distance, and then the union nuts of the connecting hoses are screwed on, which are attached to the block.
Faucets on the shelf, as well as those made on the rack, are a solution for the high-end interior with the difference that if the rack faucets form a set with the bath, the models for installation on the shelf can be of any design.
The flow of water from such fixtures cascades, so the shelf can be given the most fanciful shapes.
So, the mixer is mounted in a niche or on a pedestal near the bath, or on a separate shelf made of solid stone, glass, tile.
Flexible hoses are used for water supply, and the spout, taps and shower head can be installed in different places. Installation will require you to accurately calculate the required length of flexible hoses to connect all these elements. The installation of the faucet itself is much like the installation of a mortise faucet.
Demonstrate the utmost care when working with the shelf and the base of decorative stone and glass, or better yet, trust the installation to a professional.
If your faucet suddenly breaks, read our article on how to repair your faucet..


How to make a hole in the tiles to install a faucet?
Angelina, read about it in our article https://ibath.decorexpro.com/en/remont/kak-prosverlit-kafelnuyu-plitku/