Handmade Bathroom Faucet Repair: Lessons for Dummies
Every one of us sooner or later has to deal with solving household problems.
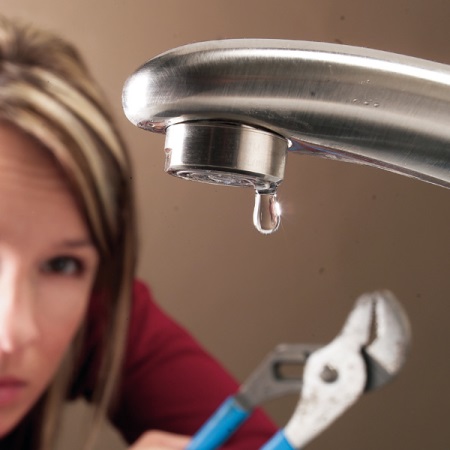
One of the most common malfunctions in the home is a broken faucet in the bathroom. This is largely due to its frequent use. Just imagine the volumes of water that pass through it every day. But the causes of breakdowns can be very different.
The main causes of breakdowns
A variety of malfunctions can occur during the operation of a water faucet:
- Failure to close the valves tightly (water dripping or leaking);
- Weak water pressure even when the valves are fully open;
- A humming noise from an open faucet;
- Failure of the faucet-shower switch (water flows from both the faucet and the shower at the same time).
There are two main causes of such malfunctions:
- Structural defects in the faucet (poor quality material or poor workmanship);
- Bad water in the system (water with rust, turbidity, solid particles, "hard" water).
In most cases, the repair of the faucet can be done with your own hands.
In this case, you should remember about the basic safety precautions:
- Before the repair, you should always shut off the hot and cold water valves at the inlet of the pipes in the apartment.
- After closing the inlet valves, open the faucet taps and check for water leaks - the inlet valves may also be faulty.
- Be careful when working with hot water - you could get scalded;
- Do not use excessive force when tightening - the threads can break.
Do not forget about these precautions, even if you need to turn a loose nut on the faucet - because from excessive force it can break, and you will flood your apartment and the neighbors downstairs.
Repairing old-style faucets
In old-style faucets, the cold and hot water flow rates are regulated by two separate taps. Most often, leaks occur because the rubber seals are worn out, or because the half-turn faucets have malfunctioned.
To replace worn parts in an old-style faucet, it is necessary to:
- Close the cold hot water and hot water valves at the pipe inlet to the apartment, open the faucet and let the remaining water out by relieving the residual pressure.
- Remove the decorative caps from the faucet handles, unscrew the bolts holding the handles, remove the handles.
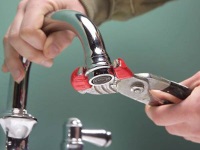
- Use an adjustable wrench to unscrew the valve head by turning it counterclockwise.
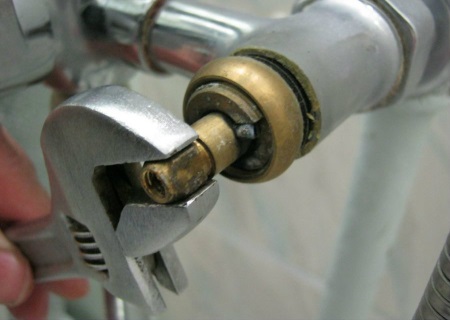
To repair a leaking valve you need to replace the rubber seal on the valve. Most often the seal is fastened to the tap-box with a screw, to replace it you need to unscrew it with a screwdriver.
If you could hear a hum from the open faucet, or the valve opened with difficulty, then the faucet head is defective and it is necessary to replace it completely.
Assemble the faucet in the reverse order.
Do not use excessive force when tightening, so as not to break the threads.
Repair of new-style faucets
Single-lever faucets are popular today. In them, the mixing of water takes place in a special cartridge. Changing the temperature and water pressure is due to the displacement of ceramic discs with specially shaped holes inside the cartridge.
Most breakdowns on new single-lever faucets are due to wear and tear of the moving parts inside the cartridge. When repairing the cartridge is replaced as a whole (even for collapsible cartridges it is almost impossible to find individual components).
Sometimes the mixer leaks due to small grains of sand or rust particles caught between the discs of the cartridge. In this case it is necessary to disassemble the cartridge, if it is provided by its design, and rinse the parts with a jet of water.
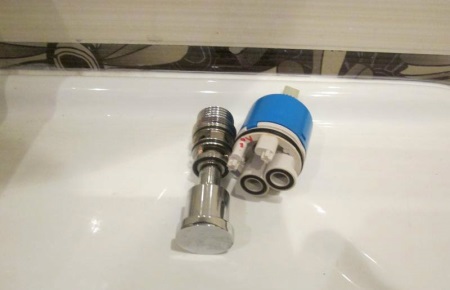
To replace the cartridge in a new-style faucet, you must:
- Close the cold hot and hot water valves on the pipe inlet to the apartment, open the faucet and release the remaining water by releasing the residual pressure.
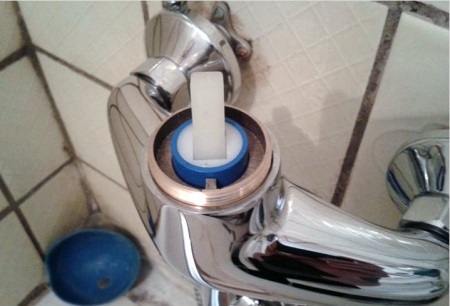
- At the front of the mixer handle, use a screwdriver to pry open and remove the decorative plug.
- Unscrew the fixing screw under the removed plug, remove the mixer handle from the cartridge stem. If there is a protective cover - remove it as well.
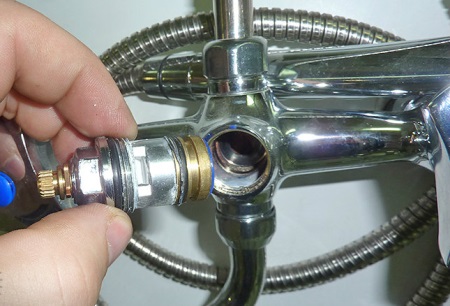
- The cartridge is pressed to the mixer body with a wide nut. It must be unscrewed with pliers.
- After unscrewing the clamping nut, you need to gently pull the stem and remove the cartridge.
Assemble the mixer in the reverse order. When installing a new cartridge, it is necessary to correctly align the holes of the cartridge with the mixer guides.
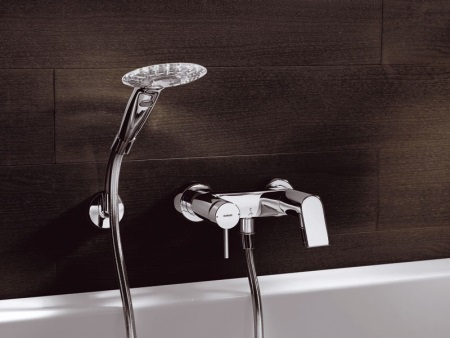
Leaky faucet-shower switch
There are two types of faucet-shower switches in the faucets: rod (push-down) and ball (rotary).
The faucet-shower switch must be replaced if water is flowing from both the faucet and the shower at the same time.
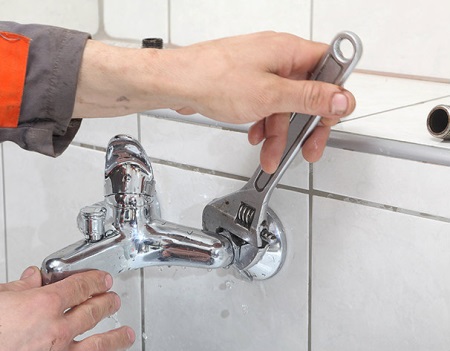
The process of replacing the switch is similar to replacing the faucets:
- Close the cold hot water and hot water valves at the pipe inlet to the apartment, open the faucet and let the remaining water out by relieving any residual pressure.
- Remove the decorative cover, unscrew the retaining bolt, remove the switch handle.
- Unscrew the switch with an adjustable wrench, turning it counterclockwise.
- Replace the switch or gasket on it and reassemble the faucet in reverse order.
Preventing leaks - installing the main filters
As we have already written, one of the main causes of faucet failures is poor-quality tap water. Due to the wear and tear of communications, rust particles, grains of sand get into the water, and turbidity appears. All this accelerates the wear and tear of the moving parts of the mixer, and can even jam them.
Water purification filters are used to purify water and prolong the life of faucets and household appliances (washing machines and dishwashers).
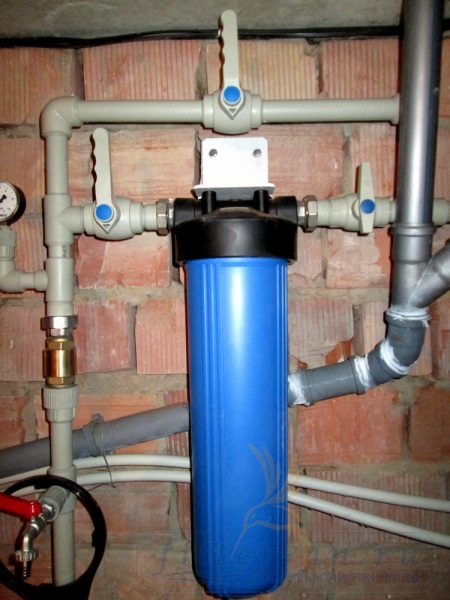
Filters are installed immediately after the valves and meters at the inlet pipes and filter all incoming water. In addition to cleaning from suspended solids, the main filter can soften water and remove excess iron from it.
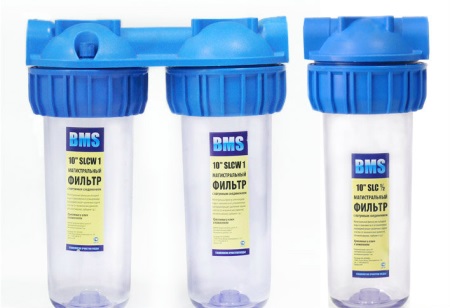
Filter designs are different for hot and cold water. Pay attention to the markings when purchasing and installing them. Also, when selecting a filter, note whether you will be installing it on a horizontal or vertical section of pipe - not all models can work in both positions.
Repairing other minor malfunctions
In addition to water leaks, faucets are susceptible to other breakdowns. For example, the water pressure from them may decrease. Most often, such a breakdown is associated with contamination of the aerator.
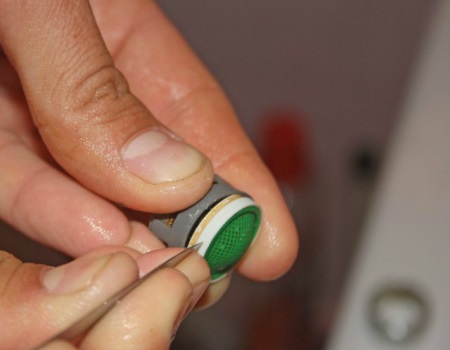
To clean the aerator, it is necessary:
- Remove the aerator from the faucet by turning it clockwise by hand. If your hand slips - wrap a cloth around the aerator and try again. If using a tool - put rubber pads so as not to damage the chrome surface.
- Remove the aerator nets. To do this, gently press on them from the outside.
- Rinse the aerator nozzles under running water. Large particles of dirt can be removed with a pin or fine awl.
- Assemble the aerator and install it on the faucet without overtightening it.
Another common problem is Water leaking at the junction of the nozzle with the faucet body. To fix it, you need to use an adjustable wrench to tighten the loose nut fixing the gooseneck. If the leak persists - it is necessary to remove the gooseneck and replace the rubber seal at the junction. When tightening the nut fixing the gooseneck, it is necessary to use rubber pads under the adjustable wrench so as not to scratch the surface of the nut.
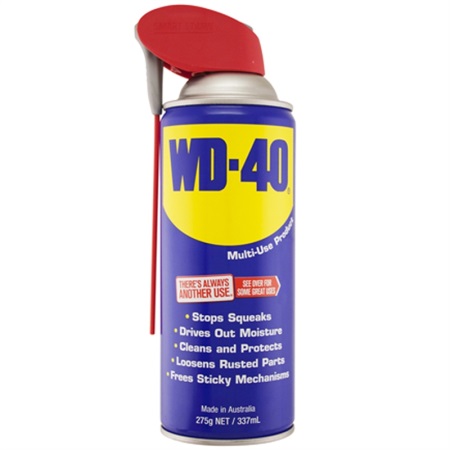
When disassembling the mixer you may find that some parts are "stuck" to each other and will not turn. Try lubricating them with a special liquid WD-40. It will dissolve the rust, displace moisture, and allow you to disassemble the faucet without damaging it.
If you haven't found a solution to your bathroom faucet breakage, read our article about faucet repair.


Faucet repair is a complicated thing. How nice when you have a husband for such things.