How to disassemble a single-lever faucet?
With the disassembly of this type of faucets, such as single-lever, anyone can cope. Most often such manipulations are carried out when the spout is clogged, leaks, jamming, scale formation and other problems. Actions will depend on both the type of single-lever faucet and the malfunction itself.
Features
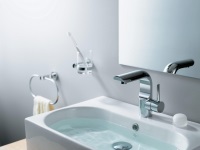
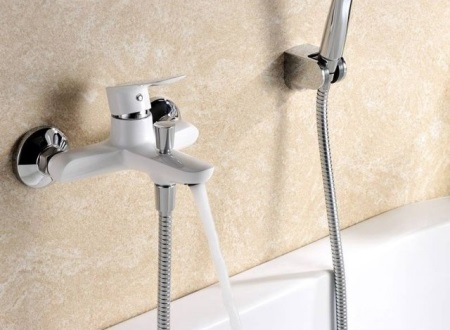
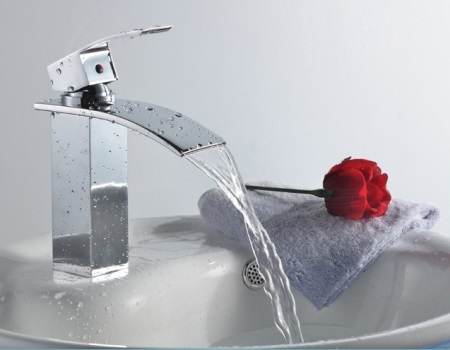
This type of faucet is a faucet that has only one adjusting handle. Due to this structure, the flow of water in a single-lever faucet is controlled by the movement of one hand.
Its main advantages are:
- Quickly obtaining a water jet of the desired temperature.
- Ease of control.
- Ease of repair, which can be done with your own hands.
Design of a single-lever faucet
Water, coming through two pipes into the mixer, is mixed to the desired temperature for the user, and then flows into the outlet pipe. Adjustment of both the water temperature and the jet head is done by moving the ball or cartridge plates inside the mixer.
Kinds
Faucets with a single lever are divided into:
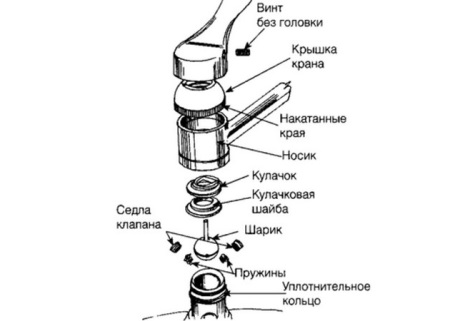
- Ball. Their internal structure includes a hollow steel ball with three holes. Two of these feed water inside the ball, and the third one leads out in mixed form to the discharge nozzle. This ball is inside a ball sleeve, which also has strong rubber seats. Under the pressure of the water jets, the ball makes firm contact with these seats. A stem is used to move it inside the mixer. Turning the ball changes the temperature of the water and its head according to the alignment of the holes in the ball. The more open the holes are, the greater the pressure will be.
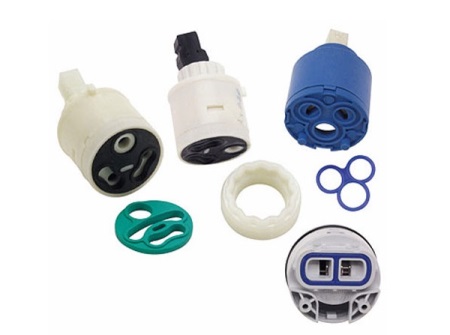
- Cartridge taps. The water inside such faucets is mixed in a cartridge. These faucets are also called disc faucets, because in order to change the temperature and pressure of the water jet in the gate of such faucets there are metal-ceramic or steel discs. The gap between them acts as a chamber in which water of different temperatures is mixed.
Instructions for disassembly
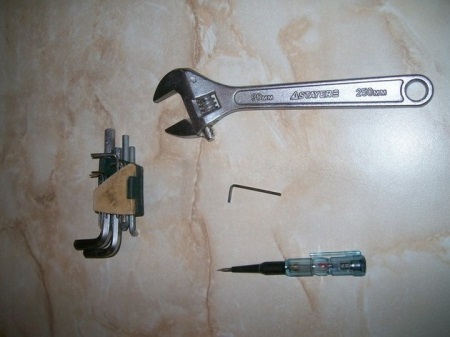
First of all, prepare the tools that you will need to disassemble the mixer with a single lever.
You should have with you:
- A flathead screwdriver.
- An adjustable wrench.
- Wrenches.
- A knife.
- Pliers.
Next, your actions will determine the internal structure of the faucet. At the same time, do not forget to turn off the water supply before starting work.
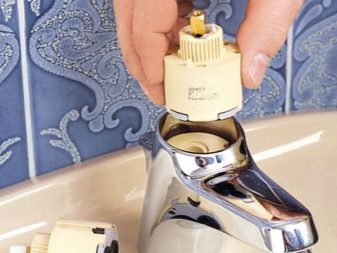
With a ceramic cartridge
- Using a knife or screwdriver, remove the plug with a red and blue marking.
- Unscrew the screw, whose function is to hold the lever, using an allen key or screwdriver.
- Remove the lever from the housing to see the top of the cartridge with the regulating rod and jam nut.
- Carefully unscrew the jam nut using either a wrench (for the faceted nut) or a screwdriver (for the round nut, which has a recess and shoulder) depending on the type of nut.
- Remove the cartridge, remembering its location inside the housing.
Ball
Disassembly of this single-lever faucet is carried out according to this scheme:
- Remove the handle by loosening the screw that holds it in place.
- Using a screwdriver, press the ring (its notch) so that it turns counterclockwise, but not completely.
- Remove the dome with pliers without deforming the four-tooth ring beneath it.
- Unscrew the plastic ring from the dome to check the connection, its rotation and the degree of contamination.
- Remove the plastic shield part by cleaning the black part (seal). Sometimes the whole fault is contamination of this part, so after cleaning the faucet is put back together.
- If cleaning does not help, remove the ball from the faucet and inspect it. If the ball needs to be replaced, install the new part in the faucet and then reassemble the entire assembly in reverse order.
See the video below for a visual example.
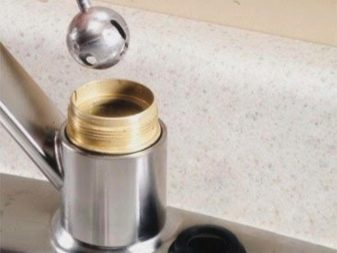
It is quite common for this type of faucet to get clogged at the spout, which is manifested by a weakened water pressure, but it is not necessary to completely disassemble the ball faucet to fix this problem. To clean the spout, first unscrew the nut in the spout. Remove the strainer and after rinsing and blowing it out, put it back in, then put the nut back in its place.
Cartridge Replacement
After removing the cartridge from the faucet, you need to determine its diameter, because you need to replace the used part with an identical one. After selecting a new cartridge of the same diameter, it should be inserted into the housing in the same way as the old cartridge was inside the mixer.
Make sure that the protrusions for its fixation correspond to the recesses in the body. Also assess the condition of the sealing rubbers. It is desirable that they are silicone, as such rubbers are more resistant to water and more elastic than rubber ones. After installing the cartridge, reassemble the mixer, following the reverse order.
The entire process of disassembling and reassembling the cartridge faucet is shown in the video below.


