Choosing and installing the threshold in the bathroom
Threshold in the bathroom - a thing, at first glance, not at all obligatory, so many people prefer to do without it. In fact, the presence of such a threshold is a prerequisite, which is regulated by construction norms and rules.
The need for
If you, for example, have redesigned, as a result of which the floor levels in the bathroom and the rest of the apartment have become the same, such changes may not be approved by the BTI. Of course, if you are not going to leave your apartment, you do not need to worry about that redevelopment was officially approved.
However, life does not stand still and the thought of selling the apartment and buying a new one can occur quite unexpectedly. In order to avoid the difficulties associated with registration of alterations, it is better to carry out repairs in accordance with all the requirements specified in the regulatory documents.
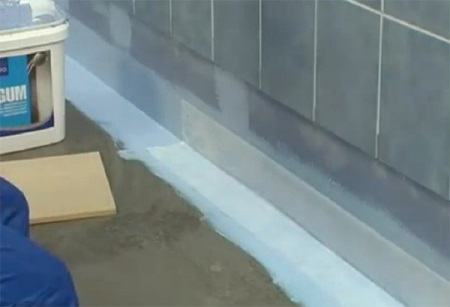
The threshold in the bathroom is needed primarily in order to stop or at least delay the flow of water in case of a leak, and to protect the rest of the room from flooding. The effect will be stronger if the lower 15-20 cm of the walls in the bathroom to provide waterproofing.
So, the main function of the threshold is to prevent the "flood" from spreading throughout the apartment. In addition, it creates additional soundproofing, as the door is more tightly fixed in the opening. Also, the interior threshold prevents the penetration of drafts, unpleasant odors and dust into the bathroom.
It should be noted that, in addition to the arrangement of the threshold, there are several other options for solving this problem. So, you can organize a difference between the floor levels in the bathroom and in the hallway. The floor in the bathroom may be lower than the floor in the corridor by 15-20 mm or vice versa. Instead of a threshold you can build a smooth slope towards the bathroom. All these options will require from you much more resources - time, labor and money than the installation of an interior threshold, so if you are not a very experienced builder, we advise you not to experiment, and to solve the problem in the easiest and most accessible way.
Requirements
The bathroom is a special room in the house, so all the decorations and equipment for this room should be chosen extremely carefully. The bathroom is characterized by high humidity and frequent temperature fluctuations. As a consequence - the formation of condensation and the appearance of mold. Materials that are used in the repair, should be moisture resistant, not afraid of either heat or cold, and well tolerate washing with special detergents.

Thus, the structure and finish of the threshold in the bathroom should be very well thought out. It is desirable that it is a monolithic structure without gaps and cracks. It should be strong and durable, have water-repellent properties, but at the same time, be non-slippery. In addition, it must be made of durable, hard-wearing materials and, of course, harmonize with the finish of the bathroom and the corridor. It's not an easy task, but we can do it!
Choosing the material
The first thing to decide is what our threshold will be made of.
A wide variety of materials are used to make thresholds:
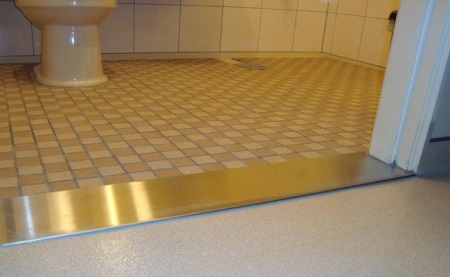
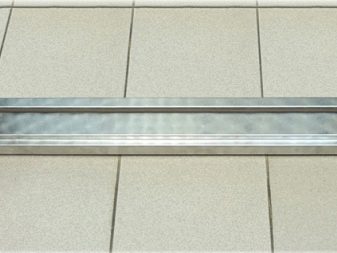
- SteelSteel is probably the strongest material. Such a threshold will be very difficult to damage or break. Steel thresholds can be purchased in the color of metal or painted any other color.
- Thresholds of stainless steel Thresholds are quite rare, much more often stainless steel, thanks to its beautiful silver finish finish finish walls or furniture.
- Bronze thresholds are made only to order, as this material is very expensive. However, you can also purchase aluminum thresholds painted "bronze". They are much cheaper, and they do not differ practically in appearance.
- Brass - is also not a cheap material, but it is very beautiful. Its thresholds are very strong and durable.
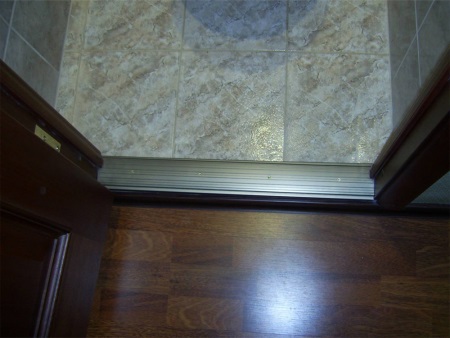
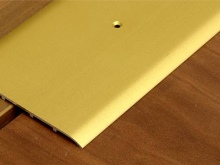
- Aluminum thresholds - Light and inexpensive. They come in a variety of colors.
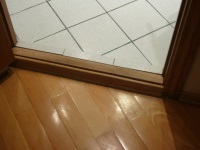
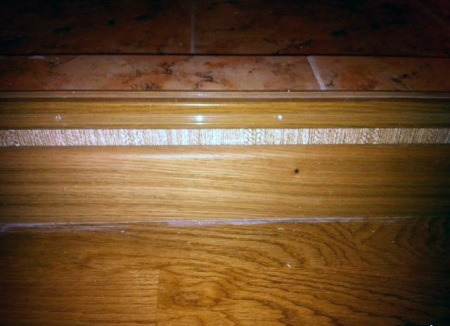
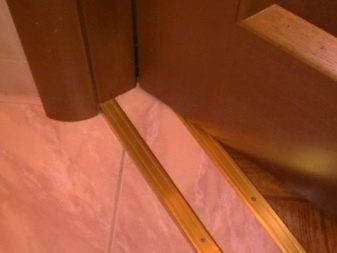
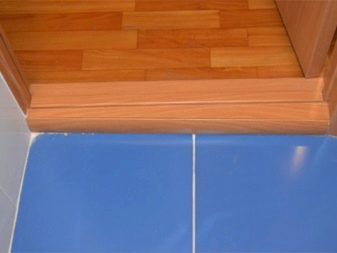
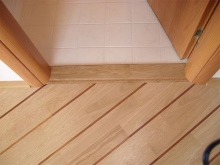
- Wooden thresholds are the most common. This is due to the fact that such a threshold is easy to match the color of the wooden door. Wood is a beautiful and environmentally friendly material. A threshold made of wood can easily be made with your own hands. For this purpose, oak and pine are the most suitable. These species are the hardest and most wear-resistant.
- Plastic thresholds - are the most affordable of all. In stores you can find plastic products in all colors and sizes. They are inexpensive, they look aesthetically pleasing, but their service life is not very long, so be prepared for the fact that every few years these thresholds will have to change.
- Concrete threshold - This is a solid product, which will reliably protect your apartment in the event of a flood. Make such a threshold is quite possible by your own forces. As a finishing coating is usually used tile or laminate.
The most popular thresholds are made of wood, metal, plastic and concrete.
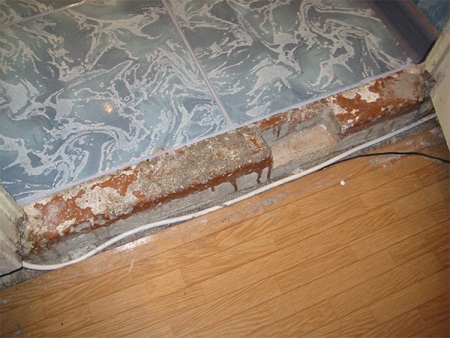
Dismantling the old threshold
If you are not planning to build a new threshold from scratch, but rather in place of the old one, it is logical to assume that the old threshold must first be dismantled. Since the threshold is a solid product, to disassemble it, you will need serious tools - a small crowbar, a hammer and a hacksaw.
Begin the work by sawing it out on the sides with a hacksaw and carefully break out the middle part. Try to do it as carefully as possible so as not to damage the door or the paneling. Next, using a crowbar and hammer, remove what is left of the threshold.
Preparatory work and the necessary tools
In order for the laying of the threshold in the bathroom went smoothly and the result of the work of the master remained without physical injury, you will need to be well equipped.
Prepare work clothes that cover your hands and feet and shoes (the ones that are not sorry), on your head wear a cap or a bandage. Protect your eyes with special goggles that construction workers use. Wear gloves when working.
You will also need the following tools:
- A container in which the tile adhesive will be mixed;
- a rule;
- construction level;
- toothed trowel;
- rubber trowel;
- ordinary spatula;
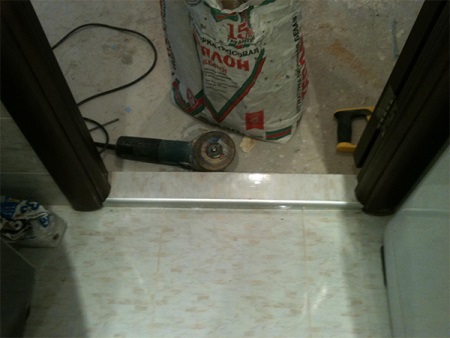
- a hole punch and a grinder with an attachment designed for working on porcelain stoneware.
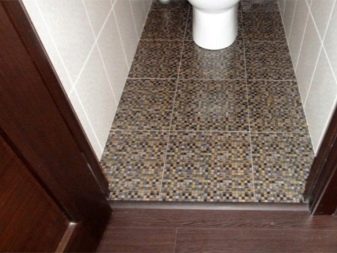
Before you begin work, you should prepare all the necessary materials. The first thing to do is to measure and cut the tiles into pieces of the required size. For finishing the threshold is more suitable porcelain tiles of the same color as the floor in the bathroom or hallway. Then, following the instructions, knead the tile adhesive. The consistency of the resulting mass should be homogeneous, similar to liquid sour cream.
Complete the preliminary work by preparing the base: clean it from dust and dirt, treat it with primer.
Stages of work
On the prepared concrete base it is necessary to form a threshold. We will do this with the help of screed.
Sequence of work:
- First you need to make wooden boards, which will serve as stoppers for the cement mortar, and at the same time create the shape of the future threshold.
- To screed does not stick to the wooden boards, wrap them with cellophane.
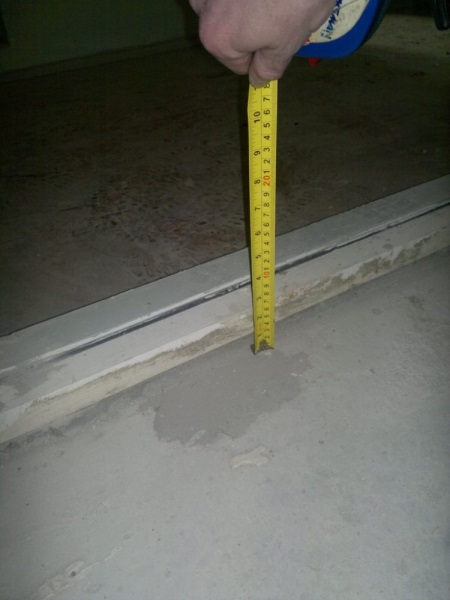
- Then pour the cement mixture into the mold and level it with a rule.
- Adjust the height of the threshold with a construction level.
- Next you need to wait for the complete drying of the screed. This may take several days, during which the concrete should be periodically moistened with water to prevent cracking.
- After the mixture dries and hardens, we remove the boards and grind the threshold, trying to make its surface as even as possible.
- Prim the threshold on all sides.
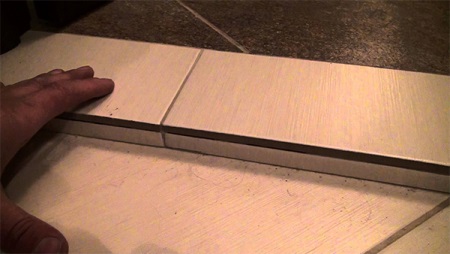
The next step is to tile the threshold with porcelain tiles:
- Use a toothed trowel to apply adhesive to the tile, place it on the substrate and press for a few seconds.
- Align the distance between the tiles with the help of special plastic crosses. Don't forget to use a building level!
- At the end of the laying work, finish the seams with a grout in tone. It is recommended to use a rubber trowel for this, and remove the excess mixture with a foam sponge.
The strength of the final construction is checked by simply knocking - the sound should be the same everywhere. If in certain places the blows sound louder, then you have not managed to avoid the formation of voids and the tile over them can quickly crack.


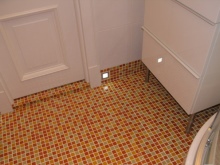
We have wooden thresholds in the color of the doors and floor. We got it all in the same range.