How to make a box for pipes in the bathroom with your own hands?
Why do I need a box in the bathroom?
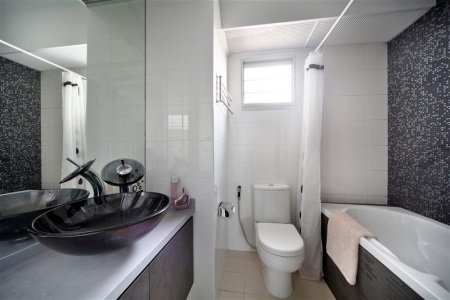
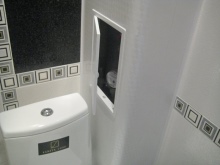
In any bathroom there is a certain number of pipes that carry water. Far from always they can be hidden, so they somewhat spoil the design. To avoid this, builders use several ways to hide them, one of the most common is a box.
The installation of the box is important for luxury bathrooms, tiled with unique tiles, and expensive plumbing fixtures. In addition, the box makes all the pipes accessible, you can periodically replace and paint the pipes. Therefore, the box is an aesthetic and functional necessity in every bathroom. It is necessary to take care of its installation in advance.
Features of the box device
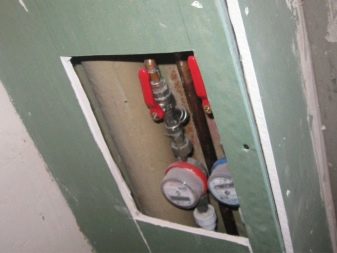
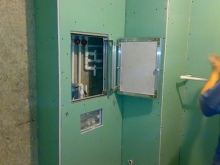
The box is a simple box, which is used to clad the pipes. As cladding can be plasterboard, chipboard, plywood and other similar materials. It is best to use gypsum board, as it is quite strong, durable and available on the market of construction materials. It can be painted, wallpapered or putty. The design of the box consists of a structure around the pipe, which is lined with gypsum cardboard sheets. The frame can be metal or wood. The choice of material does not matter much, the main thing is to make the frame strong and rigid.
There is nothing complicated about it, and the box can be made with your own hands. It is only necessary to correctly calculate the consumables, it is desirable that they do not come into contact with the pipes.

Variants of the box
Depending on the material of manufacture, there are the following variants of the box:
- Of plastic panels. You can buy plastic panels in any store. Experts recommend docking them in horizontal order. First, a detailed drawing of the future product is made in order to calculate the need for materials. For such a box you need not only panels and frame, but also bars, self-tapping screws, profiles and skirting boards. First, the vertical bars are fixed along the walls with self-tapping screws. Then expose 1 or 2 central bars, depending on the design. The plastic panels are cut to the required length. The profile and baseboards are fixed with a stapler, and then the panels are inserted one by one.
- Of plasterboard. First a metal frame is assembled and installed on the walls. Plates of plasterboard are cut into desired pieces and fastened to the structure with self-tapping screws. Further, the drywall can be treated with any materials.
- Box-cabinet. Any box will take up free space in the room. If there are several pipes are located close to each other, then they can be hidden in one box, which will act as a cabinet. Several convenient shelves can be made in it. You can make such a cabinet from any material, the same plasterboard or plywood. The doors do not have to do it yourself, and you can buy them in a store.

Making a box with your own hands
Making a box on your own is quite simple. In total, there are 2 schemes of the device, depending on the placement of the pipe itself:
The pipe in the corner of the room
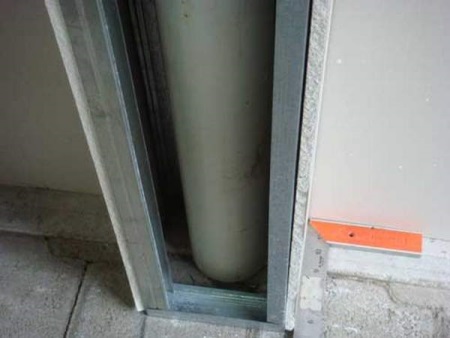
To create such a box you need 3 profiles, on which will be fixed two strips of material, in this case - plasterboard.
All work is carried out in this order:
- The height of the future device is measured, according to which the three profile strips are measured and cut;
- The width of the walls of the box is measured. If you plan to tile the walls, it is better to adapt it to the size of the tiles;
- On the walls are marked the places of installation of two profiles and fasten them with self-tapping screws;
- 2 pieces of plasterboard with the required dimensions are cut out. They are attached to the profiles on the wall, and between them fasten the third profile, which will serve as a stiffener.
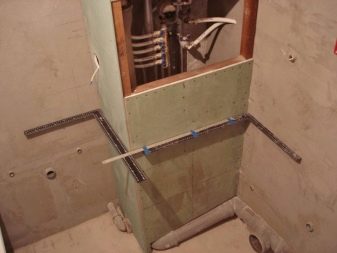
Pipe in the middle of the wall
In this case, the box will consist of three walls of plasterboard and four profiles. To give more strength, you can use additional spacers between the walls.
The installation process is as follows:
- two vertical profiles are installed on the walls;
- Measure the width of the future walls - the same distance between the profiles;
- Two pieces of plasterboard for the walls are cut out and screwed to the profiles with self-tapping screws;
- The width for the future end wall is measured and a piece of appropriate dimensions is cut out;
- two vertical profiles are fastened to the already installed walls;
- the last wall is screwed to the profiles.
This is the standard procedure for installing a box. Of course, in some situations there may be a deviation from this sequence, for example, when there is a branching of pipes.
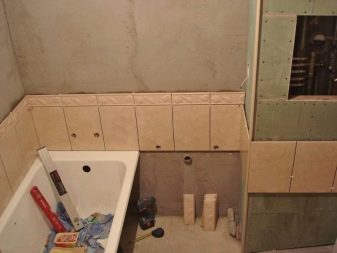
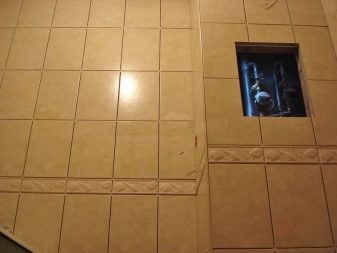
Cladding the box
Boxes made of gypsum board, plywood and some other materials can be painted or wallpapered. But since the boxes are installed mainly in bathrooms, they are lined with tile, because it is resistant to moisture and temperature fluctuations. Facing a small box with tiles is quite easy. It is necessary to calculate the amount of materials, purchase tiles, special adhesive, trowel and plastic elements to fill the seams between the tiles. On the surface of the box is applied an even layer of glue, to which the tile is pressed for a couple of seconds. For cutting tiles there are special devices, a grinder with a diamond wheel or an attachment for a drill.
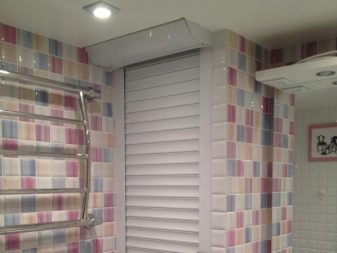
But if you trim the box frame with plastic panels in the desired color, then no trim is needed. Such panels are durable, can withstand moisture and high temperatures, as well as easy to clean.
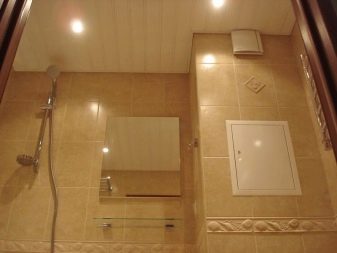
Thus, the box in the bathroom is a necessary device if you do not want to spoil the overall interior of the room with pipes. You can make it with your own hands quite quickly and easily.