Tile Removal With Your Hands
Ceramic tile is, without exaggeration, the most common option for finishing the bathroom. It is durable, it is not subject to degradation under the influence of water. Since ceramics has almost no thermal expansion, it easily withstands any temperature changes. It is also unaffected by various chemicals - such as surface cleaners or cosmetics. No matter how good it is, after a while it is necessary to remove the tiles.
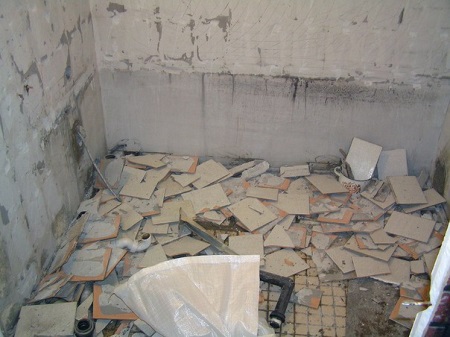
The reasons can vary, from the simple desire to change the interior to the need to replace all the tiles due to the damage of a few. Removing tiles in the bathroom is quite a time-consuming process. You will have to have patience.
Is it possible to dismantle old tiles for further use?
Very often it happens that most or almost all of the tiles, very well preserved. It is a pity to throw it away, especially when you have already found a decent use for it. If you have patience and a small set of tools you can keep most of the tiles intact and reuse them. To save all of the tiles, alas, it is not possible. Many tiles can crack or split during removal.
One very important thing to remember about tile removal is that there may be utilities underneath the trim: piping or electrical wiring. Inattentive or aggressive dismantling can easily cause flooding of the neighbors downstairs or end in an accident.
Another unpleasant nuance can be dust and splinters of tile adhesive, grout, or the tiles themselves. Heavy cement dust is not recommended to breathe. You will need a mask or respirator, safety glasses, protective clothing, gloves and shoes. It is also recommended to perform tile removal before the main repair, as the dust can easily damage the finish of both walls and floors in other rooms.
Choosing the method of work
The method of dismantling old tiles depends on two things: the composition on which it is glued and the desire to reuse it. If the tile was glued to cement and the grouting of intertile joints was made with cement, there is very little chance of saving the tile.
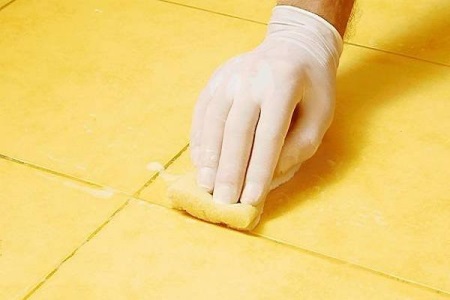
Dismantling wall and floor tiles in an attempt to leave tiles intact for future use begins the same way - remove grout from the joints between tiles. Grout is soaked with water and removed with a knife or spatula. Sometimes you have to remove the grout in several steps, abundantly wetting the grout joints between steps. This method will work if the grout is soft.
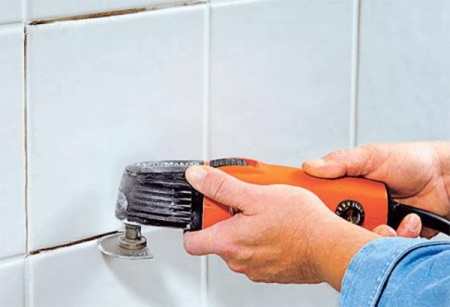
With cement-based grout, wetting won't help. This is where you'll have to arm yourself with a small grinder and a stone grinder. You will have to completely grind all the intertile joints and try not to touch the tiles. The depth of the cut in this case, it is desirable to make a little more than the height of the tile. This moment will reduce the possibility of chipping corners. A little chance to save the tile will also be in the case if the tile was laid on cement mortar.
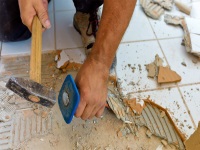
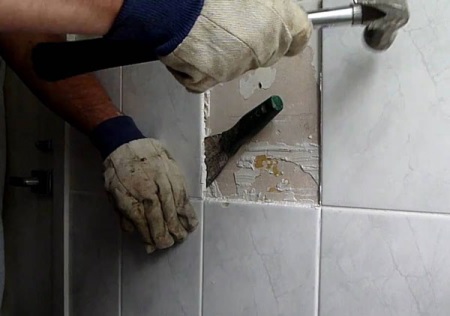
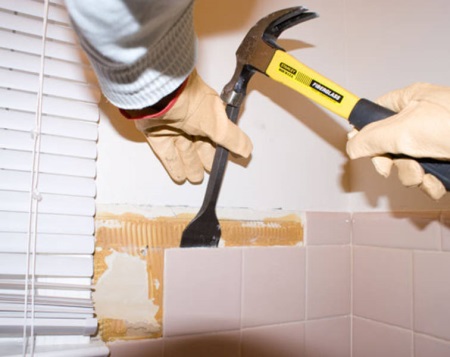
For accurate removal, we will need an iron trowel, or a thin chisel and a small hammer. You need to put a chisel or trowel under the bottom edge of the tile and start tapping it with a hammer. Be careful when you start to move the tiles if they have not all come off at once. You must move a trowel or a chisel under the other edge of the tile and continue tapping. And in this way you gradually go down. Row by row.
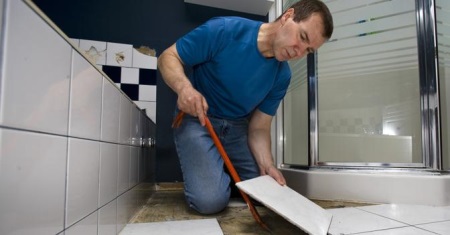
The tile is removed from the floor in the same way. In this case, there is no particular difference in which side to start.
To remove the floor tiles, you can make a simple device that will greatly simplify and speed up the process: You need to find a piece of steel wire and on its ends bend hooks. We grasp the tile with these hooks and begin to pull.
Depending on the glue or tile, such a simple device can significantly reduce the time of removal, and the percentage of whole tiles can be higher. Although when gluing tiles not on the glue, but on cement mortar - this method is unlikely to work.
After dismantling the whole tile must be processed - remove any glue or cement residue. Here the choice of tool again depends on what the tiles were glued to. If the glue is not very hard, you can cope with an ordinary metal spatula. If hard glue or cement came across, you will have to remove the composition with an emery stone.
Be careful, because the chance of splitting the tile when removing the remains of glue will be much higher than when dismantling from the surface.
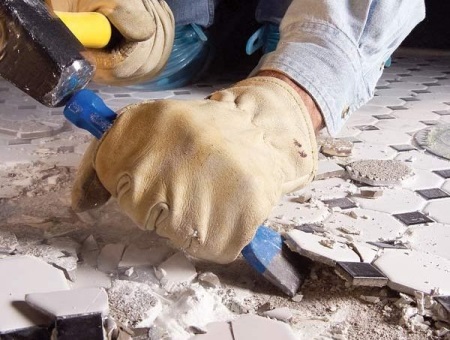
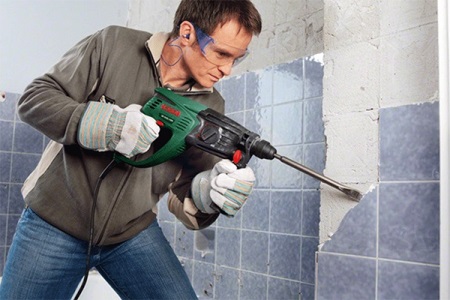
In cases where the old tile is of no value or the chances of its dismantling as a whole is almost zero, we apply less gentle methods. The easiest will be to break the tiles with a hammer, and the remaining splinters shear off with a chisel. Using a hole punch will greatly speed up the work. In the case of working with a hammer it is necessary to wear protective goggles, because, flying in different directions pieces of tile and glue, can damage the eyes.
New tiles on top of the old tiling
Consider the option when we just do not want to remove the old tile, and try to put a new one directly on it. Such options exist, but this method has many nuances.
Finishing the floor. First, you need to inspect the tile very carefully for cracks in the tile itself or the intertile joint, as well as eliminate all bloat and voids. It is necessary to clean the tiles not only from dust, but also from traces of grease or any other dirt. After cleaning it is necessary to apply a priming coat. Do not do without it, because we need to get not only a good adhesion, but also a uniform absorption, which a smooth tile surface will not be able to provide us.
Priming compound must be chosen from those that are designed for weakly absorbent substrates.
The next step is to level the surface. To do this, you can use a self-leveling composition, but you should choose it on a cement basis. Proceed to the next steps only after the layer is completely dry.

It's time for waterproofing. This step may seem absolutely unnecessary, because we already have enough layers capable of retaining moisture, and even a layer of old tiles. However, old tiles are unlikely to be a guarantee of good waterproofing, because during its use the tiles or joints may have cracked, and the cracks are not visible to the eye will leak moisture. In addition, waterproofing is probably the least expensive step, which, in turn, will prevent the appearance of mold.
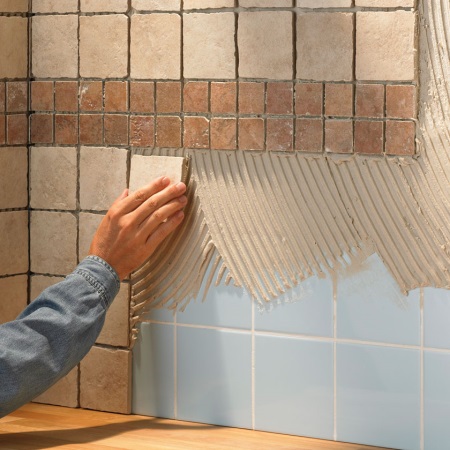
It is also advisable to use rubberized tape. It is laid around the perimeter of the room so that half is on the wall and the other half on the floor. Next - the standard laying of tiles.
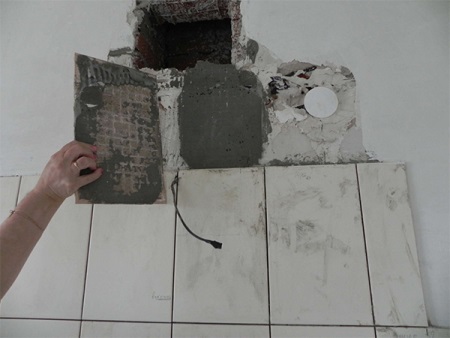
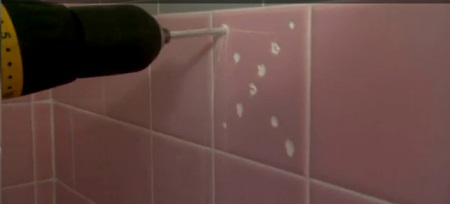
Finishing the walls. But gluing tiles over the old tiles on the walls is not recommended by many people, and there are reasons for this. Modern adhesives are able to create a very good bond, but the same cannot be said for the composition on which the old tile was glued. In any case, the first thing to do is to dismantle the tiles, which we can suspect of being loose. For this purpose, a rubber mallet will work well. By tapping the tiles, we will be able to hear or see the tiles that need to be removed.
After removing everything that can fall off under the weight of the old tiles, it is necessary to prepare the surface for tiling. There are several options: from a simple degreasing to the complete removal of the glossy surface. Which of them to choose - you decide. We only recommend not skipping the moment of degreasing.
Some masters remove the layer from the tiles completely, some leave notches crosswise. You can use compositions such as "Concrete Contact". There is no universal algorithm for surface preparation - everything is decided individually, based on the characteristics of the old coatings and your wishes.


When dismantling tiles and similar work, be sure to cover the door with a cloth, such as a sheet. Otherwise, the whole apartment will be in the dust.