Panels for the ceiling in the bathroom. It's esthetic, simple and economical!
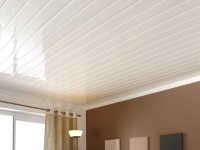
The ceiling in the bathroom must be resistant to various influences, otherwise very soon you will have to start the repair from the beginning. It is worth bearing in mind that only some materials can withstand high humidity and sudden changes in temperature regimes. Such materials tend to be expensive. Not every consumer can afford them. A successful solution to this problem are ceiling panels for the bathroom.
Advantages of ceiling panels
Ceiling panels have many advantages compared to other materials for the bathroom ceiling:
- The main quality of the panels is that they are waterproof and moisture-resistant, because they are covered with a special film that does not allow moisture to penetrate the panel.
- Ceiling panels are not deformed - do not change shape, they do not have cracks.
- They can not fungus and bacteria growth, which often occur in rooms with high humidity.
- Panels perfectly conceal uneven ceilings.
- All materials ceiling panels are environmentally friendly.
- They are not afraid of rapid temperature changes, which usually lead to the formation of cracks and deformations.
- They are perfectly cleanable with detergents and do not require constant maintenance.
- The long-term use of the panels provides a unique opportunity to make a quality repair just once and forget about it.
- Thanks to the variety of colors of the panels, you can choose the necessary shade for any style.
Disadvantages of a ceiling made of panels
- Accumulation of condensation from the formation of vapor in the bathroom. You should wipe with a wet rag and leave the room open for ventilation.
- Ceiling panels are made of plastic and therefore can ignite, and they emit very toxic gas. Therefore, you should be careful that the panels do not have close contact with appliances that are very hot.
- Panels are susceptible to mechanical damage, especially with point impacts. To avoid cracks, you should take this peculiarity into account.
- From direct exposure to sunlight, the pattern will fade over time, and the snow-white panel begins to yellow.
- Many people don't want to use ceiling panels in their homes because they associate plastic with office space. They don't feel the atmosphere of home. But it's all a matter of taste.
If you have not yet decided on the type of ceiling finish, we advise you to read our article on ceilings in the bathroom..
The difference between ceiling panels and wall panels
All panels are divided into two huge classes: ceiling and wall panels.
When buying panels, you should consider their application.
Wall panels are characterized by a rigid construction and heavy weight.
Ceiling panels are inferior in strength, but are characterized by lightness. When transporting ceiling panels, you must do everything carefully and slowly to preserve its pristine appearance.
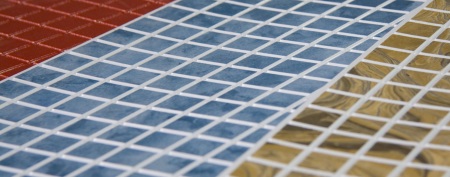
All panels have a huge variety of surfaces, textures, colors, width, can imitate natural materials. So they will fit perfectly into any interior.
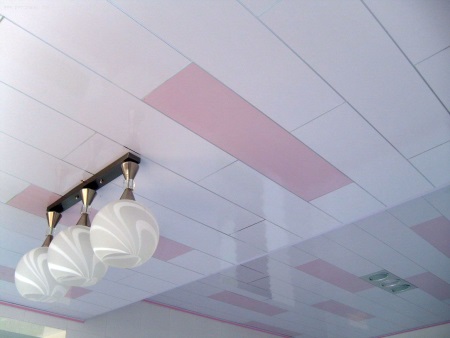
Types of ceiling panels
Ceiling panels are amazingly versatile. You can choose the color and texture of the panels to emphasize the style you choose.
If you want to visually enlarge the bathroom, then use only light and warm shades of ceiling panels. They can mimic ceramic tile, brick laying, and even wood grain.
You can also make a variety with the method of fastening: vertical, horizontal or diagonal.
When choosing panels, it is worth considering their size. Rack and pinion panels have different sizes, tile panels are made in squares of different sizes, and sheet panels have the form of large sheets, which are perfect for bathrooms, which have a considerable area. You can also experiment and use several textures at once for one room.
The panels used for the ceiling are polyvinyl chloride (PVC). This type of panels has become very popular among consumers, because it can withstand heavy loads and does not succumb to deformation. Operation is possible for about 20-40 years.
It is also very common to use MDF (medium-density fiberboard) for the manufacture of ceiling panels. They are very easy to fasten, and there is no need to prepare the surface before fastening.

We recommend to read our article about plastic panels for the bathroom.
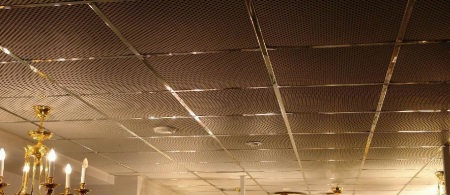
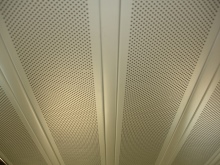
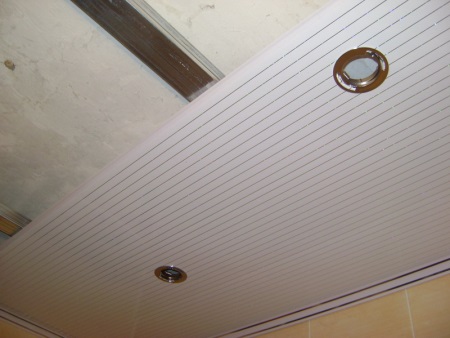
Perforated ceiling panels
Do not interfere with the ventilation of the bathroom. A variety of patterns will help you create an extraordinary design. Color options are endless.
Perfect if you don't have interstitial inserts. If you have a ceiling height of less than 5 metres, this is an excellent solution.
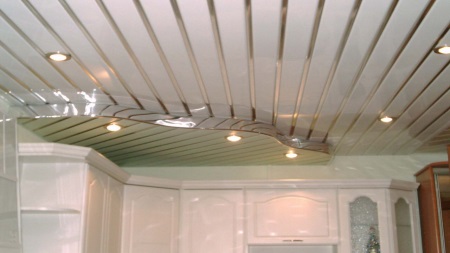
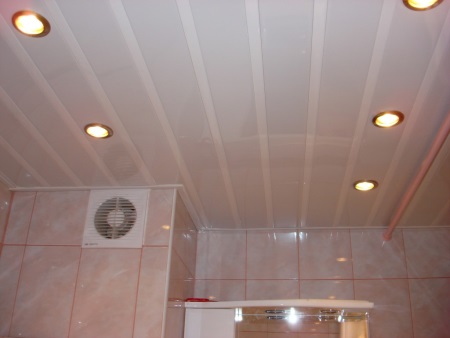
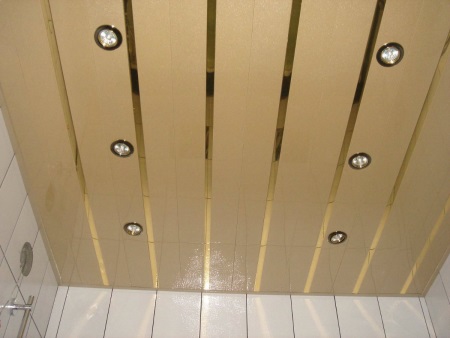
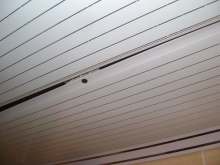
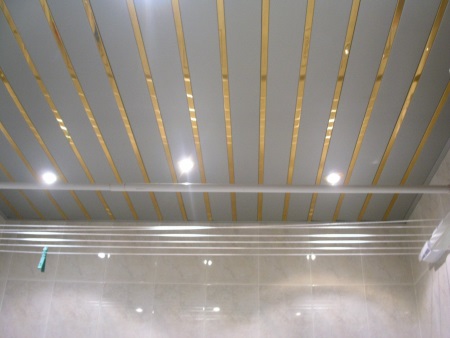
Rack and pinion ceilings
Characterized by a unique surface, which perfectly imitates natural wood, fabric, stone and even leather. Colors and a variety of textures will be indispensable in any bathroom interior.
Ceilings of this type are characterized by low weight and do not require construction of frame systems. That is why they are widely used for ceiling arrangement in the whole house, and for public places - offices, swimming pools and other premises.
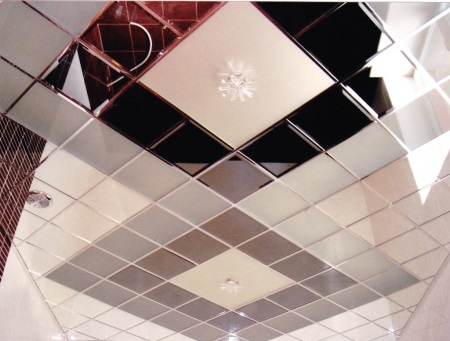
Tile suspended ceilings
Are presented in the form of a framework, which is assembled as a grid. It is necessary to put a tile of the material you like in each cell of the grid. With it you can create a glass, metal or even a mirror ceiling.
You can read more about them in our article about mirrored ceilings..
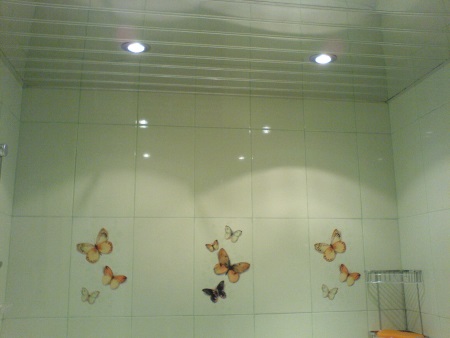
Sheet panels.
Have a beautiful aesthetic appearance, because they do not have the so-called "seams". They are characterized by high resistance to moisture, so they are perfectly washable. In addition to a huge palette of colors, decorative panels have a variety of textures. Housewives will be pleased with "apron" panels, because they will give originality and uniqueness to any kitchen interior. For the bathroom, a "mosaic" is excellent, which will give an ornate look. For cottages, you can make ceilings that imitate brick, slate or natural stone.
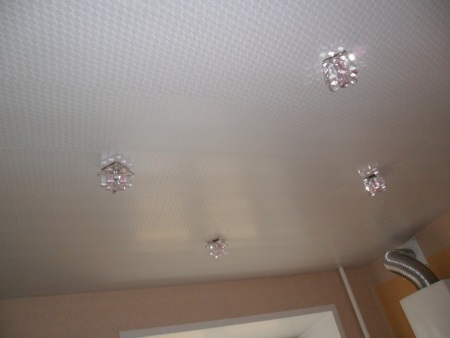
Plastic panels
Widely used, because it is a quick, cheap, and flawless choice. The huge palette of colors and textures of the panels perfectly matches the ceiling of the panels with wall coverings.
Styrofoam panels
Even more widespread are foam panels.
The main advantages - Is waterproof, they do not succumb to deformation and are resistant to sharp temperature fluctuations. Can boast high rates of waterproofing and soundproofing. They are very lightweight, so you can install them yourself without help. They are inexpensive to install.
Calculation of consumables
Before choosing a color scheme or decorative pattern for the ceiling, you should make a calculation of the materials needed for the entire ceiling:
- First, we calculate the area of the entire ceiling, which is determined by multiplying the width by the length.
- Next, following the same principle, we calculate the area of one ceiling panel, all the dimensions can be seen on the package.
- Then divide the area of the entire ceiling by the area of one panel. To the obtained number we add ten percent to form some reserve.
To calculate the profile, you should start by creating a diagram. For it, it is necessary to measure the length along the perimeter of the ceiling and add parallel segments, using a step of 50 cm. The figure that turned out, and will be the necessary amount of profile.
Please note that profiles have several markings. The UD profile usually fixes the material around the perimeter, while the CD profile is used as slats across.
Usually ceiling panels are attached with dowels. To calculate their number you do not need to do complex operations. It's simple: one dowel is needed for every 0.5 m of profile. Therefore, all the number of profiles to divide by 0.5 and get the number of dowels. But do not forget to add another 10 percent to make a small reserve. If the ceiling panels are fastened with screws, you should make the same calculation.
Please note that after the ceiling panels are installed, the skirting boards should be attached. To calculate the necessary amount of skirting, take into account that its length is 3 m. Therefore, the perimeter length is divided by 3 and we get the number of skirting boards.
Technology for the installation of ceiling panels
You do not need to be a professional to install ceiling panels.
All you need is a set of tools for installation:
- moisture-resistant panels;
- metal profiles;
- self-tapping screws;
- hacksaw;
- hammer or drill;
- moisture-resistant glue.
If the ceiling or walls are perfectly flat, then the panels are mounted on a moisture-resistant adhesive. A roller with glue should be smeared on clean, dry walls, and then apply the panels.
If the walls are uneven, you must use metal profiles.
The surface of the panel should be smooth. There should be no gaps when joining the panels. Good quality panels are always painted evenly.
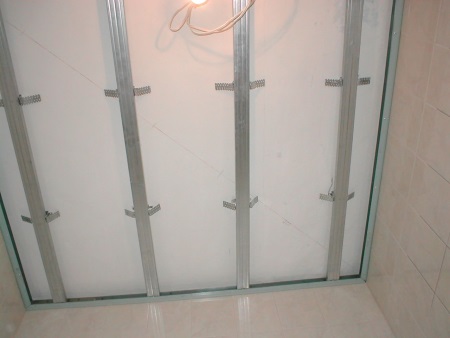
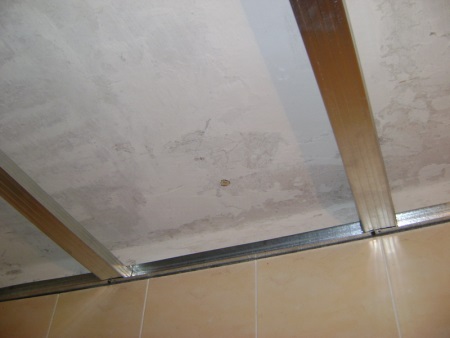
Before attaching the panels to the ceiling, a framework should be built. It is made of profiles for plasterboard, the size of which is 27x28 mm. Then it is attached to the ceiling along the perimeter. For a plastic ceiling, a profile of 27x60 mm is used, it should be attached every 60 cm. It is not necessary to adhere to this size: if there are some inconveniences, this step can be increased.
The process of assembling a ceiling with ceiling panels takes place in several stages:
1. You should first consider that the paneled ceiling blends harmoniously with the walls and the floor. Don't forget to install all the necessary utilities before installing the ceiling.
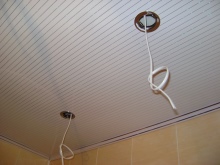
2. First make special marks on the walls all around the perimeter for the future ceiling. Take note that between the main ceiling and the plastic ceiling must fit inserts of lights or fixtures for decorative elements.
The process of fixing the guiding profile for plasterboard around the perimeter is carried out, using self-tapping screws or dowels. If the ceiling overlap is concrete, the crate is attached only with dowels.
4. 4. The ceiling profile sticks are inserted into the rails, and only then can the profile be screwed to them, using self-tapping screws with press washers.
No need to drill separate holes for the self-tapping screws: if you use a screwdriver, they will screw in without much effort.
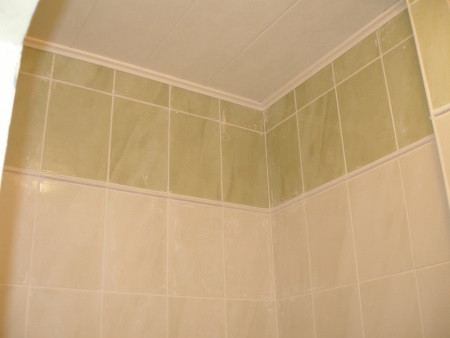
5. The entire perimeter of the ceiling plinth is screwed to the guide profile. Do not forget that the plinth is cut strictly at a 45 degree angle.
If the bathroom is relatively small, there is no need to use a guide profile, you can simply glue a skirting board. First, a marking is made on the walls around the perimeter, and then the plinth is attached with liquid nails. Then a ceiling profile is laid on the skirting board and fastened using hangers.
6. 6. Then the whole ceiling is closed with panels. They are inserted into the skirting and fixed to the ceiling profiles using self-tapping screws with press washers.
Pay attention! Begin the installation of the panels in the corner and fix them butt to butt.
7. When the last panel is left, with the help of a tape measure the distance remaining to the wall, subtract 5-6 mm and only then cut off the necessary piece. The panel is first inserted into the skirting board and then carefully pushed back to make a good joint with the previous panel.
The very process of installing a panel ceiling does not have any special difficulties, so you can safely do it yourself. Anyone can install them with ease, because the ceiling panels are very affordable and easy to work with and do not require a large expenditure of time and money. First of all, you need to decide on the method of installation, which has many variations.

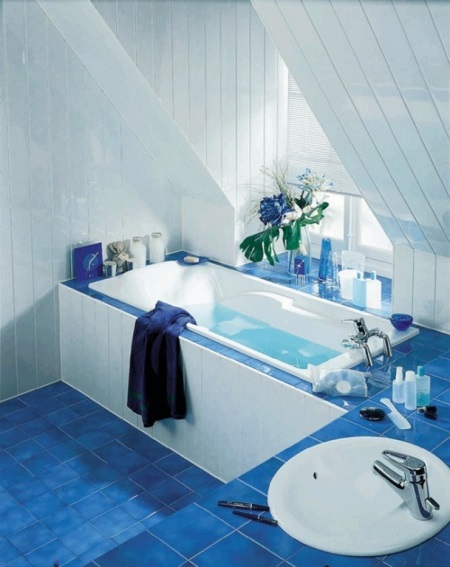
Bottom line
In conclusion, it is worth noting that Ceiling panels for the bathroom are a modern and inexpensive way of finishing. The variety of colors, as well as the ability to use different materials only gives them a plus. They perfectly fit and emphasize any style of bathroom. Ceiling panels are of good quality and are not finicky in use. And also very important is that you yourself can carry out their installation. You do the repair once, and the ceiling panels will serve you for many years.


Plastic panels - a great option for economical repair. Moved into a new apartment. Mortgage has to pay. Tile we can't afford yet.