How to Wash Whitewash the Ceiling?
Every repair begins with the fact that first all the old trim is removed. This includes the whitewash on the ceiling. If you have plans to install a stretch or suspended ceiling, it is not necessary to wash off the whitewash. But if you are going to repaint the ceiling or even wallpaper it, the whitewash must be removed. The process itself is complicated only by the fact that your hands can get tired, because they constantly have to keep them raised. Otherwise, it is not so difficult to wash off the whitewash. On how to wash the whitewash from the ceiling, read our article.
Tools
To remove whitewash from the ceiling, you can use several methods. All of them are quite uncomplicated in execution, and they differ in the solutions used.
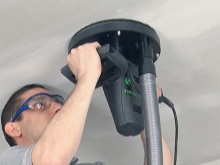
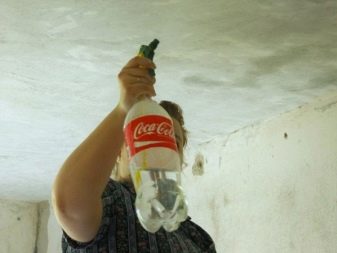
- Washing off the whitewash with water. The point is that you need to wet the ceiling with a lot of water. A certain area is selected, which is moistened with water using a sprayer. The water should be well absorbed, you will understand this by the swelling of the chalk. Then it is recommended to wait for a while and spray the surface with water again. After that, the whitewash can easily be removed with a spatula. However, if it starts to actually run down it, then there is too much water. It is necessary to wait until it is completely absorbed into the chalk. If, on the contrary, there is a lot of dust from the whitewash, then there was not enough water. After removing the whitewash with a trowel, the ceiling is additionally washed.
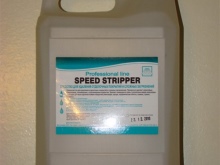
- Specialized rinse. You can find a whitewash remover in a construction store. It contains a glue that hardens the whitewash. The washer is sprayed on the ceiling, and after curing the whitewash can be easily removed with any improvised tool. The method is simple enough, although there will still be a lot of dirt.
- Soap solution. Two tablespoons of grated soap are dissolved in ten liters of water, and five tablespoons of soda is added to them. Such a solution is effective enough to wash away the whitewash. It happens due to the baking soda, reacting with the chalk. The whitewash begins to peel off, and the soap softens it, so that it was then convenient to remove it with a spatula.
Surface Preparation
The preparatory stage first requires collecting all the necessary tools. Usually the main tool used to remove the whitewash is a trowel. Preferably, you should have two spatulas: one with a wide blade and one with a narrow blade. You will need a sprayer, which will be convenient to moisten the ceiling, but you can also use a paint roller. Near must be prepared buckets of water.
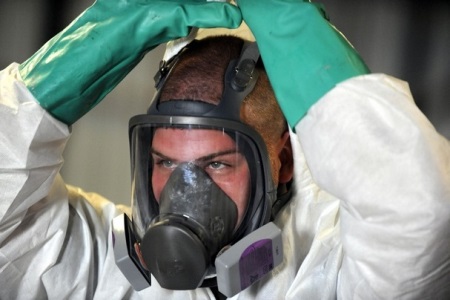
Also it is necessary to dress in appropriate clothes and cover your eyes with protective glasses to prevent dirt from getting into them from the ceiling. It is also better to cover the head with a cap so as not to stain the hair.
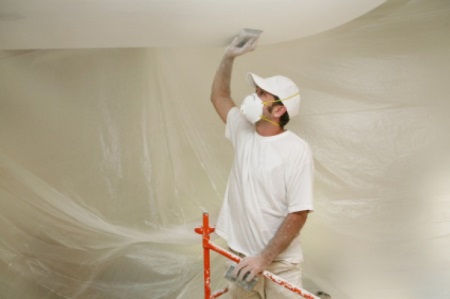
It is necessary to try to free the room from the interior details. If it is not possible to take out all the furniture, then cover it with a film and fix the result with scotch tape. It is also desirable to cover the floors with film or newspapers, otherwise it will be long and troublesome to wash them from dust and whitewash. Leave a damp cloth in front of the entrance to wipe your feet on it when you leave the room. Otherwise you might have to wash your own footprints.
Ideally, you should also protect your respiratory organs with a respirator. Imagine how much dust will be shed. If you breathe it all in, it's not likely to end well.
The wallpaper is definitely not salvageable. So if you are not planning to re-glue them, and you are only interested in the ceiling, then you have to somehow protect the walls from the dirt as well. All chandeliers and lamps are removed. Windows are also protected with film, which is better to fix with tape.
All work is better done in rubber gloves, as the chalk dries the skin very much.
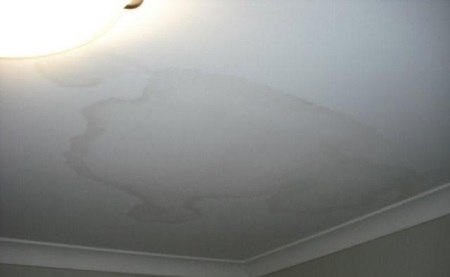
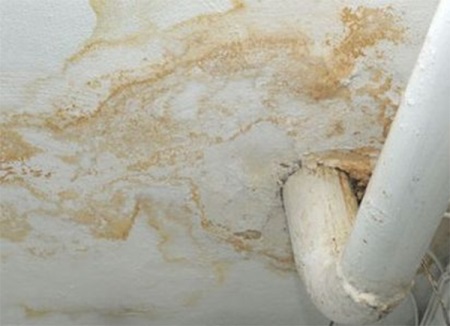
Watch out for stains!
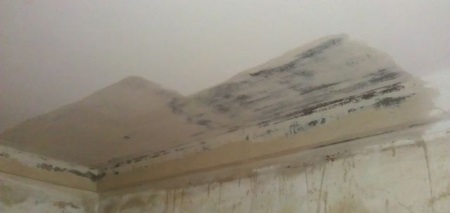
When the room has not been repaired for a long time, stains can appear on the ceiling over time. If you have been flooded at least once by the neighbors, rust stains are possible. Especially often they appear near the riser pipe. But whatever their origin, it is still not good. Whitewashing the ceiling again makes no sense, as the stains are not masked and will continue to show through fresh layers of whitewash.
In this case, the whitewash must be removed completely.
If you notice traces of mold, then to get rid of it, you will have to clean the ceiling almost to the ground, and then treat it with specialized products.
It has already been mentioned above that it is not necessary to remove whitewash for the installation of stretch or suspended ceilings. For mold, this principle does not work. If it remains, then over time you will notice it already on the walls.
About, How to get rid of mold in the bathroom, read our other article.
Ways
You can clean the ceiling from the whitewash in several ways:
- Using a special rinse to remove whitewash from the ceiling
- Washing off the whitewash with regular water, used in large quantities
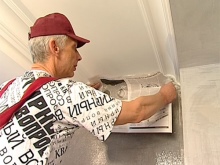
- Gluing newspapers to the ceiling. Despite the strange name, this method is very effective and more simple than flushing. Its essence is that the whitewash is not washed off, but removed. Smear the newspaper with ordinary glue and apply it to the ceiling, and let the edge remain unglued. After a while, the newspaper can be torn off. Naturally, the whitewash will come off with it. The method is more convenient because the ceiling will remain clean and there will be less dust in the room. What remains of the glue and whitewash is washed off with a simple mop.
- Application of glue. You will need a liquid glue cooked from water with flour. It is cooled and distributed on the surface with a roller. After it hardens, the whitewash easily comes off the ceiling, and in pieces. The method is effective in that not much dust is formed. Cluster is a kind of analogue of a specialized flush, only it can be prepared at home.
Technology
Consider the stages of traditional washing the whitewash from the ceiling.
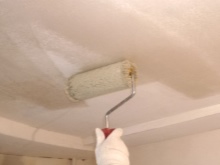
- You have water and a sprayer. Now you need to moisten the ceiling. Try to do this evenly. If you pour a lot of water in the same place, it will eventually start to drip off the ceiling. The whitewash needs to soak up the moisture. Only then will the chalk swell. So take a small area of a couple of square meters and start moistening them evenly. If you notice that the water has soaked in, then wait 10 minutes, and then moisten the same area again.
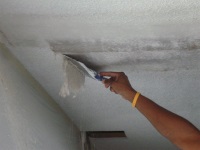
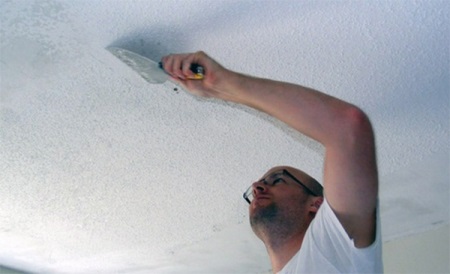
- Now you can eliminate the old whitewash. At this stage, a spatula comes in handy, which will have to scrape off the whitewash. If you properly moistened the ceiling, the chalk will come off it in thin layers. If the whitewash is leaking on the trowel, then you have used too much water.
- To keep the job going while one part of the ceiling soaks up the water before the second go-around, moisten the other areas. While you're scrubbing the chalk from one spot, the other will be soaking in water.
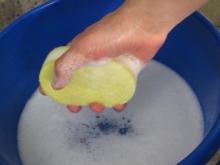
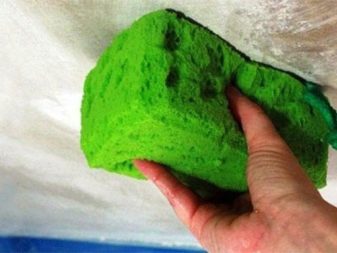
- When you're done, you need to rinse the ceiling. Warm water and a foam rubber sponge will help. Check the quality of the work is easy: when the ceiling is dry from the water, run your finger over it. If there is no white residue on your finger, you have done everything right. If some chalk remains on the surface, there is no need to start rinsing again. It is enough to apply a primer to the ceiling for whitewashed surfaces.
Solution with your own hands
To avoid buying specialized products for removing whitewash, try to prepare them at home.
- Pour five liters of water into a bucket, add a spoonful of vinegar and two small caps of ordinary bath foam.
- This solution is applied to the ceiling, and then you need to wait until it softens the whitewash layer. It is removed with a scraper or spatula.
- To remove a chalky whitewash from the ceiling more easily, add 1 kg of common salt to a bucket of hot water in advance and then cool the water to a warm, but not cold, state.
Lime whitewash is more durable than chalk whitewash, and it is much harder to remove:
- Use a recipe for a soap solution where a bucket of water is dissolved with a couple of tablespoons of grated laundry soap and five spoons of baking soda.
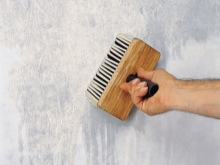
- This composition is not sprayed on the ceiling. They wet a sponge or roller, which wipe the prepared area.
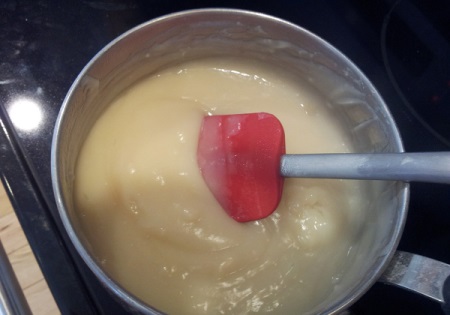
If you prefer to prepare a paste, then dissolve flour or starch in cold water:
- The proportions are 2 spoons per 200 ml of water.
- Boil water separately in another container (in the proportion: a glass of prepared solution per 2 liters of water).
- After the water boils, add to it the solution with flour or starch, and boil until the mass thickens. The cooled gluester is ready for application.


Don't forget to wear old clothes with sleeves, otherwise you won't recognize yourself at the end of the works)