How to glue the ceiling tiles
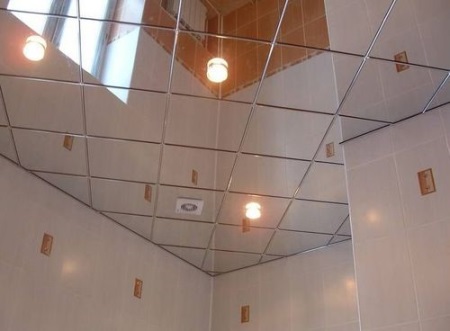
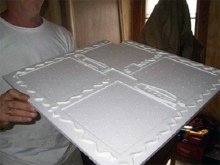
The high concentration of humidity in the bathroom requires that the repair used moisture-resistant materials. As an alternative for finishing the ceiling, you can consider ceiling tiles. It is made of polystyrene foam, which gives it many advantages.
Advantages
. The benefits of using ceiling tiles are as follows:
- It is easy to glue, due to which you can finish the ceiling by yourself, without bringing in professionals;
- Both the adhesive and the tile itself is quite cheap. Compare the cost of consumables with the price of stretch ceilings, and you can see the difference;
- It will last a long time, with no deformations or moisture;
- tile is easy enough to care for;
- fungus and mold are very easy to prevent;
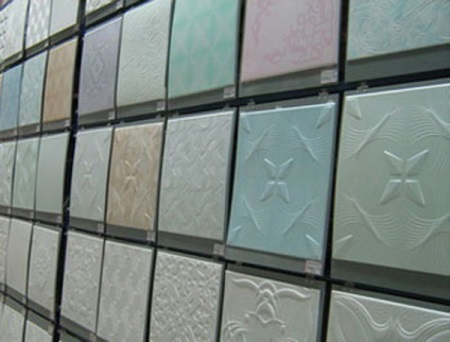
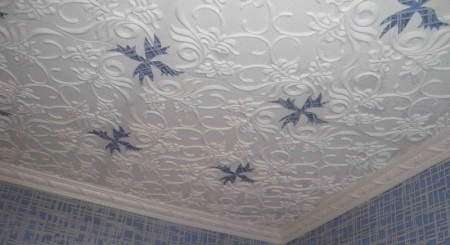
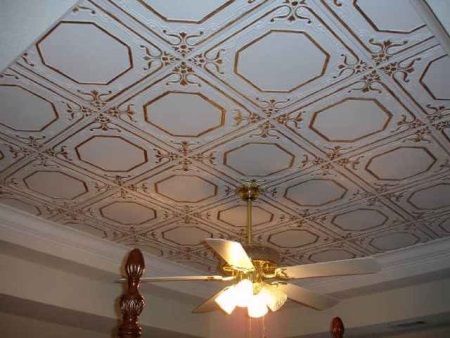
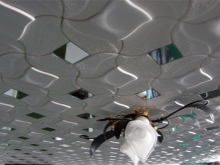
- Manufacturers offer a variety of colors and patterns, so the tile will suit any design.
If you have decided to finish the ceiling with tiles, then consider all the steps that will help to perform the work qualitatively.
Preparation of the ceiling
Although Styrofoam, simply put, foam and is a fairly unpretentious material that can be glued anywhere, this does not mean that the ceiling does not need to prepare for finishing.
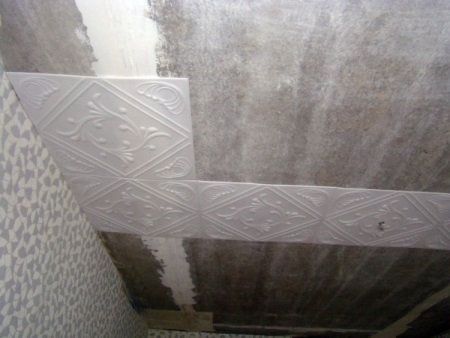
Old wallpaper or a layer of paint must be removed. If there are remains of putty on the ceiling, it is also necessary to get rid of them. If something cannot be removed, it is recommended not to touch the surface, but then it is necessary to take into account how thick the tiles should be. Thin and smooth tiles will unnecessarily emphasize those places that could not be treated, as they will shine through it. The best way out is to putty the ceiling with a thin layer, so that it at least has an even color.
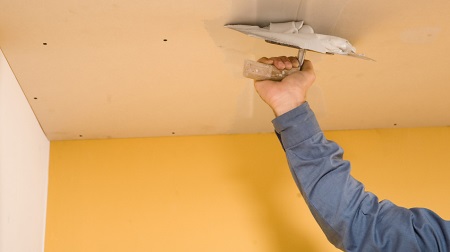
If the tile is thick or has patterns and embossing, then the problem of undamaged areas disappears by itself. Cracks and irregularities in the ceiling is also desirable to putty. It is not necessary to strive for absolute smoothness. And finally, go over the entire ceiling primer mixture for concrete. It will help to fix the top layer of putty and remove dust.
Tools for the job
A set of tools for gluing foam tiles:
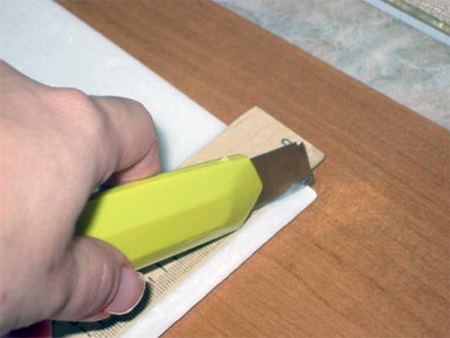
- A sharp construction or stationery knife;
- long ruler;
- pencil;
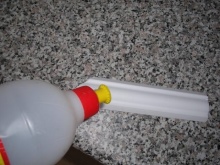
- the gun with which you will apply the glue;
- level;
- a stool, stepladder, or other items that will help you get under the ceiling;
- a clean piece of cloth;
- ropes.
Choosing the glue
If the basis of the glue contains a solvent - bypass it, the foam will not withstand its action. Try to drop an ordinary glue "Moment" on the tile and immediately see how the material will begin to melt, until there is a hole.
For foam tiles, the ideal option would be "liquid nails" or, in other words, transparent glue. You can find it absolutely in any store of building materials. It is worth considering such brands as "Moment-Montage", "Titan Wild". In principle, even PVA can be suitable.
On the speed of setting and the ability to glue all adhesives do not differ much. But here the same "Moment-Montage" is sold in tubes that are convenient to fill into the gun. And in quality it is noticeably better, but its price is higher and its consumption is higher.
Gluing options
Gluing tiles to the ceiling is acceptable in different ways. For example, if the gluing is carried out from the center of the bathroom, the result looks very aesthetically pleasing. But the center is not always easy to find, and at the base of the lamp is not too easy to work. Therefore, you can start directly from it. The most frustrating thing is if one of the walls will have a narrow strip of tiles, which will be of different widths.
You can use the method of gluing from the corner of the bathroom. This is not always the most successful option, and it looks better in asymmetric rooms. Start gluing usually from the corner opposite the entrance.
Consider the types of arrangement of ceiling tiles.
On the diagonal
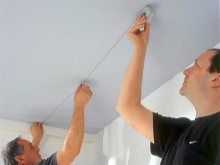
Before gluing it is necessary to properly mark the ceiling. Take two ropes and stretch them between opposite corners of the bathroom. At the intersection of the ropes will be the geometric center of the room. After marking, you can start gluing tiles.
Rhombus
There is a very famous scheme for this method: measure a number of squares from the center of the ceiling. From each of them there should be diagonal lines. The corner of the tile should be in the center of the ceiling, and the sides should lie along the lines. This method of gluing requires an increased consumption of materials compared to the others.
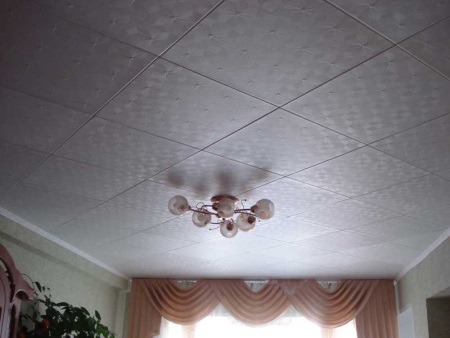
Parallel to the wall
This is one of the easiest ways of gluing tiles. But it is appropriate when you are sure that the bathroom walls are flat. According to such a scheme, the first row of tiles is laid along the wall, and the subsequent ones are already glued in parallel rows.
Work steps
It is not at all difficult to glue tiles. But the first thing to start with is to determine the number of tiles. To do this you need the size of the room and the size of the tiles. Next, it is easy to calculate how many squares of tile needed to glue her ceiling. Take material with a reserve, as it may be necessary to cut the tiles or to let narrow strips along the walls to fill the gap.
The entire job can be broken down into a sequence of steps:
- First, decide which way you will glue the tiles. The remaining steps are performed in view of the decision which you have made.
- Mark the ceiling with a pencil. Do not be lazy to perform this stage of the work, as it will be a shame if the tiles suddenly moved when gluing. It is better to spend a little more time, but to get a quality result. For ease of marking pull a rope diagonally from one corner of the room to the other. At the intersection of the two ropes you will find the center of the bathroom. And from it it is easier to make a marking.
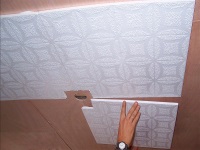
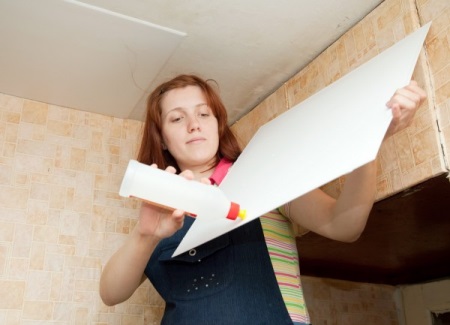
- Have you marked the ceiling? Excellent, proceed to the gluing stage. Carefully apply glue all around the perimeter of the tiles and diagonally crosswise. You can use a gun to apply the glue, or you can squeeze it out of a tube the old-fashioned way.
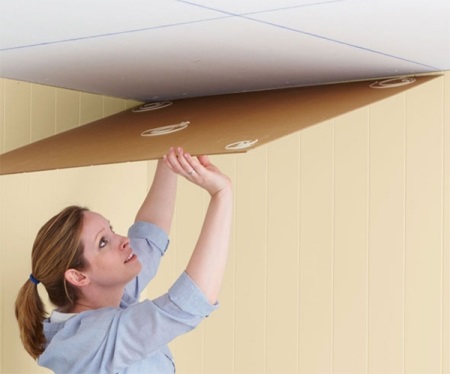
- Press the tile against the ceiling and hold it in place for a few seconds. The first tile should be in its exact position. Its corner and sides should be positioned according to the markings. This moment is very important, since the first tile determines the gluing of subsequent tiles. If it will be placed unevenly, then you will not be able to align the rest. While the glue has not had time to cure, you can still move the tile a little if necessary.
- One by one, glue the remaining tiles according to the markings. Try to place them closer together so you won't notice any seams or gaps.
- If the seams are noticeable enough, you can fill them with putty after gluing is finished. Or there is a better solution - silicone sealantwhich fills the gaps. Due to him the coverage will seem seamless.
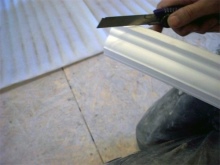
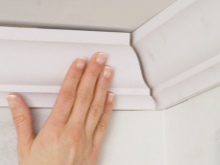
Gluing ceiling skirting boards
Ceiling plinths are not only beautiful. They complete the bathroom renovation and also have a purely practical value: they can be used to hide unevenness when gluing tiles or unsuccessful joints with the wall. If somewhere a tile has been carelessly cut, the uneven edge can also be covered with ceiling skirting boards.
Gluing them is not difficult. Before starting the work, you need to calculate the required amount of materials. The steps of the work do not take much time:
- The baseboards need to be evenly trimmed, so put one slat to the corner of one wall and about 10 cm from the corner, draw a line on the slat with a pencil. At the adjacent wall do the same with the other plank. Then they are attached in turn to the corner between the adjacent walls and mark the pencil places adjacency. After the baseboards are cut at an angle of 45 degrees to the made marks.
- The skirting boards are glued, like the tiles, on "liquid nails".
- The skirting board is applied to the corner at the junction of the wall and ceiling and pressed down for a few seconds. If there is excess glue, it should be removed immediately with a clean cloth.
- Observe the integrity of the pattern, if there is one on the skirting boards. If there are obstacles at the place of installation of the baseboard, cut in it, corresponding to the size of the obstacle.
If the walls in the bathroom are not very flat, if you press the baseboard hard against the corner - it will deform. It is better to leave a gap, and afterwards caulk it with putty.


Ceiling tiles are easy to install if the ceiling is level. Otherwise, it's better to opt for a stretch ceiling - no hassle.