Wooden flooring in the bathroom - features and installation
Everyone who has taken up renovation in the bathroom, sooner or later asks the question "what floor to make in the bathroom?" Water resistance is the main requirement for flooring in this part of the house. For this reason, the use of ceramic tiles has become common. But today there is a great replacement for the traditional ceramic floor in the bathroom.
Advantages
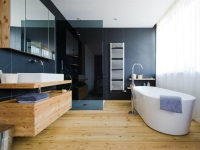
There is an opinion that the wooden floor for the bathroom is not suitable. But this is a misconception. Competently installed, it is not only not inferior to ceramic in terms of water resistance, but also has a number of advantages:
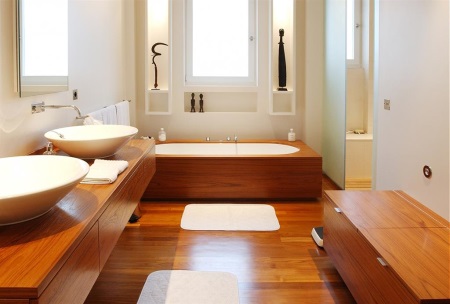
- Heat. Wood has a low thermal conductivity. Therefore, wooden flooring in the bathroom is a warm covering without the cost of installing heating systems.
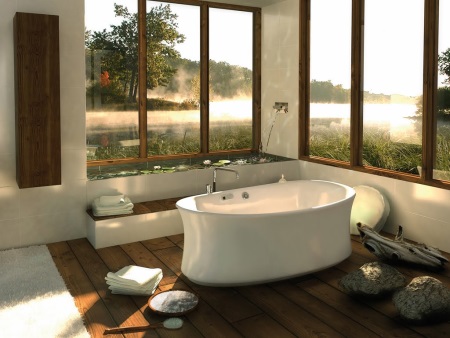
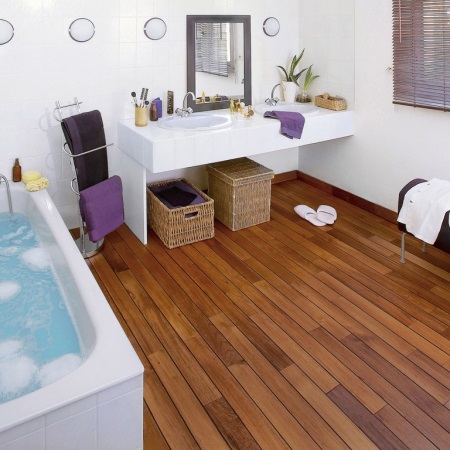
- Eco-friendliness and coziness. The use of wood flooring allows you to get away from the cold chamberiness in the bathroom. The natural textures and colors of natural material fill the room with an atmosphere of calm, warmth and comfort.
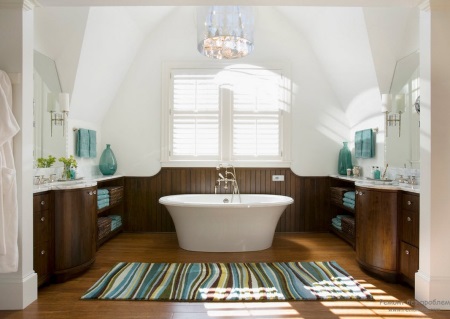
- Creating your own space. A bathroom where the floor is finished not with tiles, but with wood is a step beyond the stereotypes. And the combination of wood with other materials for decoration and decor - a great opportunity to show individuality.
Cons
The disadvantages of wooden flooring in the bathroom include possible deformation under the influence of high humidity. Although the technologies of flooring production successfully cope with this problem.
If the choice is made, and a wooden floor will be installed in the bathroom, it is necessary to decide on the material. Let's consider a few of the most common ones.
Waterproofing of a wooden house Has been discussed in detail by us in another article.
The choice of wood species
Teak wood. Shipbuilders have been using this material for more than a hundred years. The dense structure of the fibers makes it not only waterproof, but also allows it to accumulate heat. Teak wood is resistant to wear and chemical substances. And the slight natural roughness of the surface makes the floor non-slip and, therefore, safe. The deep dark shade and distinctive wood pattern add nobility and luxury to the bathroom. Perhaps the only disadvantage of teak flooring is its high cost (price per square meter from 3000 to 10000 rubles).
Thermo wood. A modern material, worthy of attention. Thermo-wood is made by treating wood with high temperature steam (+240 C) without access to oxygen. Due to this, moisture resistance, resistance of wood to fungal development, rotting and deformations increases several times.
How to save money? Larch, oak, ash and elm. These types of wood at a lower cost and high technical characteristics are a worthy alternative to teak.
They also allow you to get a moisture-resistant and reliable flooring, to create an atmosphere of comfort in the bathroom.
Preparatory work before installing the flooring
The substrate during the installation of any type of flooring, including wooden flooring, requires high-quality preparation. It must be geometrically stable, solid and even.
If it is a cement screed:
- no cracks or chips in the corners of the pour;
- the surface must be flat; deviation along the horizontal axis within 2 mm per 2 m of length;
- sand-cement grouting should be uniform, providing the best possible distribution of the load on all layers of the structure.
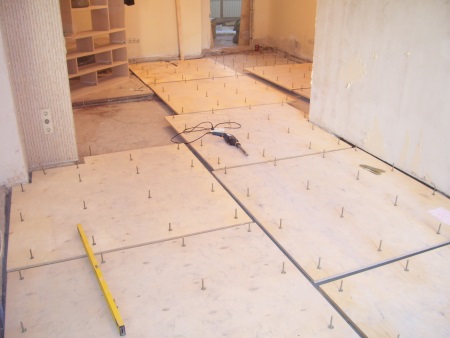
In addition, the surface can be leveled with sheet materials: moisture-resistant plywood, gypsum fiberboard, particle board or OSB. Sheets are attached to the leveled beams.
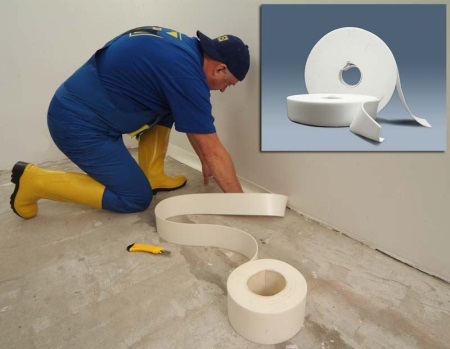
Waterproofing
The base is prepared. The next mandatory step is thermal and waterproofing.
To increase the thermal insulation characteristics of the wooden floor, especially when it is laid on a cement screed, cellular materials with zero hygroscopicity and minimal thermal conductivity will allow. For this purpose, most often use foil insulation based on polyethylene foam, technical cork, polystyrene foam, or pour a layer of crumb rubber or expanded clay.
If you do not want the floor to rot for a few years, make waterproofing. There are three basic types: cast waterproofing, paint waterproofing and roll waterproofing.
Cast waterproofing. This is the most reliable way to protect the surface from unwanted moisture. There are two main methods: cold and hot (asphalt-polymer). Performed only on hard, monolithic bases. Bitumen mortars and mastics are used, applied in several layers with a thickness of 5 to 15 cm. The layer of waterproofing can be reinforced by fiberglass, foam plastic or reinforcing mesh. On top of the cement screed is applied.
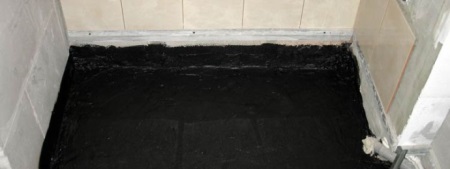
Roll-fed waterproofing. It is made by gluing on the primed surface of roll or sheet materials in several layers. When arranging floors in the bathroom, it is preferable to use a roll insulator based on non-woven polyester or fiberglass fleece covered with a layer of modified bitumen. For example, uniflex, isoplast, glass elast, hydrostekloizol, technoelast. A layer of insulator is applied to the floor and wound up on the walls "with a reserve", so that the edge protrudes over the level of the future floor.
To learn more about types of waterproofing, their advantages and disadvantages you can read our article on bathroom waterproofing. Here is a step by step consideration of the order of work.
Paint waterproofing. Special waterproofing mixtures are applied to the surface with a roller or brush. This method of waterproofing is the easiest and least durable.
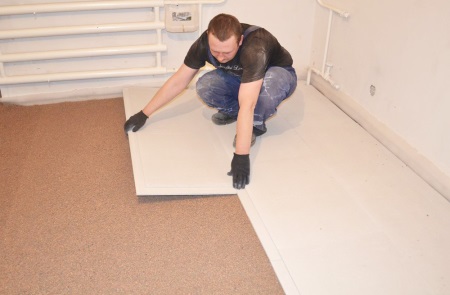
Floor leveling, flooring, marking
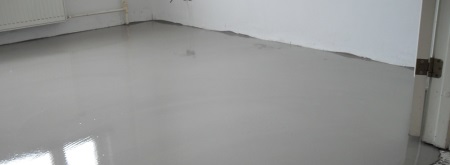
After waterproofing The surface is leveled. It is best to use self-levelling mixtures. To do this, using a water level, make marks on the walls at the same height. On them, with the help of a cord, set beacons. According to the manufacturer's instructions, prepare the mortar and pour the surface. For uniform distribution of the mortar and remove air bubbles using a spiked roller. The poured base is allowed to stand for several days. For the mortar to gain the stated strength, it is necessary to strictly follow the manufacturer's recommendations.
The next stage is the laying of the floors. This process will require maximum accuracy and care. The rule "Measure twice, cut once" is more relevant here than ever. The accuracy of marking and marking of communications will affect not only the quality of work, but also on its speed.
You will need: a tape measure, a pencil, a rubber mallet, wedges, a box cutter, nails. The set of tools may vary slightly, depending on the type of material you choose.
Installing the floor
Before you start the work, it is recommended to keep the material for a few days in the bathroom for acclimatization.
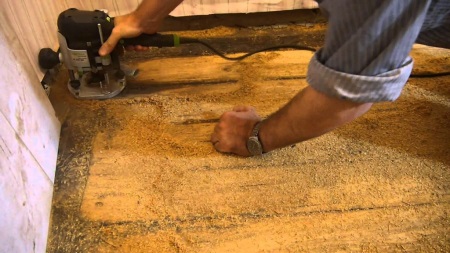
The installation of the floor begins from the door. The elements are fitted tightly with a rubber mallet and fixed according to the instructions.
After the last board has been laid, the surface is inspected for imperfections. Minor defects are eliminated with a special wax or mastic, and then the surface is gently grouted.
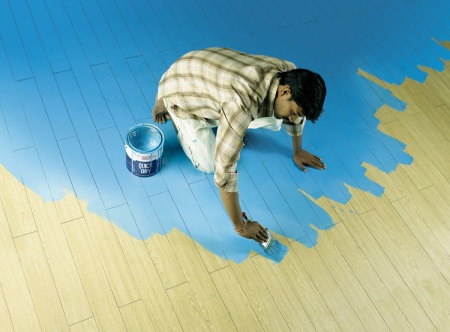
The last stage of the work is protection of the wooden floor. To do this, the surface is once again cleaned from possible dirt and dust, dried and a special varnish is applied, strictly following the instructions.
There is a special type of laminate for use in the bathroom, the features and characteristics of which you can learn by reading our article about Water-resistant laminate for the bathroom.
Tips
A wooden floor in the bathroom is a good alternative to the already annoying ceramics. Modern materials allow you to get no less reliable coverage and realize the most daring designs. The main rule is patience and accuracy at every stage of the work. It is not necessary to rush and violate the recommendations of experts. In the end, the money, labor and time spent will be rewarded with many years of operation.


Oh, how much work needs to be done before laying! It seems to me that the wood floor - the most finicky coating. But it is beautiful. I can't decide whether to use laminate or tile.
Roma, you also need a good leveling of the surface under the tiles.