Laying tiles in the bathroom

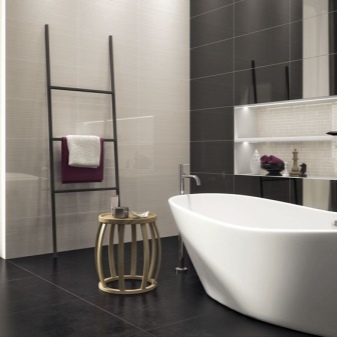
Ceramic or glass tiles, porcelain tiles, mosaics are not for nothing considered ideal options for bathroom decoration. These materials have high strength, durability, they do not require special care, are attractive in appearance, environmentally friendly and waterproof.
If the repair of the bathroom is planned to perform their own efforts, it will not be out of place to read our article and get useful tips on the methods and technology of laying tiles on the walls and floor, the choice of suitable adhesive and other features of self-repair.
Laying options
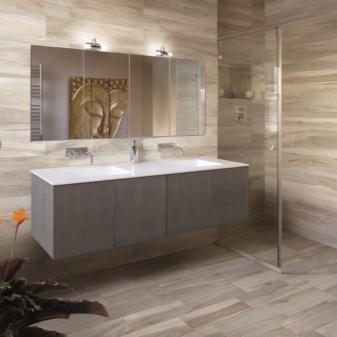
Tiles can be tiled all the walls completely. It can be used to decorate individual areas, such as a washbasin. Tiles can be combined with other finishes, such as wall panels, wallpaper, etc.
Today there are several ways of laying wall and floor tiles.
Among them:
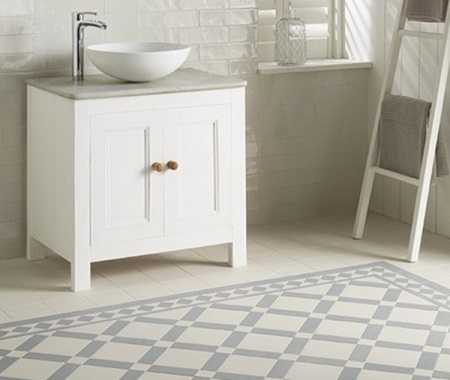
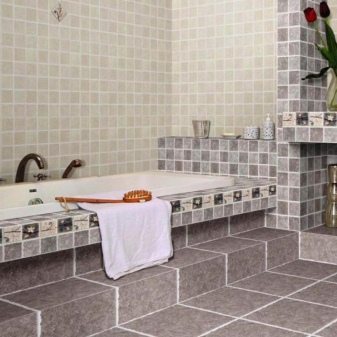
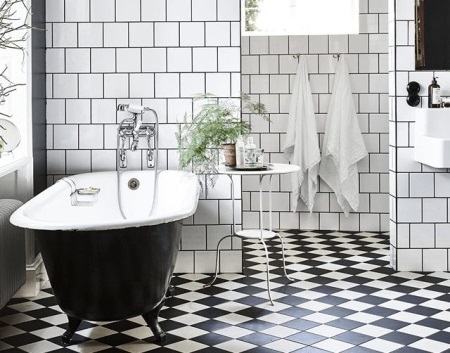
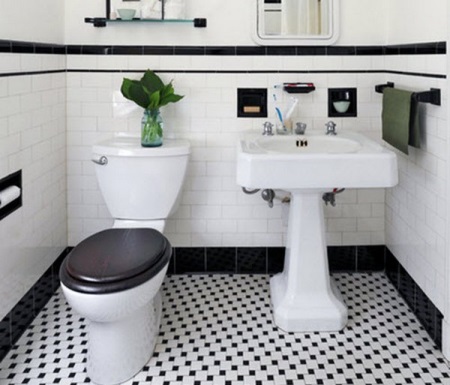
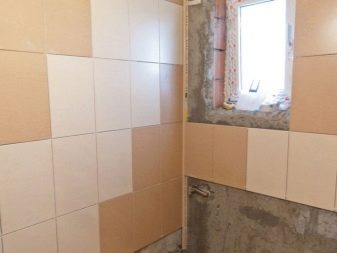
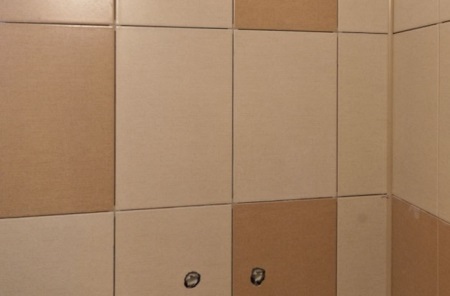
- The basic method. The tiles are laid in clear, even rows horizontally and vertically. Sometimes this option is used for laying tiles of contrasting colors. It turns out a kind of "chessboard".

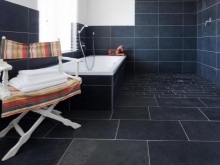
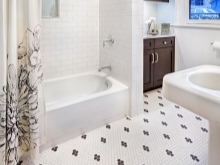
- "Brick" laying. Rectangular tiles are laid with a slight shift relative to each other. Most often, this option is used for laying floor tiles.
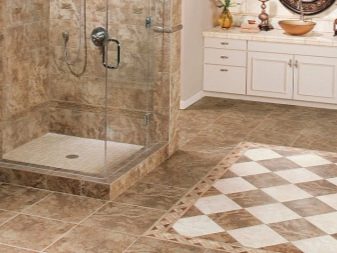
- Laying on a diagonal. A very complex, but spectacular way of tiling. Tiles are laid along the pre-determined diagonals with a corner.
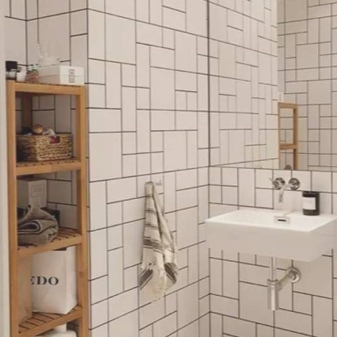
- Modular laying. For this method, tiles of different sizes are used. The finished surface is a canvas of large and small rectangles and squares.
- Laying "carpet". The original way of laying, in which the tiles are laid in a certain composition.
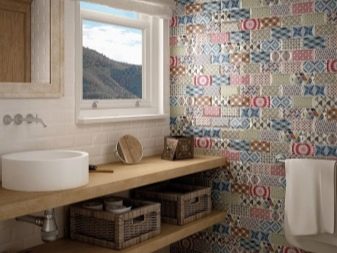
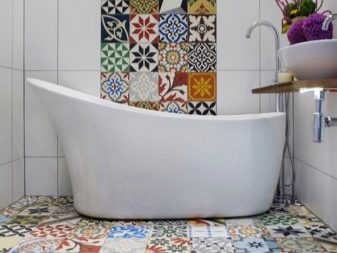
- Paving in the type of "patchwork". Different colored tiles with different patterns are laid in random order without forming a coherent composition. From the side, such a surface resembles, rather, a motley patchwork quilt.
How much does it cost to lay?
Before you plan the bathroom renovation, develop a design and purchase the necessary materials, you need to make an estimate of future costs. At least an approximate one. Even if the repair will be done by your own hands, the estimate will include the cost of tiles, glue, grout, necessary tools, etc.
If the repairs will perform professional builders, this will add to the cost of their work. Of course, the cost of the same services and prices of materials in different stores, companies, and even more so in different regions may be different. But a rough price range can be calculated.
The cost of laying tiles is calculated per square meter. The average price tag around the country is from 600 to 800 rubles. In Moscow and St. Petersburg the laying of 1 square meter of tile will cost considerably more - about 1 - 1.5 thousand rubles.
In addition, some masters set a minimum for their services. That is, the cost of tiling 2-3 square meters will not cost a flat rate.
The cost of the price depends directly on the quality of the floor or walls. A separate line of costs will be the leveling of the floor, tiling steps or complex surfaces, such as columns, etc.
The price range for the material is infinitely wide. The cost of tile adhesive is approximately 300 - 400 rubles per 25-kilogram bag. Grout will cost 500 to 600 rubles. The estimate will also include tile crosses, as well as the necessary tools for laying.
The cost of the tiles themselves depends on the size, material, manufacturer, collection, etc. Economy variant can be purchased for 300 to 500 rubles per square meter. The cost of the most expensive tiles is estimated at tens of thousands of rubles per square meter.
What materials are needed?
Before you proceed directly to tiling, you must prepare the tools and materials that will be useful in the work: tape measure, trowel with sharp teeth, tile cutter, drill, rubber hammer, microfiber cloth and sponge of foam rubber, crosses for tiles, laths made of wood or metal.
To prepare the walls, floor and tile laying, you will need to buy primer, grout for joints, tile adhesive, waterproofing.
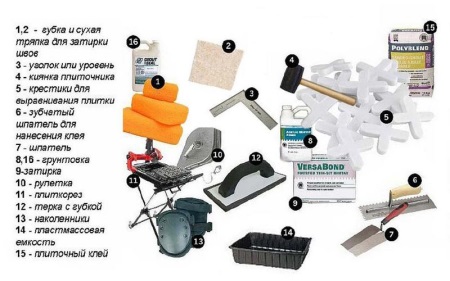
This is a sample set of tools and materials that may be required. The list may be supplemented or changed in each case.
With what to start?
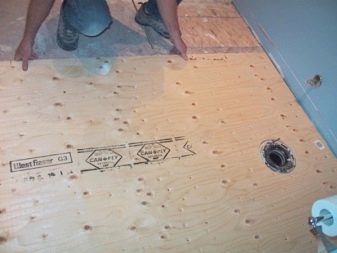
Before starting to lay tiles, it is necessary to carefully prepare the working surface. The preparatory stage is no less important than the laying itself, otherwise the result obtained may be very far from ideal.
The work begins with the preparation of the walls and floor. The old coating must be removed, chips, cracks, potholes should be carefully sealed, cleaned and sanded. The walls and floor must be perfectly aligned, otherwise the slightest misalignment or unevenness will be strongly conspicuous after the entire tile is laid.

If plastering work has been performed, then before laying tiles, you must take a 1-2 day break to allow the wall time to dry.
The next step is priming and treating with a waterproofing solution. Primer treatment significantly improves the adhesion of the wall with tiles, reduces the amount of glue, makes the surface of the wall more even. A waterproofing will prevent mold and mildew in the future.
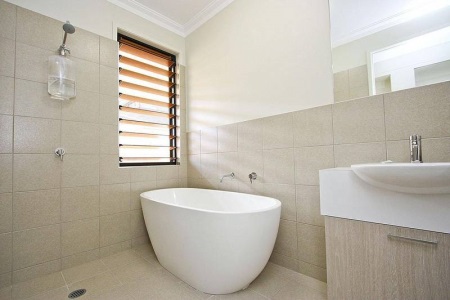
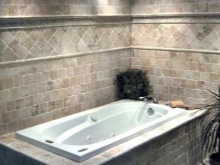
Tile is leveled by the bath, so to get an even laying along the entire perimeter it is necessary to attach a temporary shelf from the profile along the entire wall. Before laying the tiles, it is necessary to treat the walls around the perimeter with silicone sealant to prevent water from getting into the seams.
The next stage of preparation is the laying of tiles. The tiles should be pre-selected in exact accordance with the dimensions of the bathroom, the method of laying, the pattern, etc. Correct layout will minimize the number of scraps. The less tiles are cut, the more complete, even and beautiful the finished surface will be.
The layout should take into account all the protrusions and openings that are provided by the interior of the room, the width and height of the door, etc. Be sure to calculate how many whole tiles are laid in height from floor to ceiling. If the ceiling remains a narrow strip, it is best to perform the redesign in such a way that the ceiling is a whole tile. Firstly, it looks much more aesthetically pleasing, and secondly, it is extremely difficult to cut a small strip of width from a whole tile.
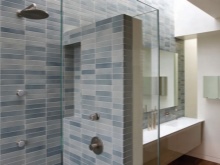
Marking can be done manually on a sheet of paper or with a special automatic program, especially if technically complex laying is planned. The layout should also take into account the size of the bathroom itself. If it is small, it is best to use tiles of small size or mosaics. Visually expand the space will help different ways of laying tiles: horizontal - on the walls and diagonal - on the floor.
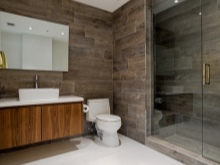
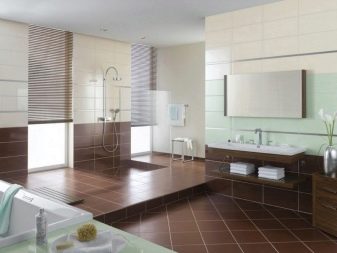
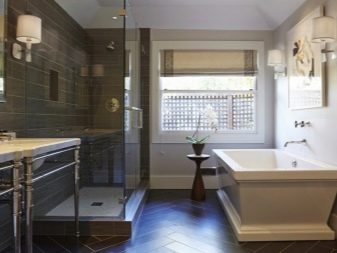
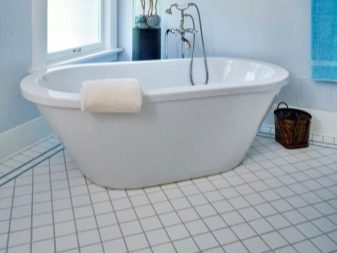
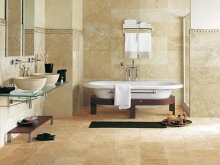
For the floor it is better to choose a darker tile, for the walls - a light one. The use of a border is also recommended.
Visually "elongate" a short room will help vertical lines, laid out in the corners of dark-colored tiles.
The next step is the marking of the walls. A zero level is determined, from which the laying begins, horizontal and vertical rows are marked. The zero level is read off with a wooden rail on the underside of the lowest row.
Then a row of tiles is laid along the wall, without the use of glue. Check how many full tiles will fit in the row, and how wide the gap is in the corner. If the gap does not exceed a few centimeters, it is better to cut the first tile by that amount, and leave a whole tile in the corner.
If the tiles are decorated with decorative ornaments, it is best to apply a symmetrical laying scheme. Then in all corners of the room, the tile should have the same width.
Now it is necessary to determine where the vertical rows of tiles will pass, if they are provided by the project. The row starts from the ceiling with a whole tile, and the trimmed ones are laid at the floor, as they are less noticeable there.

Laying technology
Usually the laying of tiles begins with the floor, but sometimes with the walls. In the second case, leave a small gap for the floor tile, which can then be closed with a baseboard.
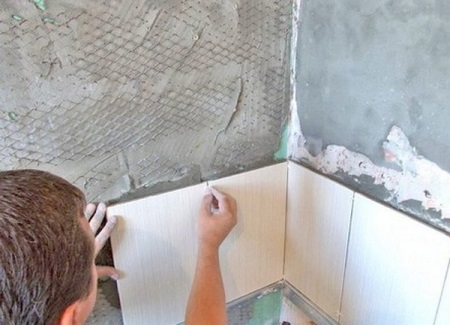
Wall cladding
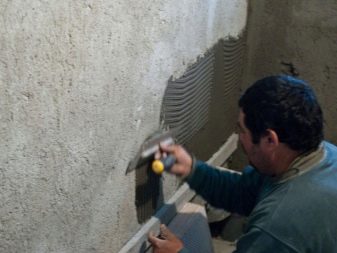
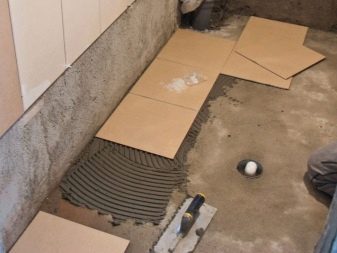
The laying of tiles begins from the bottom up. On the wall, where the bathroom is installed, the tiles begin to be laid along the edge of the bathtub. At the level of the second bottom row, a rail is installed, from which the laying begins. After the tiles are laid and the mortar has hardened, the lath is removed.
If the floor and walls are perfectly flat, you can start laying from the floor itself.
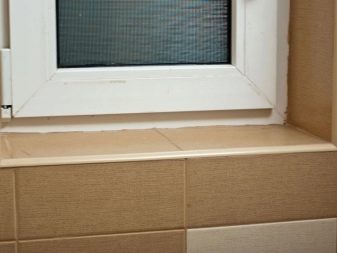
The last thing to do is to tile the wall with the entrance door or window. First the corners are tiled, then the space above the opening itself. Then the rest of the wall area is filled in.
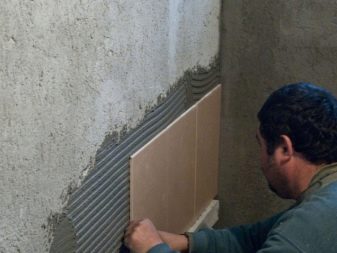
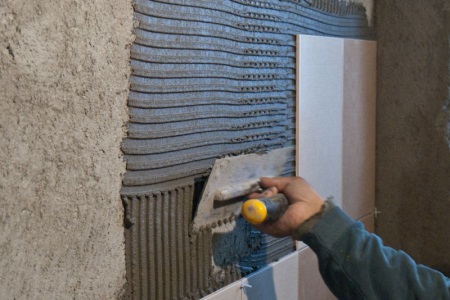
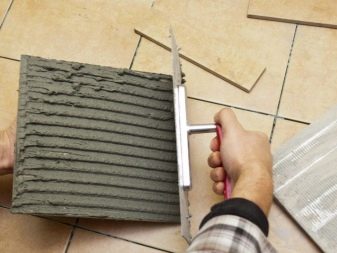
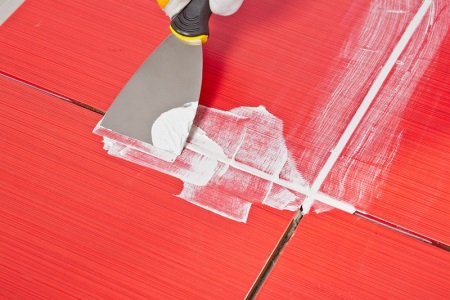
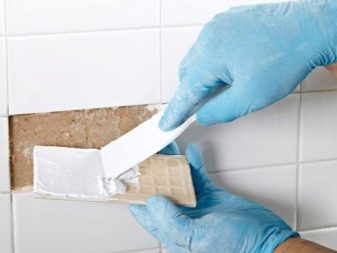
Adhesive should be applied to the wall with a toothed trowel. Tile is pressed gently, but firmly to the wall without excessive pressure, otherwise it can simply crack. After fixing the tiles on the wall, you must remove the excess glue with a foam rubber sponge.
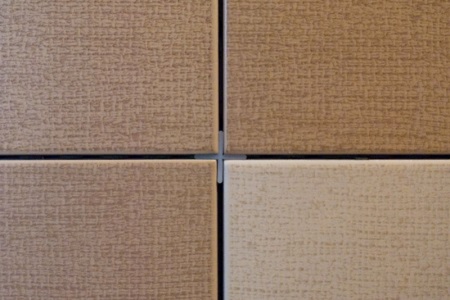
To ensure that the seams between the tiles have the same width, it is necessary to use special crosses. After laying each row it is necessary to check its horizontality, otherwise with each successive row of skewness will only increase.
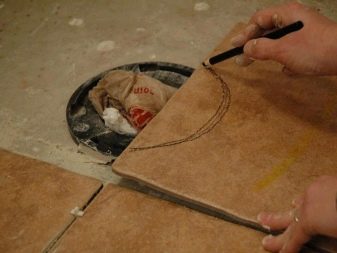
When tiling complex surfaces, such as places where pipes pass, the tiles should be cut with a tile cutter. If you need to make a small hole, you can do it with pliers, gently breaking out of small pieces of tile with them.
Facing the floor
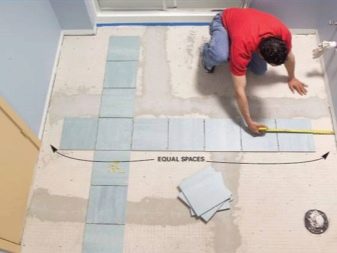
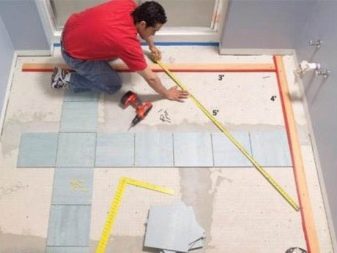
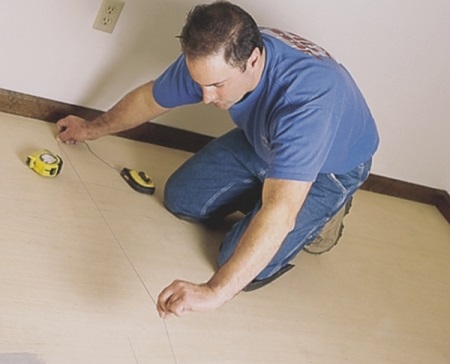
After leveling and preparing the floor, you should perform a chalk marking on it. To get a beautiful, symmetrical coating, the laying sometimes begins in the middle of the floor.
For optimal results, it is necessary to choose the right adhesive mixture or mastic. It is best to choose a universal material that is suitable for different types of substrate: wood, concrete, metal, fiberboard, chipboard, etc.
Glue or mastic on the tiles is applied with a toothed trowel. It is not necessary to cover the entire surface of the floor or wall with mastic, it will have time to dry before all the tiles are laid. The solution is applied to each tile in turn, and so, step by step, the entire row is laid.
The easiest and most convenient way is to lay tiles horizontally along the walls. In large bathrooms, you can use the option of diagonal laying. It looks much more spectacular, but it is also more time-consuming than the first option.
After you finish laying, you should wait until the mortar has fully set and hardened. After about a day, you can start grouting the joints. The joints are cleaned of adhesive, and then the grout is applied with a rubber trowel. Remove the excess grout immediately, without waiting for it to dry, with a wet rag or sponge. After a while, the final cleaning of the tiles is performed.
Install the bathtub before or after laying?
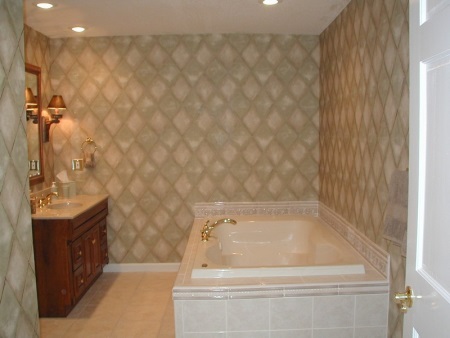
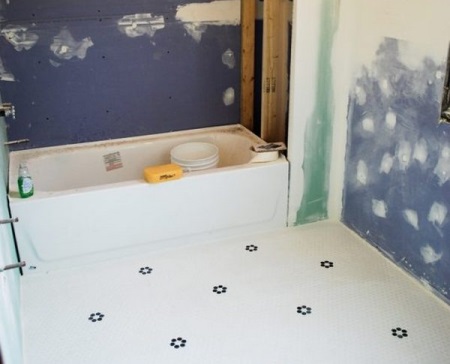
Professional builders advise installing the tub first, and then laying tiles. The fact is that if the tiles are not laid correctly, then between it and the bathtub can form a large gap or gap, which in the future will be difficult to hide.
Therefore, it is best to install the bathtub immediately after finishing floor tiling. The advantages of this option are obvious: the tub will be installed close to the wall, behind the tub will not have to lay tiles and, finally, the very place of contact of the bath and the wall will be decorated beautifully and neatly.
Tips
- If you plan to lay tiles on the floor and on the wall, it is best to buy products from the same collection. Such tiles are ideally suited to each other in size, color and decor.
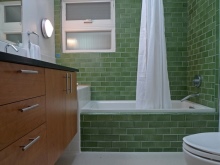
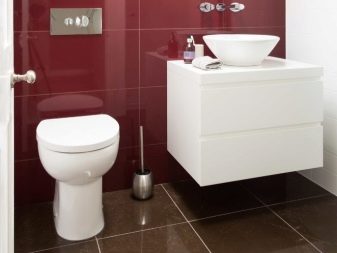
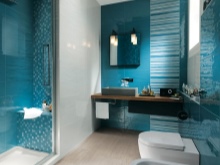
- When choosing a color scheme for the bathroom, you should be guided not only by your own taste and fashion trends, but also by the size of the room itself. For small rooms it is better to choose a tile of light, gentle tones: blue, green, blue, lilac, steel, beige, pale pink, etc.
- Bright, saturated colors of tile charge the room active energy, calm, restrained colors promote relaxation.
- For a small-sized room should choose a small tile or mosaic. It is desirable that the tiles have an even surface, embossed - visually reduces the room.
- If the tile must be trimmed, it must first be soaked for about 40-60 minutes. Then a line is marked, and a notch is made with a tile cutter. Then by this notch the tile should be aligned with the surface of the table, gently press it and the notched fragment will break off accurately.
- Glue or mastic is applied to the tile evenly, it is not allowed to use dotted strokes.
Quality bathroom repairs can take from 2 to 3 weeks. You should not rush and try to perform the entire amount of work in a week. The plaster will not dry, the tiles will not stick to the wall strong enough, and as a result, everything will have to be redone again.