Preparing the walls for tiling in the bathroom
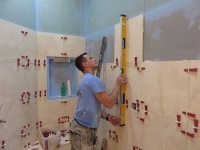
Facing the bathroom with tile is the most popular and widespread design option, despite the huge variety of modern finishing materials. The key to an excellent result after repair is not only professionalism of builders and qualitatively chosen materials, but also thorough preparation of the surface before tiling. A smooth, even base facilitates subsequent work, reduces the consumption of tile adhesive, increases the service life of the finished coating.
Surface preparation for tile laying
The laying of ceramic, glazed or other tiles requires mandatory preliminary preparation of the surface. This process is divided into several stages: evaluation of the state of the existing surface, removal of the old coating, leveling, puttying, finishing, priming, waterproofing. Depending on the condition of the walls, some steps may be omitted or on the contrary - new ones may be added.

The initial diagnosis includes an assessment of the overall condition of the walls, the strength of the old coating, the calculation of the necessary material. The next step is to clean the surface from old tiles, plaster, wallpaper, whitewash, paint, etc. The third stage - alignment of the walls. Then comes the finishing treatment (putty + primer) and waterproofing.
Before you get to work, you need to prepare the tools that may be required:
- Hammer, punching machine (to remove the old coating from the concrete base);
- level, plumb, beams (for alignment of walls);
- brushes, rollers, trowels, trowels, sandpaper, trowel, tape measure;
- special clothes (glasses, rubber gloves, etc.).

Before you begin work, you must close the existing plumbing (bathtub, shower, sink) to prevent it from being hit by fragments of old tiles and other debris.
Dismantling old flooring
Removing the old coating is done in different ways, depending on the material of which it is made. For example, if there is wood shingles under a layer of plaster, this layer is removed completely.
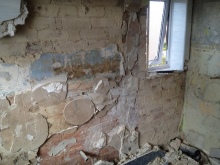
If the base is brickwork, then the plaster from it can not be removed. It will be enough to check its strength and integrity, and clean up the damaged areas. If there is a need, the plaster is applied with a new layer. At the same time, special attention is paid to the alignment of the wall.
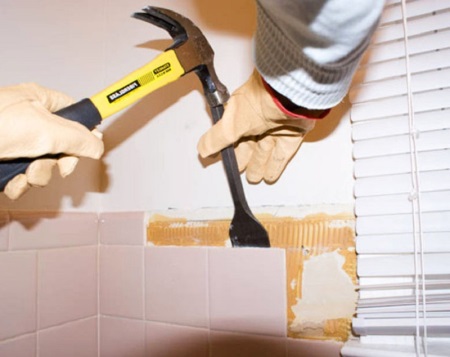
If the surface is tiled, the tile must be completely removed and the wall cleaned of glue. To do this, it is necessary to well clean the seams, and abundantly moisten the surface. After a couple of hours you can begin dismantling. The outermost tile should be picked up with a chisel, hammer the tool into the soft compound, and carefully remove the tile.
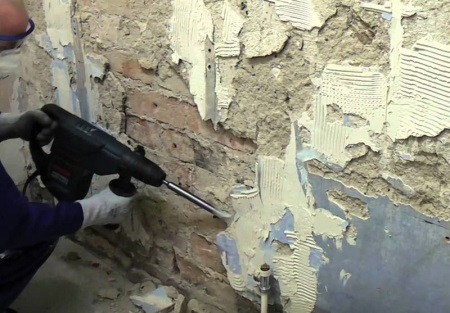
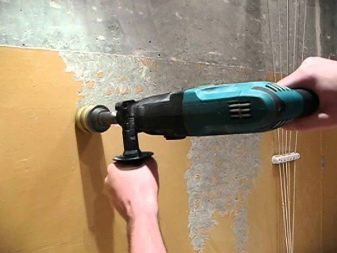
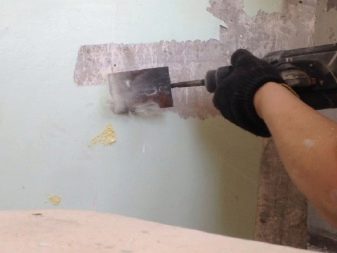
If it does not make sense to save the old tile entirely, you can use a power tool with a chisel head.
The painted coating is cleaned all the way down to the plaster with a sanding disc. If the paint is difficult to remove, you can use a special paint remover. Remove whitewash with a spray gun and a scraper. Decorative plaster is removed with an electric tool or by hand.
Old wallpaper is removed completely, and the remaining adhesive is thoroughly scraped away. Remaining paper reduces the durability of the finished tile coating.
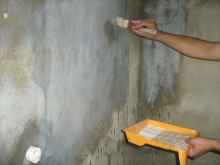
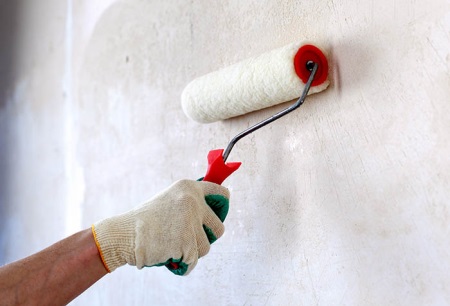
After removing the old coating, the wall should be carefully sanded and polished if necessary. Next, the surface must be as dust-free as possible (with a damp cloth), and after it has dried completely, apply primer. Primer will help to reduce the consumption of adhesive, will increase its adhesion to the treated surface and will prevent the appearance of mold and mildew.
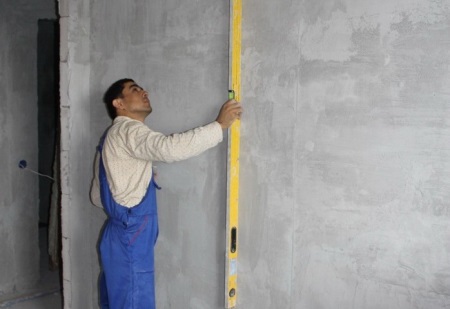
Surface leveling
Walls can have the following types of irregularities:
- slopes in different directions;
- Roughness, chipping at the intersection of wall panels;
- convexities and concavities.
The choice of the method of eliminating irregularities depends on their nature and severity. For example, to level the walls with plaster is possible, provided that the height difference is not more than 5-6 cm. If the difference is more than 6 cm, gypsum plasterboard sheets are used.
If it comes to rooms with high humidity (bathroom), then it is best to use a cement-sand mixture for leveling.

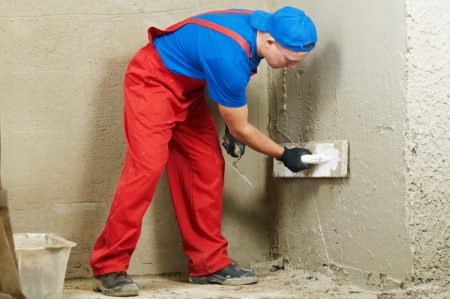
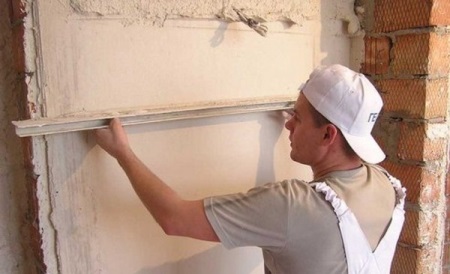
Plaster
After the cleaned, degreased and primed surface has dried, you can proceed to the elimination of irregularities and roughness, different slope, etc.
If the wall has a height difference of up to 1 cm, then there is no need to correct this curvature - it will go after tiling. If the curvature is 1-6 cm, then such unevenness should be removed. To do this, screeds are installed on the edges of the walls, a fishing line is stretched between them and a batten is mounted.
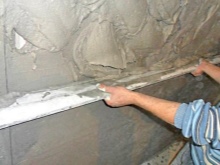
The plaster mortar, prepared according to the instructions, is applied to the wall between the screeds. It is most convenient to apply it with a trowel, using a rule for leveling the tool. After the plaster has dried completely, the wall should be treated with an antiseptic compound and covered with a primer. The primer forms a thin, smooth film, which strengthens the adhesion between the plaster and the subsequent layer of finishing putty or glue.
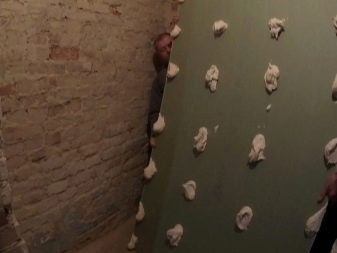
Drywall
This option consists in the fact that the cleaned and primed surface is covered with sheets of drywall. Mounting the sheets begins with the bottom edge of the wall. Depending on the type of substrate, the drywall is glued, nailed or fastened with screws. Be sure to control the level to create a perfectly flat surface.
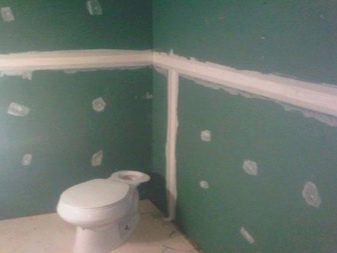
After installing all the sheets, the joints between them are sealed with a finishing putty. The finished coating is primed again. For damp rooms, you should choose plasterboard with very high moisture resistance.
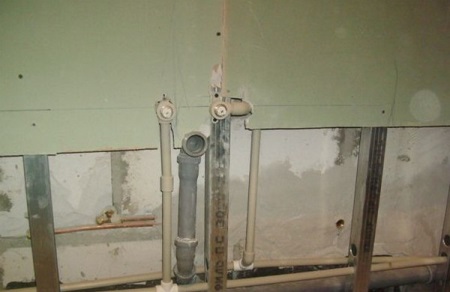
Leveling walls with a high degree of deformation
If the surface is heavily deformed, then leveling with putty or gypsum plasterboard sheets is not suitable here. Metal profiles with plasterboard sheets are used for leveling.
The order of work in this case is as follows:
- calculation of the required amount of plasterboard, metal profile and fasteners to it;
- installation of the profile (the distance between the fasteners of the structure should not exceed 50-60 cm);
- installation of the waterproofing film;
- fastening of drywall.
This method largely "eats up" the space of the room, this should not be forgotten. Therefore, the profile is attached as close to the wall as possible.
How to properly prepare the surface of different materials
When preparing surfaces of different materials, there are their own subtleties. The most reliable and durable bases include concrete and masonry. Three layers are applied to these substrates in turn: plaster, putty, and primer.
The most labor-intensive surface is wood. To begin with, the wall is covered with a special wood primer in several layers. After the primer dries completely, a plaster mesh is applied and attached. Next, other work is performed.
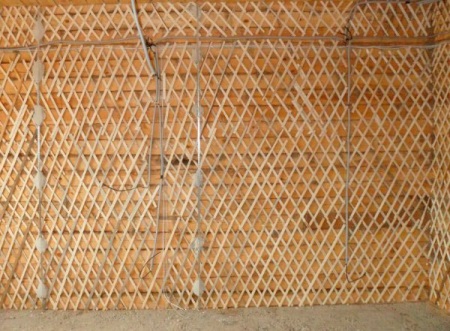
In general, it is not recommended to apply tile on a wooden coating. Wood will not breathe, which means a high probability of fungus. In addition, wood tends to change in size over time, so the service life of tiles laid on a wooden coating is much lower than in similar situations, but with other coatings.
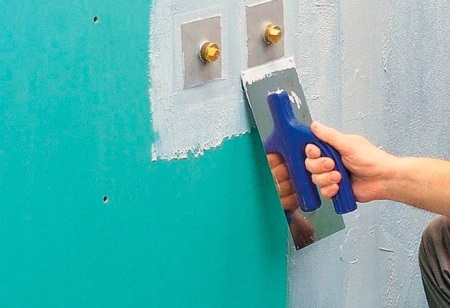
Waterproofing the walls
The final stage of preparing the walls for laying tiles are protective measures. This is, first of all, waterproofing. It comes in the form of a film or a special composition.
For the preparation of the floor most often used waterproofing in rolls, and For walls, it is better to choose a liquid composition. Sometimes the waterproofing mixture is added directly to the tile adhesive. Its properties do not change, and its effectiveness increases significantly.
Preparatory work should be treated with the utmost care and attention. There is no need to rush, layers of plaster, putty, primer must reach maximum dryness. And only then you can apply the next layer. The more carefully this stage is done, the more durable, beautiful and long-lasting the finished coat will be!
For more information about preparing the walls before laying tiles, see the following video.


