Clinker tiles for interior walls
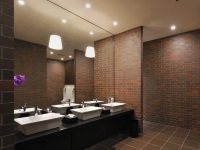
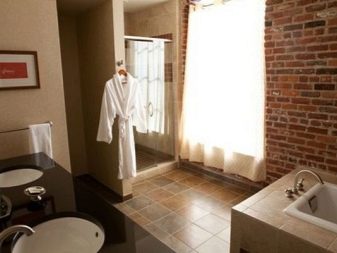
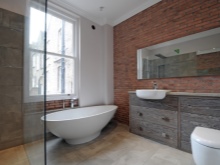
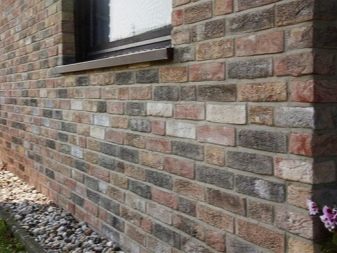
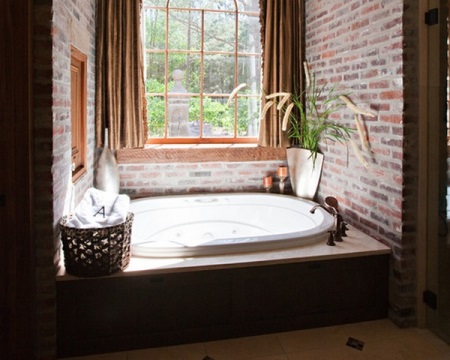
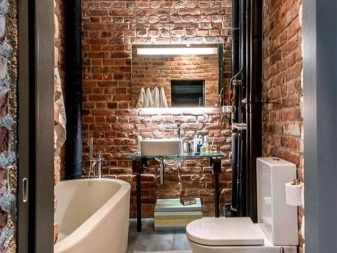
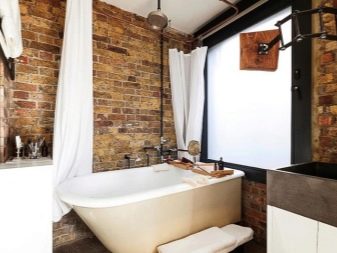
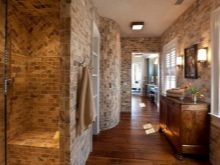
Brickwork elements are often used to create original interior designs. They look good in any room, whether it is a hallway, living room or bathroom. The best material for such finishing is clinker tiles, which completely imitates brick. It has a wide range of colors and a variety of textures, which allows consumers to choose the right products for a particular interior.

Advantages
Thanks to the peculiarities of the production process and the composition of raw materials, clinker tile acquires a number of positive characteristics, which include:
- high strength and resistance to wear and tear;
- aesthetic appearance;
- easy care;
- resistance to negative influences;
- environmental friendliness;
- fire safety;
- low weight;
- easy assembly.
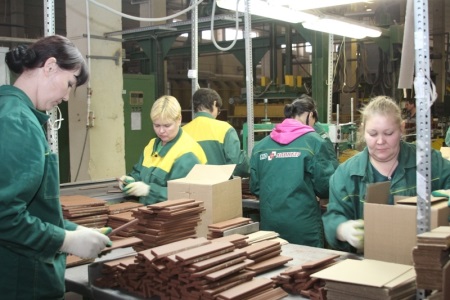
Production technology
Modern production technology clinker tiles are divided into 2 types: semi-dry pressing and extrusion. In both cases, the raw material, placed in forms, is subjected to firing at 1100-1400 ° C, which provides products with high strength and durability. It should be noted that other clay products are usually fired at a temperature not exceeding 900 ° C.
Each tile production technology has its own characteristics, and is able to give clinker products certain characteristics.
- Extrusion. This technology involves the use of an extruder - a device similar to an auger meat grinder. The wet clay mass is placed in the tank of the equipment, where it is thoroughly crushed and formed under the influence of a vacuum press. Blanks are dried and only then fired in a special kiln. The clinker tile, made by extruded method, has a good resistance to chemicals, abrasion, mechanical influences, as well as high density and durability.
- Semi-dry pressing. The production process involves shaping the clay mass and firing it, but without pre-drying. The resulting products acquire a low density, which negatively affects the strength characteristics, but this is only its only disadvantage. Thanks to the method of semi-dry pressing the thermal conductivity of tiles is significantly reduced, and this property is often valued more than strength and resistance to chemical and mechanical influences.
The formed materials are fired in special furnaces, which are a tunnel length of up to 150 m. Inside it, there are sources of open flame. The molds are placed on trolleys and run through the tunnel at a very low speed, which provides for the gradual heating of the raw materials and their slow cooling.
Types
Clinker tiles used for interior decoration are divided into 4 types, depending on its purpose and technological features:
- Standard. The material is used for finishing living rooms, kitchens and bedrooms. It is strong and durable enough, and is available in a wide variety of textures and rich colors.
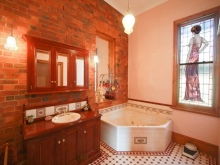
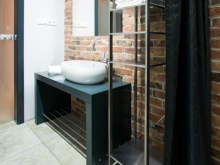
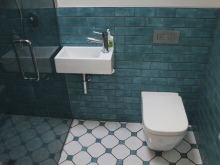
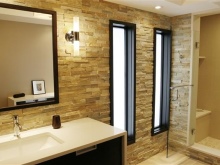
- Water resistant. Tile is resistant to moisture and almost does not absorb water, which allows you to use it to clad bathrooms, saunas and swimming pools. In addition, it is not afraid of temperature fluctuations.
- Technical. Clinker material of this type is used for cladding laboratory and industrial premises. Unlike other types clinker material has a greater thickness, has no color, and is resistant to mechanical stress, and the effects of chemicals.
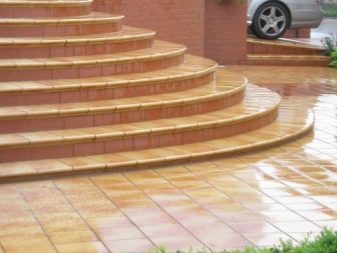
- Tiles for special purposes. Most often the material is used for facing architectural structures, but it is also suitable for interior work in the living room. Decor clinker products are very limited, in addition, they have a monotonous size and shape. As for the color scheme, it is quite wide. Thanks to the introduction of dyes in the clay mass is obtained uniformly colored tiles of different shades.
In addition to the intended use, clinker tiles can be divided into several types, depending on its texture:
- Smooth - The most popular option, suitable for finishing any premises. The tile has a resemblance to ceramic bricks, and it is easy to care for.
- Glazed - Tiles with a perfectly smooth and shiny surface. Finishing walls with glazed clinker looks unusual and stylish, so it is in high demand.
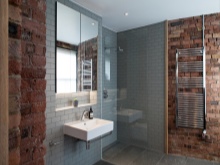
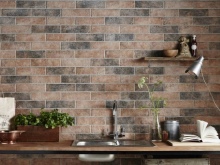
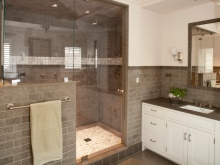
- Rough - A great option for finishing halls, bedrooms, living rooms and even bathrooms. The only taboo for such a material is the kitchen, as the rough surface will accumulate various dirt, which is difficult to clean, and it will soon lose its aesthetic appearance.
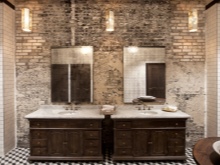
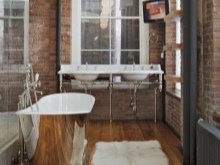
- Rustic - clinker tiles with a rough appearance, which is well suited for interior design in the style of rustic, industrial, loft and other extravagant options. The material can have an aged look of brick or untreated stone.
The wide choice of finishing tiles allows you to realize the most daring design ideas.
Colors
In the production of clinker tiles for interior decoration using natural dyes, so the material is safe. Dyestuffs are added directly to the clay mass, which provides it uniform coloring and durability. The material retains its original color throughout the operating life, even if it has been exposed to chemicals, detergents and direct sunlight.
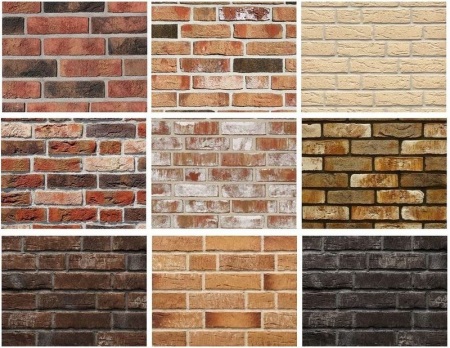
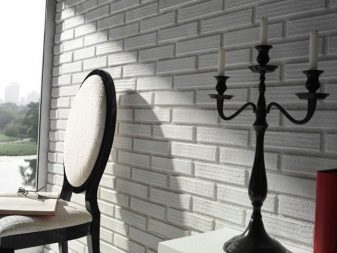
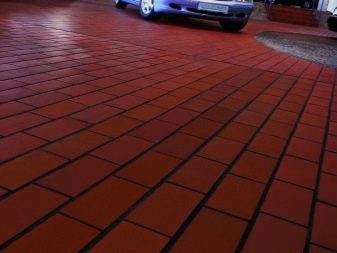
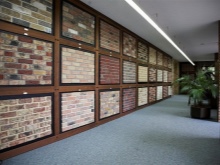
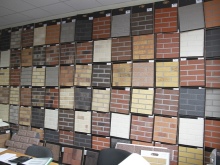
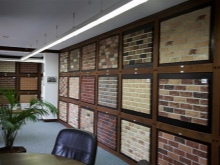
Most of the tiles are available in red and brown shades, which makes them even more similar to traditional bricks. But in addition to this, the sale of materials and other, more interesting colors: white, black, gray, yellow, orange, beige, etc. It should be noted that clinker with a glazed surface can have a completely unexpected color, such as bronze, silver, blue, blue, green, gold, etc.
Design options
When finishing interiors, it is important to consider that clinker tiles give the walls texture and greater expressiveness, so the space is visually narrowed. In view of such features, it is important to know how to use this material correctly.
When finishing the premises with clinker tiles, you can use the following design solutions:
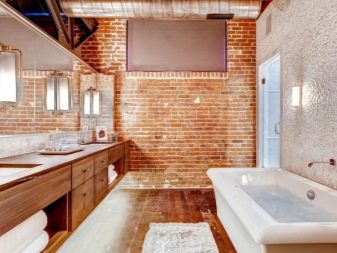
- Facing all walls in the room with clinker is very rarely performed. This option of finishing will only be appropriate if there is a large space. The color of the material can be any color, but it is still not recommended to use dark tones in large quantities.
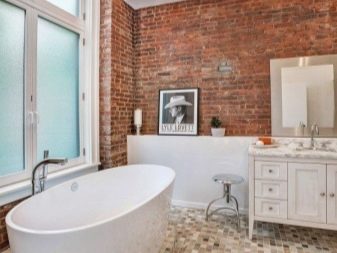
- The most reasonable idea is to clinker tile only one wall, while the other surfaces can be plastered or wallpapered. If the room has a fireplace, then it is necessary to tile the wall to which it adjoins.
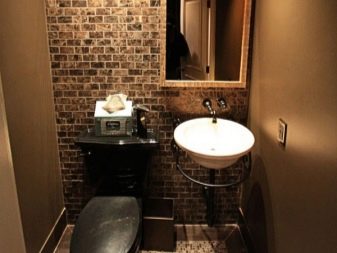
- Fragmented use of tiles under the brick. Quite often clinker is used for finishing corners, both internal and external. In addition, you can tile part of the wall symmetrical elements, or in the form of a peculiar panel. Also, with fragmentary cladding highlight the architectural features of the premises.

The choice of color of clinker tiles will depend on the overall scale of the interior. Often use a darker material than the main trim, and in some cases quite appropriate tones that give the room extravagance.
Interior styles, where it can be used
Because of the expressive texture of clinker tiles, and the ability to give rooms a geometric severity, it can be used not in every interior, but only in a few styles.
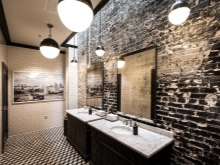
- Loft. It is allowed to cover all the walls in the room, and you can use both smooth and textured tiles. Predominantly choose material of white color.
- Rustic styles such as English, Cartier, Provence and Dutch. Tiles are lined walls completely or partially, it is also used to decorate corners and fireplaces.
- Rustic. This style decorate large rooms, because it is assumed clinker finish all the walls. It is best to use aged material, or resembling roughly hewn stone.
- Gothic. To create a gloomy interior can be used, both small and large tiles of dark colors. It is necessary to choose material with a rough, pronounced texture.
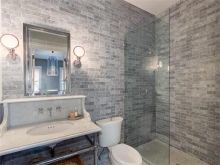
- Minimalism. Clinker tiles in this case is a way to set accents and zoning. For finishing is equally well suited material with a glossy or roughly finished surface.
- Techno. For finishing choose smooth clinker with clear contours, and lined walls with the observance of precise vertical and horizontal lines. When choosing the color of the material, it is recommended to give preference to a non-natural range.
How to choose?
The choice of clinker tiles to perform interior decoration will depend primarily on the interior design and color scheme. But in addition to this, it is important to pay attention to the quality of the materials. During the purchase is recommended to inspect each tile, it should not be chipped, cracked and other damages. Not an unimportant factor will be a certificate of quality, which the seller is obliged to show at the request of the consumer.

Preparing for laying
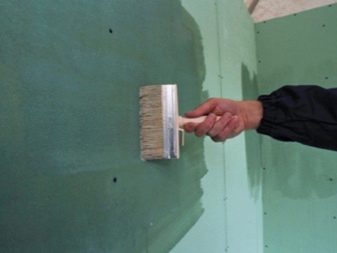
Before you start clinker wall cladding, it is necessary to perform preparatory work, which consists of surface treatment and marking. The first thing to do is seal existing cracks, clean up loose areas, and then level the walls with putty. After the mortar dries, the surface is primed with a composition of deep penetration.
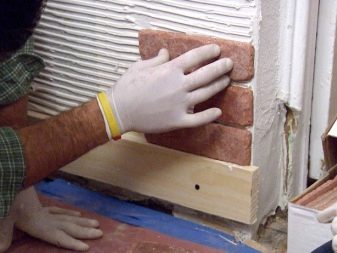
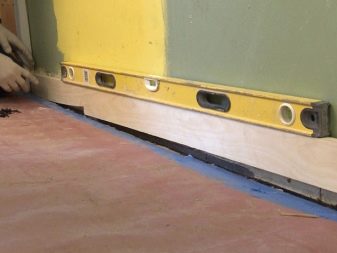
Once the primer dries, you can start marking with a construction ruler or laser level. It will be sufficient to draw reference lines on 2-3 rows of tiles. An important step is to glue the first row of clinker, because if there is an error, subsequent rows will be stacked crooked, and eventually the entire wall will not look aesthetically pleasing. To avoid this situation, it is necessary to install a metal profile or wooden rail along the wall, first using a level to observe the accuracy of the horizontal line.
Mounting
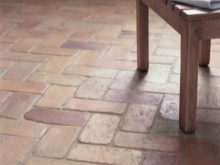
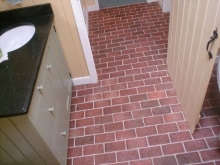
As a rule, clinker tiles are laid according to the type of masonry, i.e. in the interlacing.
But there are also other ways of cladding walls that look more original:
- laying in a diagonal or vertical ligature;
- chain-linking - two tiles in turn in a horizontal position, and then in a vertical position;
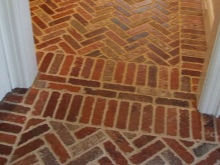
- "fishbone" - gluing clinker perpendicular to each other;
- intertwined masonry - involves the use of materials of large and standard size, and they are placed one by one.
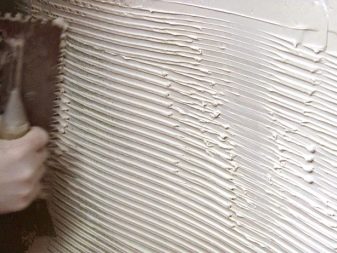
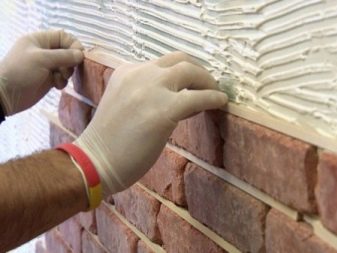
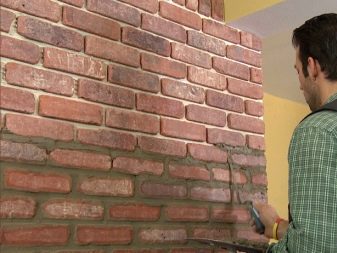
Having decided on the method of laying tiles, you can proceed to its implementation. Adhesive solution should be prepared in small portions, just before the work, because it will need to be used in 30-40 minutes, otherwise it will simply harden. The glue is applied only on the wall with a trowel, and then distribute it with a toothed trowel to form even ridges. Applying the tile to the treated surface, it must be pressed, and also do not forget about the special corners, which will make it possible to make even seams. The final stage of tiling - grouting the joints, which is carried out by means of a special gun, so as not to stain the clinker.
To give the seams an aesthetic appearance and strengthen them more, it is necessary to make expansion, using a narrow spatula. If in the course of work, the tile was stained with glue or grout, it should be cleaned until the mortar dries.