Primer before laying tiles
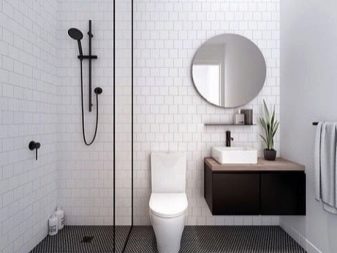
The result of the work does not always depend on the quality of the materials, often the right technology plays a very important role. When you are going to make repairs in the bathroom, you can buy expensive and high quality tiles, a good adhesive and hire a master, but if you do not prepare the surface for laying tiles, all the efforts will be in vain.
Before the process of gluing tiles begins, it is necessary to clean the surfaces on which it will be located, as well as carefully priming them. How this process takes place, we will tell you in detail below.

Primer advantages
Primer is a special composition that is applied to the floor or walls in order to improve the adhesion of the substrate and tiling. With the help of primer can also avoid the appearance of mold, improve the hydrophobicity of the room, increase antiseptic properties. At the heart of any primer are substances that form a kind of film that has the above properties.
Primer mixes, which can be found in stores now, are made with high technology, and they will reliably protect your bathroom thanks to a lot of advantages:
- Strengthen the surface. Primer acts as a connecting link - tightly penetrates into the pores on the walls and floor, strengthens the structure of the base on which the tiles will be laid, make the surface less dependent on loads of dynamic or static nature.
- Reduce the sedimentation of bacteria. Modern primer contains disinfectant, antiseptic components, which will help even if the surface is already affected: fungus or mold, and contribute to the prevention. No one will want to remove the laid tile to remove the mold from there!
- Reduce material consumption. An adhesive will be applied to the primed wall, which will hold the porcelain tile in place. Due to the fact that all the pores in the walls and floor are already filled with primer, and the surfaces themselves are smooth and do not absorb anything extra, the consumption of adhesive will be many times less than without primer. In addition, when applied, the adhesive will not fall off from the surface that is primed.
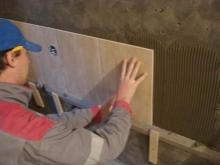
- Will improve "sticking." To a primer-treated surface, the adhesive sticks immediately and almost permanently. Experts know that the chance that the primed wall will fall off the adhesive, along with the tiles, is almost zero. The laying process itself will also go better, because the tiles will perfectly adhere!

Note that the primer is needed not only for the walls, but also for the ceiling and floor, if they are planned to put a tile or any other finishing material. The principle of action is no different.
Types of primers
As a rule, primers come in two types: dry and in liquid form. The latter are fully ready for work, you only need to pour the composition into a suitable container. Primers in dry form need to be diluted with water according to the instructions. This is less convenient, but if a very large surface needs to be primed, it is more profitable. For a bathroom of any size, it makes sense to take a liquid primer.
Also at the moment, three types of primer mixtures are most common in construction markets:
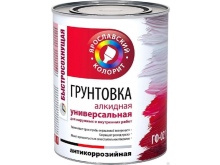
- Alkyd. Very strong and reliable primer, which is used not only for concrete, stoneware or plaster, but also perfectly in contact with glass and drywall. The disadvantage of such a primer is a long drying time - from ten to sixteen hours.
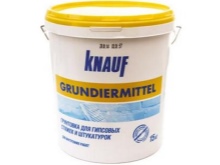
- Gypsum. Primer, which has in its composition gypsum, cement or, more rarely, lime, is the most budgetary option. Well suited for evenly plastered surfaces: brick, concrete, also perfectly shows itself in the work with gypsum board under the tile.
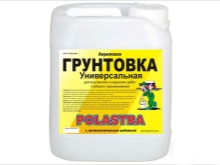
- Acrylic (or emulsion). The most popular because it is versatile and works on almost all surfaces. Due to the large variation in price, depending on the manufacturer, it is in demand among customers planning to renovate the bathroom - from budget to high-end. Such primer dries quickly - from two to four hours, and is almost odorless.
Purpose of primers
Before you buy a primer, you need to assess the condition of the walls and floor in the bathroom. Not only may you need a certain primer, but also for the two surfaces it may be different. The base material - this is the main factor influencing the choice of composition. Conventionally, we can allocate such primers that are suitable for different groups of surfaces:
For mineral surfaces.
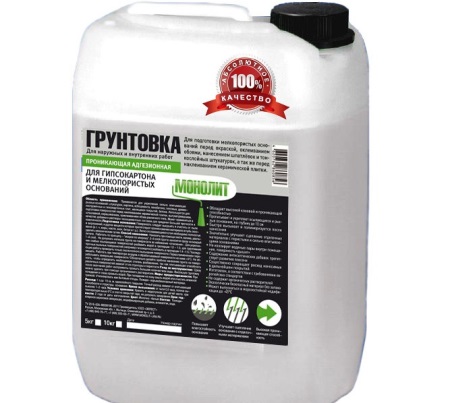
Such surfaces include brick, cinder block, concrete or gas concrete, plaster. For priming such bases it is worth using compositions of deep penetration. They deeply impregnate the surface, closing all the pores. Due to the presence of polymers in the primer, it perfectly adheres to the particles of the substrate, increasing the adhesion of the base and tile adhesive.
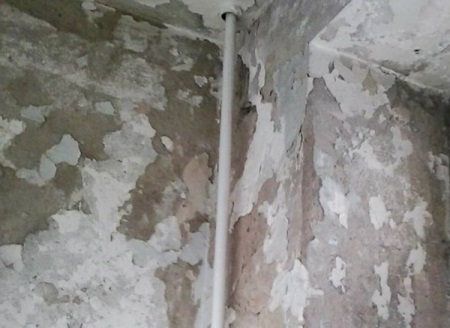
For weak, friable surfaces
Porous and porous surfaces require a reinforcing primer that contains adhesives. Penetrating into the surface, they strengthen its top layer. Often such a primer is used for bathroom walls, which do not have enough cement or plaster is loose. It is important to note that in this case, the primer will only work to the depth of its penetration, and will not be able to stop the collapse of a large layer of plaster or concrete.
To be applied between coats
For the bathroom, it is relevant to apply a waterproofing composition to avoid problems with flooding. In this case, a universal primer or a general purpose primer should be used. One layer of primer should be applied before waterproofing, another - on top of it, before laying tiles.
Alkaline surfaces
If the walls in the bathroom are made of cement screed, new concrete or have been applied fire retardants, it means that they have alkali in their composition. To neutralize its effect on the tiles, you will need an anti-alkaline primer.
Hard, smooth, dense surfaces
To treat concrete slabs, chipboard and fiberboard, drywall or walls painted with oil paint, the use of concrete-contact primer will be indispensable. It makes the surface rougher, which facilitates contact with the tile adhesive.
Priming your walls and floor
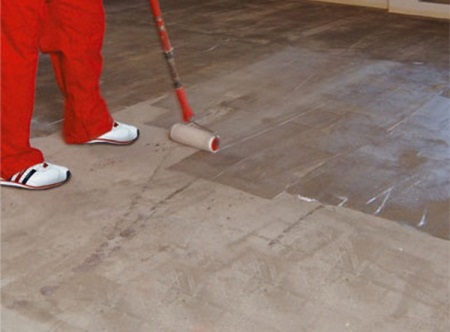
After choosing the right primer, you can get to work. Priming the floor and walls do not differ from each other. Priming can be called one of the most pleasant and uncomplicated repair processes, even a child can cope with it. The consistency of the primer resembles ordinary water, which should be evenly distributed on the surface.
The first thing to do is to prepare the surface. It is necessary to carefully sweep away all debris, dust and other contaminants from the walls and floor. Next, you need to prepare the composition - pour the liquid one into a convenient container, dilute the dry one according to the instructions and mix thoroughly.
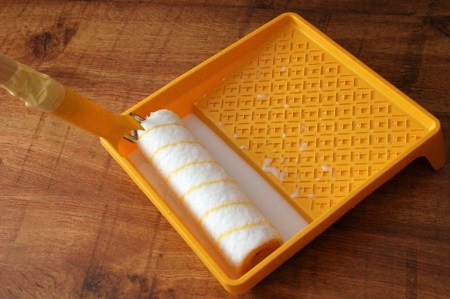
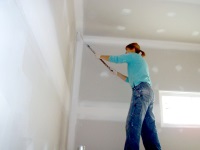
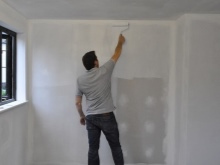
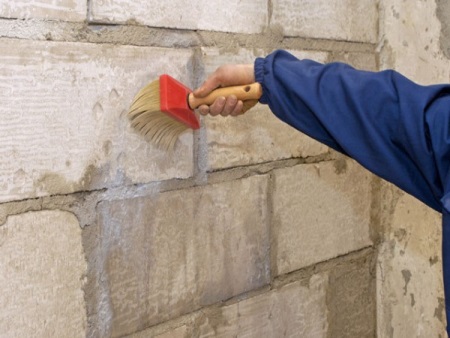
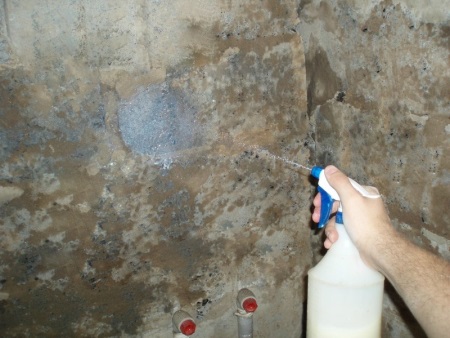
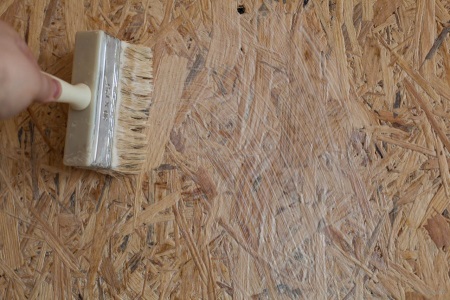
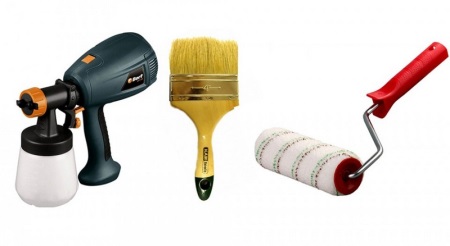
The primer can be applied with a roller, brush or even with a sprayer. The first layer should be applied evenly, soaking the primer in all the protrusions and crevices. Then you need to wait for the time specified on the package. If necessary, you can apply a second coat.
Priming the joints between the tiles
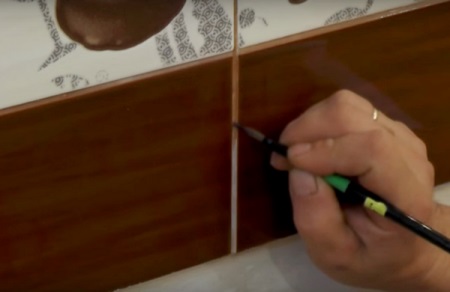
To strengthen the surface of the grout, to protect it from water, fungus and mold, you can prime the joints between the tiles. It is recommended to do it not earlier than on the seventh to eighth day after laying the tiles, so that the composition is completely dry.
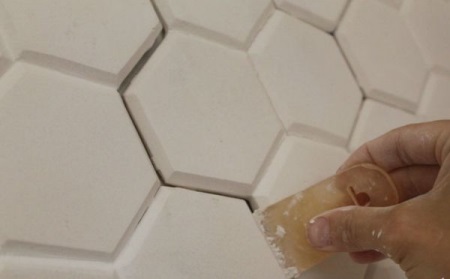
For tile joints, it is worth using a primer with antibacterial components. To do the job carefully, you need to use a very thin brush - some types of tiles can become cloudy or change color if the primer gets on them. After processing the seams, porcelain tile should be wiped with a soft, damp cloth.
By the way, some masters advise to dilute the grouting mixture itself not with water, but precisely with a primer, then it is not necessary to additionally coat the seams.
About preparing the walls before laying tiles on tile glue, see the following video.


