Installation of underfloor heating under tiles
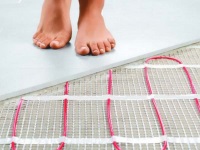
These days, very often in an apartment or your own home you can find tiles on the floor in the kitchen or bathroom. This, of course, is practical. Tile is resistant to high humidity and various contaminants. However, it has a significant disadvantage. With high thermal conductivity, the tile is very cold to the touch. It is not customary to lay tufted carpets in these rooms. How then to walk on the floor? How can a child be allowed on it? In search of a solution to these problems, the idea of underfloor heating was born. Underfloor heating under the tiles creates comfort in the room and makes it more comfortable.



Is it possible to put a warm floor with your own hands?
These days, underfloor heating is not a luxury, but a means of comfort. No one will be surprised by this device anymore. In every second own house with an autonomous heating system is supposed to install a warm floor, which is provided by the project.
It should be noted that this system is possible in the apartment, but only if the management company allows you to make changes in the central heating system of the apartment building.
There are several types of underfloor heating - water and electric, film and infrared. The least expensive will be a water system. Electric underfloor heating will come out a bit more expensive, because this will also include the cost of electricity. If you decide to put the floor heating yourself, you will save a lot of money. The advantages of underfloor heating are obvious. The biggest advantage is that it heats the room faster and more evenly. So how to install the floor heating with your own hands?
The choice of equipment and materials
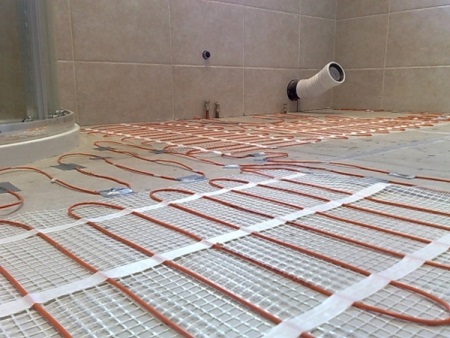
Before starting the whole process, it is necessary to decide on the equipment and materials. First you need to choose a set of underfloor heating system. There is a large assortment available at special construction stores, including already assembled kits such as the one shown in the picture. It is better, of course, to buy such kits. Then it is not necessary to select the parts of the system that fit together.
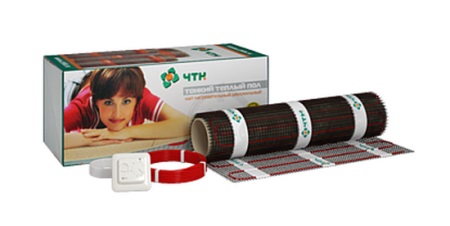
It includes:
- Special "mats". They are a curved heating cable, which is laid on a foil-mesh, no more than half a meter wide;
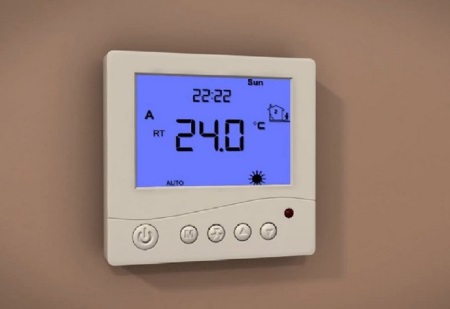
- Thermostat. It controls the temperature of the floor. It must be fixed to the wall;
- Connecting wires.
The contents of the kits vary. Everything depends on the brand.
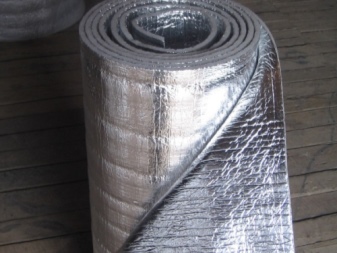
At the moment, infrared floor systems are very popular. However, for laying under the tiles, it is preferable to use electric mats. In addition to the kit, it will be necessary to purchase a thermal insulator - foil-coated foil. It acts as a substrate and minimizes heat loss. This will reduce electricity costs later on. It is necessary to lay the foil on the screed, with the foil on top. In addition to the system itself, it is necessary to think in advance about the tiles.
Technology and instructions
How is the underfloor heating laid?
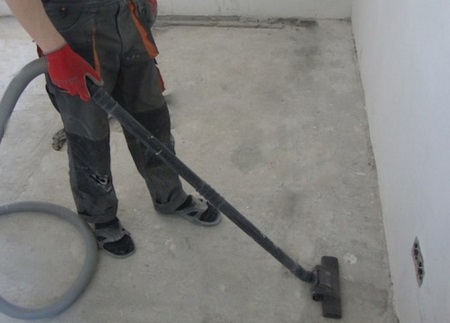
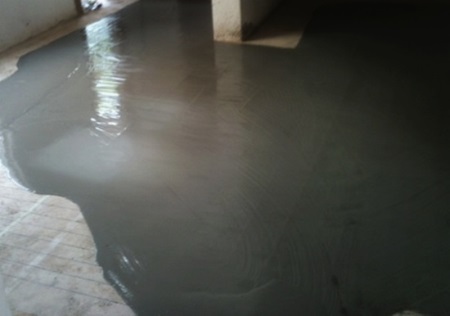
Before laying heating mats under the tile, it is necessary to prepare the surface. The process assumes that the cable floor heating is laid on an even and clean plane. To do this, the floor must first be thoroughly swept and washed. If there are any irregularities on the old flooring, it is better to get rid of them mechanically. If you can not do this, then it will be necessary to screed the floor and make its surface even. For a wooden floor, the best solution will also be a screed.
What is the best composition to use for screeding?
When the process has already begun, give preference to quick-drying mixes. Remember that a solution of sand and cement can dry for up to two weeks.
A perfectly flat floor surface is a must. The problem is that if the cable kinks somewhere or gets caught in irregularities, a breakdown can occur. It's not hard to guess that this can have serious consequences. It is not possible to repair the underfloor heating system.
A underfloor heating system consists of a heating cable and a thermostat. The heating cable may be two-core or single-core. The first type is much more expensive than the second, but it should be emphasized that it is safer.
How to choose an electric underfloor heating?
To date, there are many manufacturers. Therefore, it is necessary to pay attention, mainly on the quality of materials, brand, reviews and warranty.
The kit must contain a manual and floor installation diagram, as well as the necessary equipment.


So, before you start laying underfloor heating, you need to remove all the furniture from the room, remove the previous floor covering and prepare it for further manipulation. It is required to choose a place in the wall in advance in order to install the electric thermostat there. If required, separate wiring for its connection must be made. According to the rules, a special output from the power supply panel is required for these equipments. After finishing the preliminary manipulations, it is time to start equipping the thermal insulation and laying the cable.
Laying of insulation
Foam insulation is used for thermal insulation. This is a special material that has a foil coating and self-adhesive layer. It is endowed with excellent qualities - it is lightweight, thin and has a thermal conductivity coefficient of 0.049 W/mK.
The first thing to do is to lay the foil with the foil on top. The seams need to be glued with a mounting adhesive tape, as in the following picture.
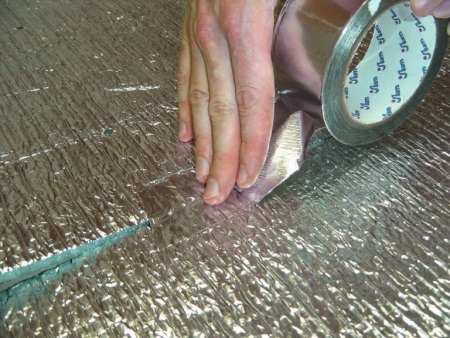
Remember that in the corners of the room you should be 0,5-1 cm away from the wall.
Installing Heating Cable
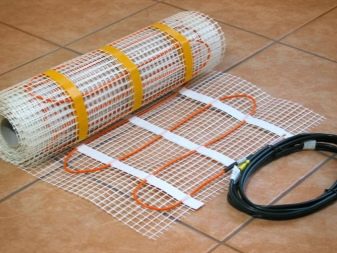
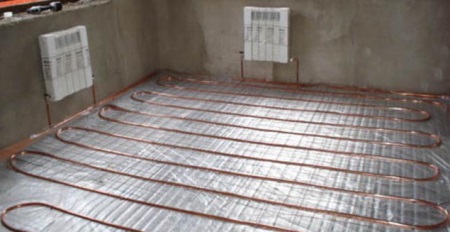
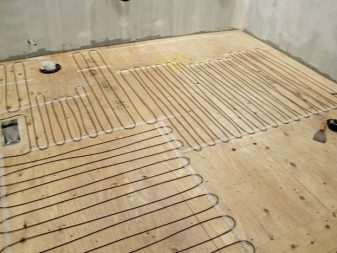
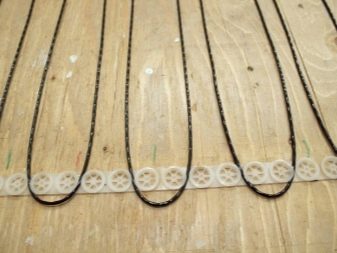
Electric underfloor heating under the tile is installed with the use of mounting tape, glued to the floor. Sometimes this flooring is called "foil flooring. The film is not exactly what is needed for installation under tile. The mechanism of its operation is slightly different. Modern heating cables are already attached to the mounting tape. Its task is to avoid unnecessary bends.
Installation of the thermostat
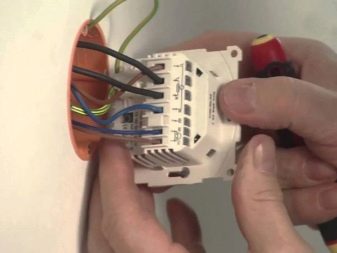
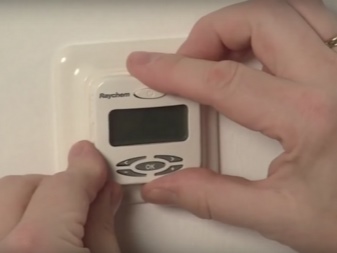
If you have purchased a ready-made set, then unnecessary manipulation on the installation of the temperature sensor is not required. The thermostat resembles a simple switch. It is attached to the wall. You can do this yourself. No special knowledge is required here. Then you can connect the device to the network.
If you decide to take the elements of the system separately, you need to position the temperature sensor so that in the case of its replacement it is not necessary to destroy the concrete screed. Often it is placed in a corrugated tube at the exit point of the heating cable to the outside. This is also done so that in the event of a possible breakdown, it can be removed without any problems. After that, the cement mortar is poured together with the cable or the tiles are laid.
How do I turn on the floor heating after installation?
After you have laid the cable, it is necessary to check the reliability of the system. This procedure should be performed before pouring. Everything must be done correctly. Any malfunctions must be excluded.
You can check the floor heating by measuring the resistance of the cable. This is done using a special tester. All data should be checked against the product data sheet. Only after that can you do the cement screed, a thickness of about four to five centimeters. Sometimes immediately laid tiles. This is done in the usual way. The only difference is that the work requires a special tile adhesive "for underfloor heating".

Useful tips
- When buying a heating cable or mat, count on the free space, not on the total space. It makes no sense to install underfloor heating under furniture or, for example, a washing machine, and moreover, it is not safe, because the cable can overheat and break.
- Calculate correctly how much cable you need. It will not be possible to change its length, because it is forbidden to cut the cable. Doing so will cause it to break.
- Do not plug in the cable until the work is finished and the screed and glue are dry.
- Do not lay the cable or mat on a dirty surface.
- Do not step on the cable with shoes on.
- It is not necessary to hide the temperature sensor in the mortar.
- Do not forget about caution. It is necessary to measure the resistance of the floor before and after installation.
- It is necessary to draw a plan for laying the underfloor heating.
- You should not leave air pockets around the "hot" part of the heating cable.
- You can not turn on the system immediately after installation. Many people explain this by saying that so the screed will dry out and seal faster. However, this is not true. You'll just damage the cable that way.
See the following video about the installation technique of underfloor heating under the tiles.


