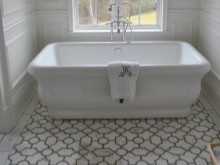
Installing the floor tiles in the bathroom
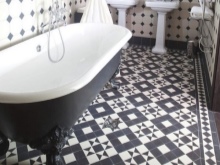
It is difficult to imagine the design of the bathroom without floor tiles. To modernize the design, you can choose a classic finish or a modern way of designing the space. The main thing is to ensure the quality laying of tile material, taking into account the grouting of seams. Before you start the repair work, you need to prepare the surface of the floor.
Preparatory work
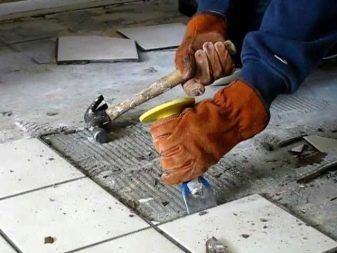
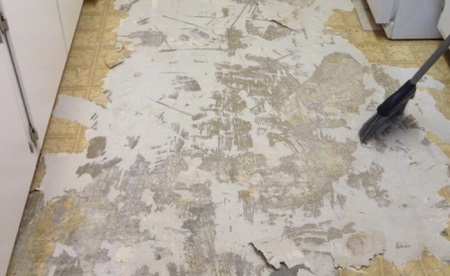
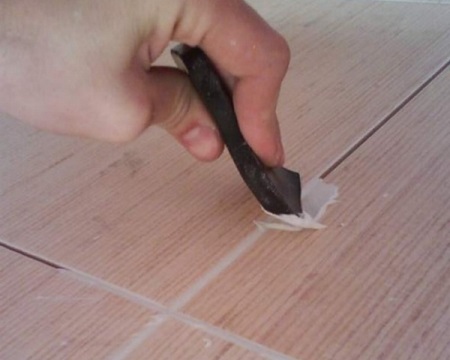
It is worth considering that the preparation of the floor surface is also carried out in several stages. The floors are made in the proper form. If necessary, the base (screed) is laid. Previously, tiles were laid on cement mortar, which could hold for some time, but then it began to crumble or crack. Before working on laying tiles, it is necessary to remove the old base. To do this, you need tools - a hammer, chisel, sledgehammer and protective equipment with goggles. To destroy - not to build. Therefore, the dismantling is fast enough. Then you can proceed to the final preparation of the floor for laying tiles. This requires removing all flaking elements, excess glue, screed residues, perfectly clean and vacuum the surface.
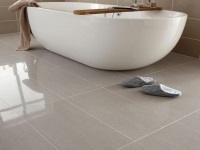
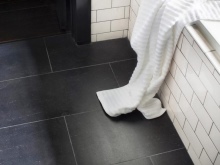
Floor tiles are the most practical option for finishing floors in the bathroom, taking into account the high humidity in this room. The most common material for the bathroom remains ceramic tiles. Taking care of such flooring does not require much effort, it is enough to wipe the floor with a damp cloth. The material does not lose its attractiveness over time and, very importantly, does not deform due to constant moisture. For laying tiles any substrate can be used. Of course, the type of flooring is taken into account.


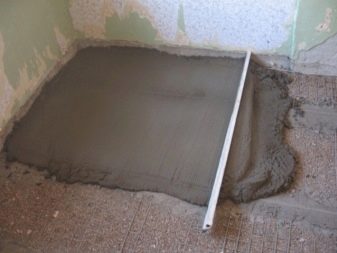
Wooden floor is the least suitable for this room, although modern wood processing technology makes it incredibly resistant to external influences. The preparatory stage before laying tiles is very important, because the quality and durability of the finished finish depends on it. Preparing the floors in the bathroom for laying floor tiles, it is necessary to achieve a perfect horizontal surface, to carry out waterproofing work.
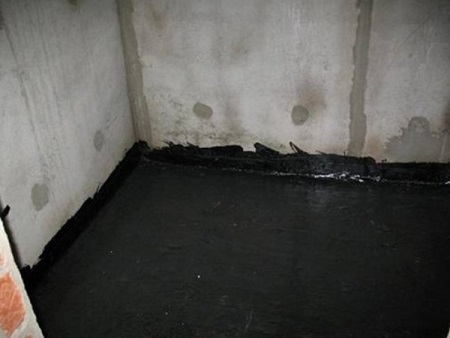
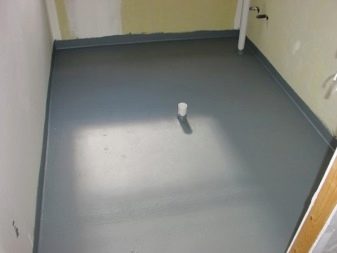
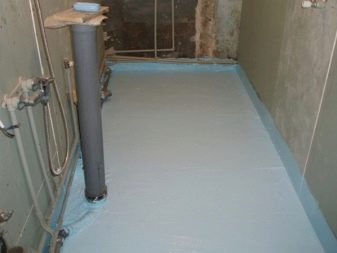
Waterproofing
Waterproofing is a necessary requirement when laying tiles in the bathroom, on which depends on the quality of laying in general, the aesthetics of the room, its functionality. Concrete screed must be protected from the effects of moisture by a special impregnation. In order to provide this protection, special materials with waterproofing qualities are used.
Today, in order to achieve the maximum effect, you can use different methods:
- laying a film deck,
- to cover the surface with epoxy resin,
- Use a bitumen sealant,
- Apply a special liquid mixture with waterproofing properties,
- apply water repellent impregnation,
- Apply oil paint over the screed.
What materials are needed for laying?
When choosing materials for flooring, the specifics of the room are taken into account.
For laying tiles in the bathroom will need:
- Tile (you need to calculate the amount of material for a certain area),
- building mixes and adhesives,
- tools for work (rubber mallet and trowel),
- tile cutter (if you need to trim the tiles),
- levels,
- a set of plastic crosses for marking (to achieve perfect smoothness and evenness of the floor),
- Special screeds (for the same purpose),
- Means for grouting joints in the intertile space.

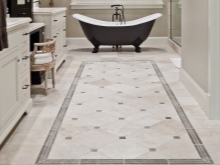
The choice of tile - the most responsible moment. It is necessary to study the surface of the glazed tile - whether it has pores, how fragile it is. On the reverse side of the tile should be as little pores. The front side of tiles should not be slippery and traumatic. The finishing material should be resistant to moisture and chemicals used in the care of the floor tile surface. And, of course, the tile must be intact - without chips and deformations. Quality tiles will last a very long time and will not lose their original properties and appearance.
Stages of work on laying tiles
For the greatest effectiveness it is necessary:
- directly prepare the surface (clean, screed);
- choose the design of the new coating;
- choose the material (depending on the type of ceramic tile);
- To plan the laying of tiles on the floor.
Then you can proceed directly to laying, and upon completion perform grouting of the joints.
How to do it all?
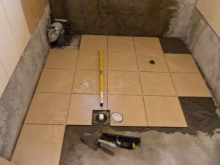
1. Marking .
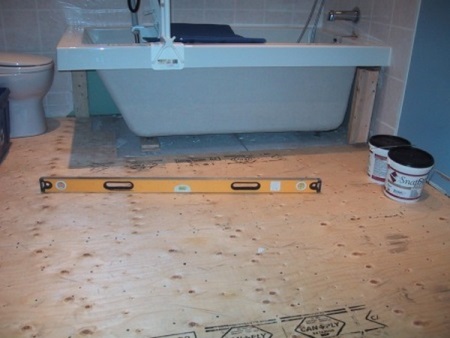
The marking of the flooring is not difficult to perform. The main problem arises when the master knocks down the cement baseboard around the perimeter of the room. This is done in order to achieve perfect smoothness, evenness of the flat base. Next, it is necessary to work on the horizontal surface. The height of the floors is selected according to the mark on the walls around the perimeter of the room. The height is adjusted with the help of a hydro-level. A solid line on the wall will allow you to make the laying of tiles at the same distance. It is measured from the base of the floors to the mark on the wall around the perimeter of the bathroom to get the same data. In this way you can achieve a perfect horizontal surface.
If a height difference is detected at any point, additional screeding will be required. It is acceptable to have height differences of 1.5 to 2 cm. Moreover, it should be noted that the highest point should be opposite the lowest one. If necessary, filler floors will help to correct the situation. In some cases, with a slight difference in height, it is enough to apply a thicker layer of adhesive under the tiles at the lowest point. If any area shows porous surface, it should be lightly treated with primer.
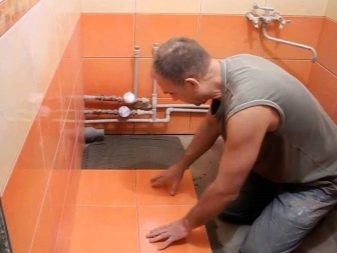
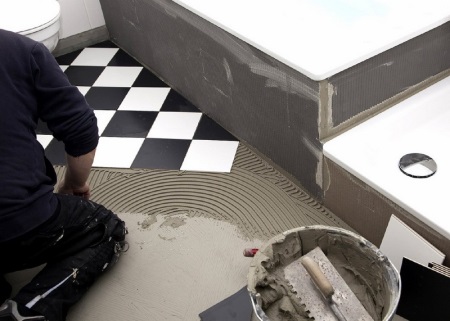
2. Laying
At least basic tile skills are necessary for a beautiful installation of the floor covering. The laying can be carried out immediately after the marking stage. The special mixture is diluted in certain proportions, then it is applied to the surface of the joints with even movements. It is not necessary to use a large amount of the solution, so that then there will be no problems with the elimination of the remains of the mixture. After all, it dries quickly. Ceramic tiles are applied (with pressure) to the base of the floors.
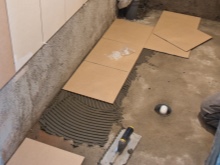
In the process of laying, it is necessary to take into account several fundamental points:
- the laying of tiles should begin with the corner of the room (the protruding part);
- first a little mortar must be applied to the floor and then to the back side of the tile, which is then pressed to the floor;
- to ensure quality laying, you need to tap on the fragments with a mallet;
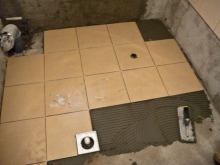
- for reliability of installation, you can pre-soak the tiles in water;
- in the process of laying tiles, the seams are marked with special plastic crosses at the same distance.
Now you can proceed to the final stage of the work.
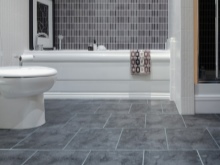
3. Grouting the joints
Grouting the joints between the tiles is carried out at the final stage of all finishing work. If the tiles are laid evenly, the joints will be the same width. In the process of grouting, moisture-resistant mixture is hammered into the area of the joints in a dense layer, which will help to keep the laying from cracking. Act carefully so as not to displace the tile. The remains of the mixture can easily be removed with a damp rag or brush.
Tips
Professional tips when laying floor tiles in the bathroom will help to achieve the maximum effect. Several nuances are taken into account here.
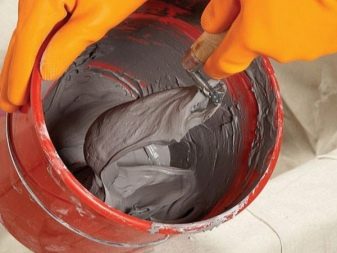
To prepare the shrinking (adhesive) composition, only clean containers are used.
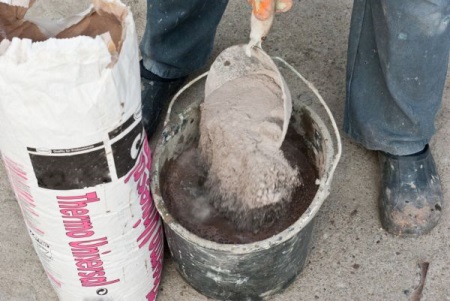
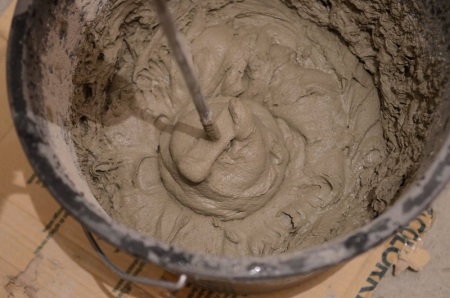
After adding water to the composition, you need to wait ten minutes, and then start stirring the solution with a mixer. The various additives in the seven are activated with the addition of water. In this way you can get a very strong and stable mortar. Just remember to wear a respirator mask before working.
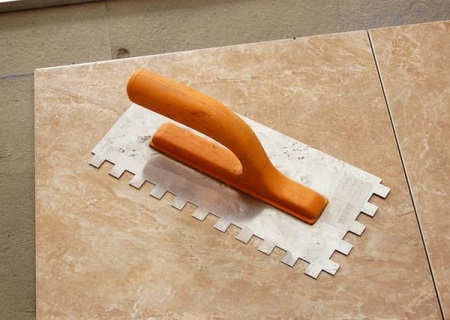
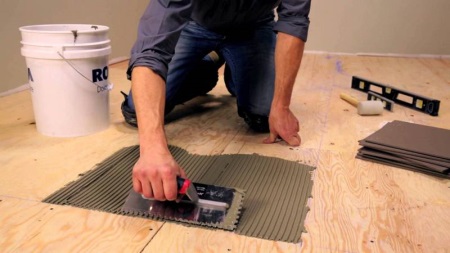
A special trowel with prongs is used to make it easy to spread the mortar.
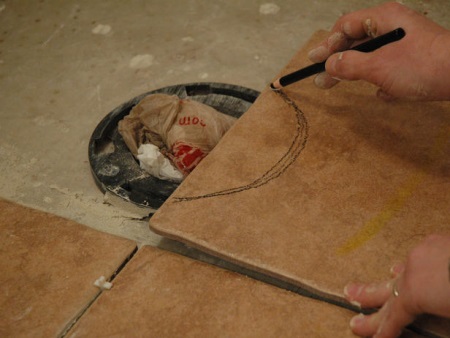
The tiles can be cut at your discretion and taking into account the specifics of laying. Before cutting, the material is moistened in water, and it is best to cut the tiles with a grinder or a tile cutter. To do this work is also recommended only in a respirator because of the tiny man-made dust.
Adhesive composition is laid on the surface in small quantities, as it dries quickly. When distributing the composition on the surface, it is most convenient to hold the trowel at an angle of 45 degrees.
When pressing the tiles into the substrate, it is important not to overdo it, so that there are no depressions on the floor. At the same time, you can not just put the tiles on top of the floor, so that no air remains under it. This will affect the quality of the installation.
With all of the above recommendations, you can get a reliable and high-quality flooring that will last for decades.