How to make a shower enclosure from polycarbonate for villas with their own hands?
It is wonderful to have a cottage or summer house. Here you can grow vegetables, fruits, create a beautiful garden, relax with children and friends. That is, the options for pastime abound.
However, you will definitely want to take a shower, refresh yourself after work in the garden or in the garden. To do this, of course, you need the appropriate devices.
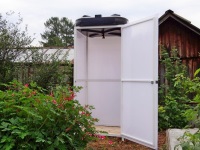
Just pouring a bucket of water is not the most pleasant option. Making a whole bathroom is not always possible. Therefore, the best solution - is to build with their own hands a shower cabin. And as the material is perfectly suited polycarbonate.
Pros and cons of polycarbonate we discussed in detail in the article about outdoor shower cabins.
Steps
Deciding to build your own hands a shower enclosure, using polycarbonate, it is recommended to divide the work into several main stages:
- Creation of the project;
- Arrangement of the shower cabin;
- Insulation;
- The choice and installation of the tank;
- Creation of heating;
- Organization of the drain.
Let's focus on each of them in more detail.
Creation of the project
At this stage you need to take a sheet of paper, or use the capabilities of the computer.
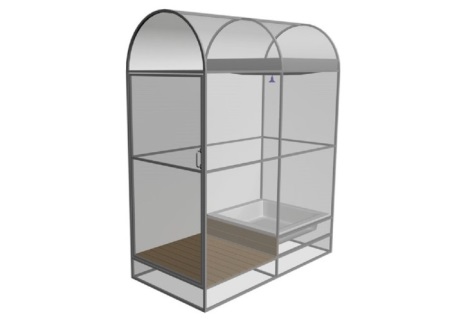
Think about what shape you want to make, whether the booth will have a room for changing, the height and size of the largest member of your family. Calculations should be made on the basis of these parameters.
Standard dimensions for the shower room are as follows:
- 1 square meter - the area of the square floor;
- 2.5 meters - the height of the cabin.

Of course, the project may have a number of individual features, based on your wishes, requirements. The most important thing - to think through every inch, to specify the exact size of the construction, to provide for its location, as well as the possibility of bringing communications if necessary. Do not forget about the drainage system.
Arrangement of the cabin
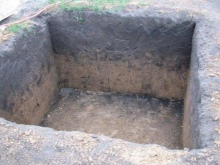
- Make a marking of the territory under the foundation.
- Dig a hole about 80 centimeters deep.
- At the bottom, lay profiled steel pipes, which are installed at the same level.
- Pour the pit with concrete mortar.
- Proceed to the assembly of the metal frame. The metal corners are assembled in a square and fixed with a welding machine. This is how you create an area for the tank and the floor.
- The corners of the squares are fastened with posts to create a kind of parallelepiped.
- Think in advance about the location of the doors, before fixing the cross bars. Tubes with a diameter slightly less than the diameter of the uprights are suitable for them. They are welded or bolted to the frame base.
- Now hang the door pit and treat the metal elements with special primers and paints.
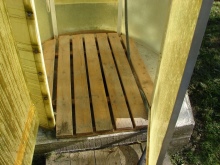
- Proceed to the arrangement of the floor. Here you will need a special pipe. Through it, water will go to the drainage system. This water can be useful for watering the garden.
- If you make a stall with a dressing room, limit the possibility of water entering there. To do this, it is enough to make a step or threshold on the floor.
- The resulting structure is lined with polycarbonate. Practice shows that the optimal thickness of the sheets - 20 millimeters. Fixation is carried out with the help of bolts.

Insulation
If you plan to use the shower stall in the winter, then be sure to insulate it. Here the best solution will be foam. Fill the frame compartments with it before cladding. It is also recommended to cover the polymer sheets with films that help protect against moisture and steam.
Give a more attractive look booth will help linoleum, PVC panels or oilcloth. Here already be guided by your own preferences, but choose only moisture-resistant materials.
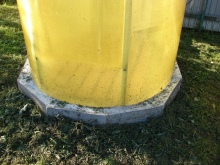
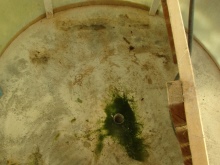
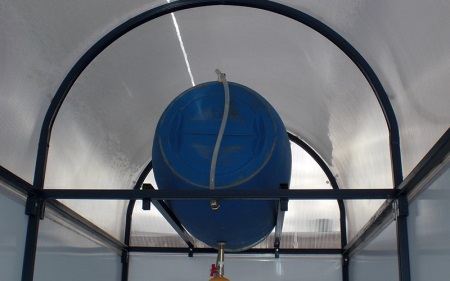
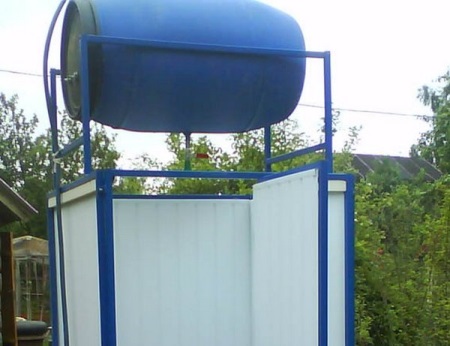
Selection and installation of the tank
The tank should be installed on the roof of the cabin, so it is exposed to direct sunlight. This way the tank will be able to warm up faster and more efficiently.
Think about how you will be more convenient - to fill the tank manually or connect a hose from the water supply.
Choose the form, as well as the material - aluminum, plastic, steel. Keep in mind that plastic ones are the easiest to handle, easy to transport, and heat water quickly. In winter, however, be sure to cover the plastic container to protect it from frosts.
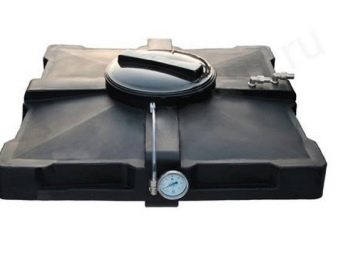
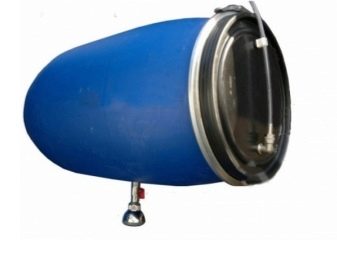
Metal is heavy and bulky, require regular maintenance and a stronger frame.
As for the volume, then focus on the number of family members and the intensity of shower use. As a rule, 200 liters is quite enough.
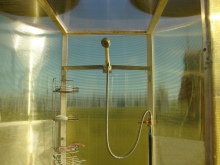
Creating a heater
Heating can be fully entrusted to the sun. Often many do so. However, in a short time the water will not heat up. So you have to look for alternatives.
For example, you can make a kind of greenhouse on the roof of the cabin. This is the simplest construction of slats, covered with polyethylene. Such measures allow you to increase the temperature of heating by 10 degrees.

Also well helps a mirror, foil, which are attached to the north side of the construction.
Do not forget to install a float in the cistern, which will raise the cold water upstairs, and you can take a shower under the already warm water.
For winter use, it is recommended to install a large heater - something like a boiling pot. It is better to divide the tank into two sections - for cold and hot water. To heat 50 liters of water with a boiling pot with a capacity of 2 kW you need an hour and a half. The simplest faucet will allow you to make a warm shower.
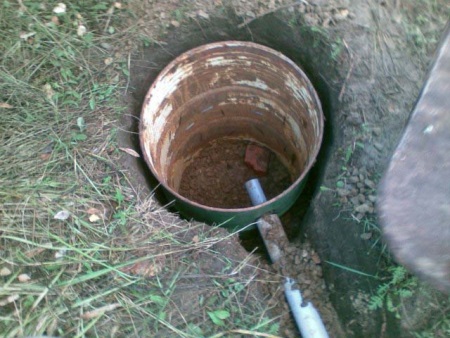
Arrangement of a drain
For this you will need a small pit, a compost pit, a drainage system and a quality septic tank.
Keep in mind, you can not place the septic tank and drainage directly under the cabin, as this will lead to unpleasant odors. Also, do not forget to make a drainage pit larger than the volume of the water tank used.
Operating rules
The beauty of polycarbonate is that it does not need special and careful care.
- Any dirt that appears is dislodged with a water jet from a hose.
- Do not rub the panels with hard rags, do not use detergents with abrasives, as you will create a lot of scratches.
- Before using any product, make sure that its ingredients are not harmful to polycarbonate.

That's all. Building a stall will not be very difficult, and the simplest rules of operation will allow you to enjoy a warm, reassuring shower on your dacha plot for many years.


