Assembly and installation of the shower cabin with their own hands. Saving money

More and more often shower cabins act as a full-fledged alternative to the bathroom. The advantages of shower cabins are obvious - they take up much less space (which is especially important today, given the cost of housing), are inexpensive and durable. Buy a shower enclosure today you can almost in any furniture store, and how to install it correctly, you will learn in this article.
Types and types of shower cabins
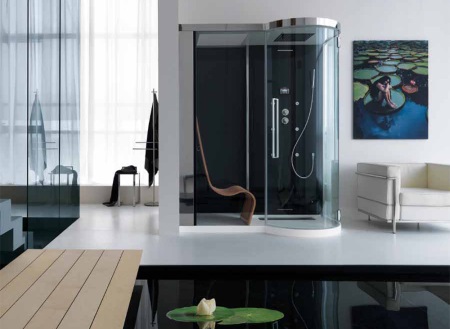
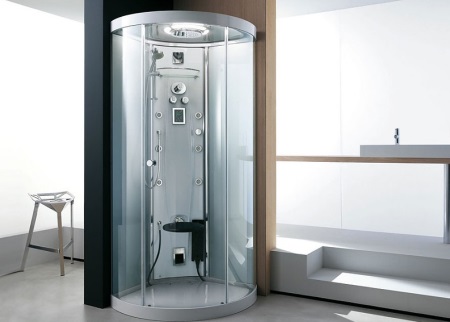
Modern shower cabin - it is not just one of the elements of the bathroom, but also a real work of art, science and technology. Many manufacturers offer a wide range of cabins for every taste and affluence, and the cabins are not only equipped with a shower and whirlpool, but also with a steam generator, music player and even a telephone.
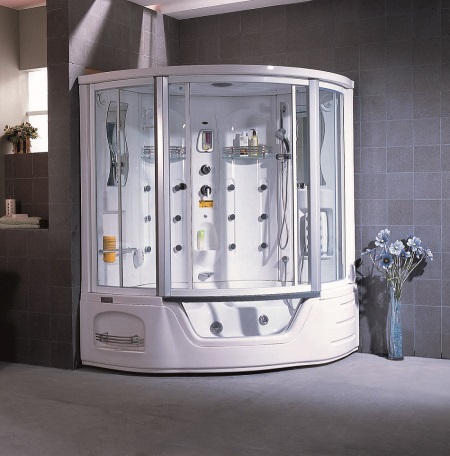
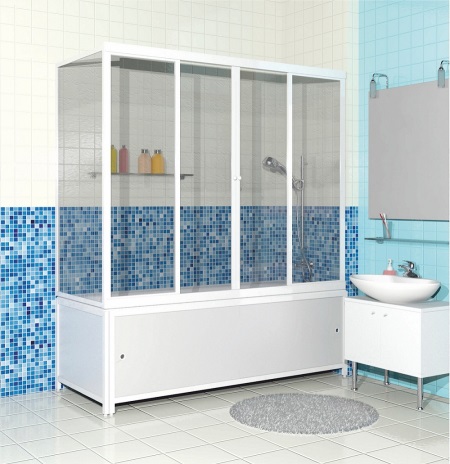
There are two basic types of what are called shower cabins - showers and shower enclosures.. Shower enclosures differ in the fact that by their design they are cabins, surrounded on all sides by walls-panels. Shower enclosures, on the other hand, are installed in the corner of the room and thus use the walls instead of one or two side panels in their design.
Read more in our article about how to choose a shower cabin..
The basic design
As for the principle device of modern types of shower cabins, it is customary to distinguish:
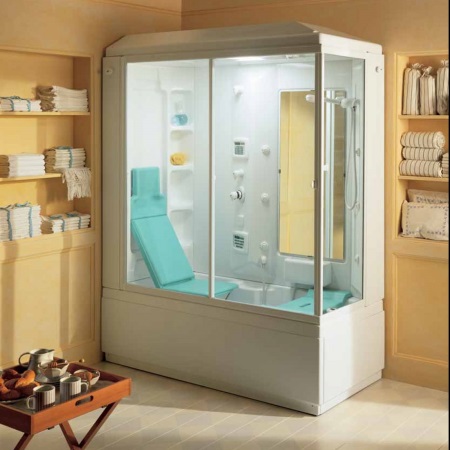
1. Prefabricated shower cabins. This type of cabins is assembled by the buyer or a specialist-installer manually on the spot. On the one hand, it gives the customer some freedom, but on the other hand their assembly requires effort.
2. Monoblock shower cabins. They are manufactured and assembled directly at the factory, and the customer only needs to install and connect them to the mains.

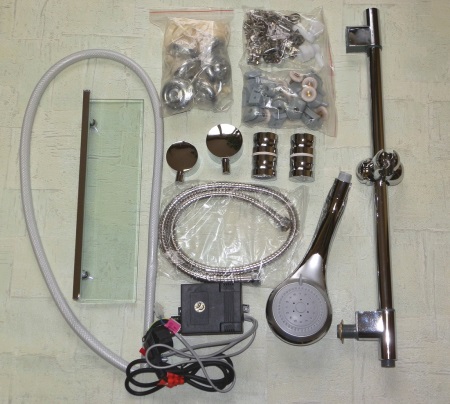
Check the package contents
Assembling even the simplest shower cabin is not the easiest task for a layman, therefore, first of all you should make sure that all the necessary tools and components for assembling are available.
When choosing a shower enclosure in the store, special attention should be paid to the quality of the product and the accompanying parts. Ask the salesman to check whether all the necessary parts are in placeand, if necessary, ask to replace the shower cabin or buy individual elements in the same store.
You should be especially careful to check the safety of the glass and the availability of the assembly instructions.As modern models are often difficult to assemble without instructions.
Tools and materials required
To assemble the shower cabin does not require any special tools, but be prepared for the fact that you You will need capable hands, up to 2 hours of free time, as well as:
- Pipe wrenches and open-end wrenches
- Screwdriver and a drill with a set of drill bits
- A hacksaw and sharp knife
- Fittings, pipes, hoses, and siphons for the sewer system
- Level, tape measure and marker
- Sealant Sealant and masking tape
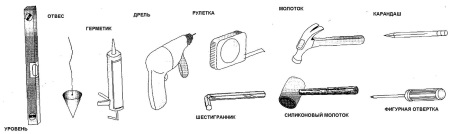
Depending on the model of the cabin tool kit may vary slightly.
Step by step instructions
Given that a huge number of models of shower cabins generates a large number of nuances of assembly, in this article we we offer a step by step instruction, based on the main general rules and principles, typical for the majority of modern shower cabins.

The preparatory stage
First of all, you must prepare the floor, as installation of the shower cabin is only possible on a flat surface. If possible, it is better to make waterproofing floor - this will allow in the future to protect the apartment or house from leaking water.
Before installing the shower enclosure must be carefully unpacked details, since some of them are made of glass and can be damaged if handled carelessly. Most often, each set is accompanied by a special manual for the operation of the product and its assembly, which can vary dramatically depending on the model.

Tray
Tray is the base of any shower cabin and serves to collect water. Depending on the model of shower enclosure it may be fully assembled or only partially assembled. Typically, the bottom of the tray is attached made of metal cross, to which will be attached legs.
To shower enclosure was located evenly and not swing, all of its feet should be screwed in the same plane and measured the process with the level.
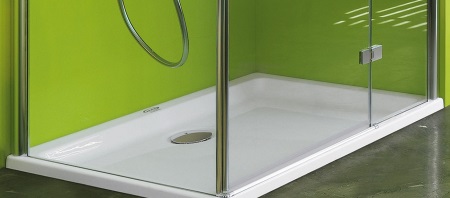
After installing all the legs on the design, the tray is installed in a corner, after which the siphon is connected to a common sewage system and the outlet is left above the floor. There should be no gaps between the tray and the walls, and for greater strength the joint between the cabin tray and the wall are treated with silicone adhesive.
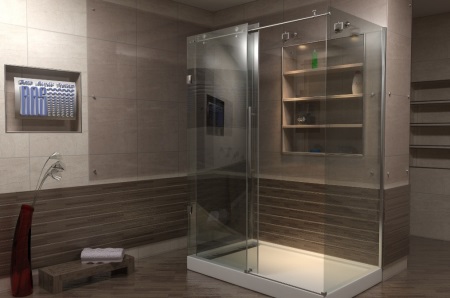
Walls
After completing the installation of the tray you can move on to the next step of the assembly process, but do not forget the important rule - first assemble the walls and ceiling of the shower enclosure, and only then the doors.
Installation work on the walls of the shower enclosure can vary depending on the model you choose. But, most often, the walls are fixed with special bolts. However, there are other types of fasteners. If the connecting bolts do not look reliable, it is better to buy additional ones.
Be sure to check the type and availability of fasteners in the store before buying.
Roof
When buying a shower enclosure, you need to keep in mind that The distance between its roof and the ceiling of the room must be at least 25 centimeters..
Roof shower enclosure mounted with screws and screws, it is recommended to pay special attention to tightness of the roof to the cabin panels.

Doors
Installation of doors for any shower enclosure is performed in the final stage, when all the basic work is finished. First you need to install the rollers at the top and bottom of the structure, where the doors will be attached.
In addition to rollers for proper operation of the door to install seals and a magnetic strip, which is needed for firm closing of the two leaves

Accessories
Once the installation of the doors is finished, you can attach handles, which, depending on the model of shower enclosure, are mounted in a specially designed place on the doors.
After you have installed the handles, check the correctness of the assembly. To do this, open and close the doors several times.
Drainage .
Now it is necessary to take care of the hoses designed for water drainage. As experience shows, Included with the shower cabin can be attached not very good quality hosesAnd if you do not find threads on them, It is better to buy new ones, which will be more reliable.
Plumbing
In order to ensure a continuous water supply in the shower cabin, you should install a tee for hot and cold water.
Connection to the water supply system of a modern shower cabin should only be made according to the instructions!
Power supply
Depending on the model of shower enclosure may need a separate outlet, so you should think about installing it in advance. It is best if it will be a special outlet, designed for use in rooms with above-normal humidity.
Place the socket should be so that there is no strain on the electrical wires.
The best place for the socket will be placed on the side or the back, if the shower enclosure has back walls, which will protect against water ingress.

The final step
When the assembly of the shower enclosure is complete, you should treat all joints between the cabin and the tray with silicone sealant, in order to avoid water leakage during operation. After the sealants have dried, turn on the water to check their reliability. If water leaks somewhere, the joints should be reapplied with an insulating compound.
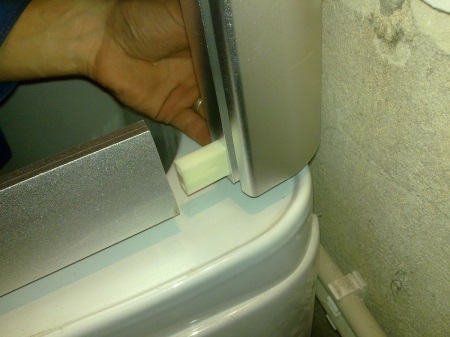
What to do if there is no right angle
It happens that the geometry of the room is not perfect, there is no right angle and the tray can not fit snugly against the walls. This problem can easily be solved with a grinder - at the level of the pallet, you need to undercut the tiles. This will help to achieve a tighter fit.
The main thing is, Before you start cutting extra centimeters of tile, you need to make accurate measurements.
At the points of contact of the pallet with the wall, a layer of silicone should be applied.
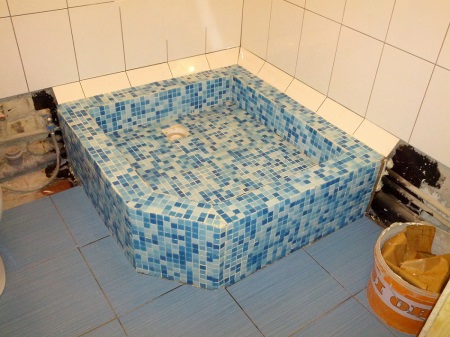
Installing a homemade tray
In some cases it is not possible to use a regular tray (for example, the design of the room does not allow). This is not an insurmountable obstacle, because the pallet of suitable shape and design can be made yourself. The most popular trays are made of stone and concrete.
Installation of a self-made pallet is almost identical to the installation of a typical pallet, but in this case, special attention should be paid to the alignment of the walls of the cabin, as well as additional sealing of the connection points of the cabin and pallet.
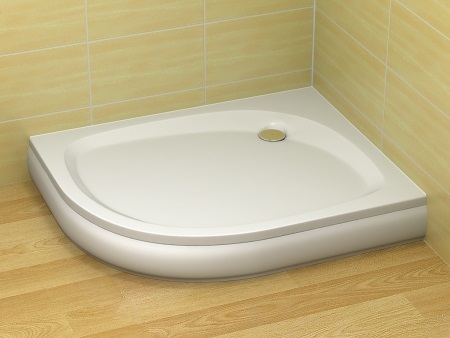
Installation of a low tray
Depending on the configuration of the product, the process of installing a shower enclosure with a low tray may be different, but the basic steps that were indicated in this article will help you to assemble a shower enclosure quickly and reliably.


All the money I spent on the shower cabin, and now I have to install it myself. So far, a little scary.