Is it necessary to have a niche in the bathroom and how to make it out of drywall?
The purpose of
The niche is an architectural element, which is a recess in the wall. Niches have been used in residential interiors for a very long time - since the times of ancient Greece and ancient Rome. Initially, this structural element decorated the walls of temples and served to store items of religious worship, such as statues of pagan gods and other relics. Later niches appeared in the walls of palaces. In rich houses in the niches were placed valuable things and works of art - vases, statuettes, etc.
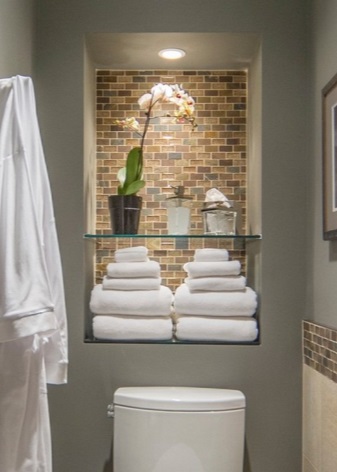
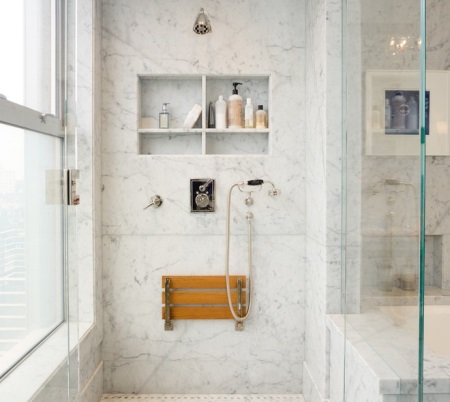
In modern interiors, the purpose of the niche is more practical. Increasingly often, in the design of housing for the niche in the wall enshrined certain functions. For example, it can serve as a kind of cabinet for storing household items. If we are talking about the interior of the bathroom, the wall niche is usually used for towels, hygiene products, household chemicals, toilet paper and so on. If you carefully consider the location of niches in the room, you can get a universal storage system and thus do without cabinets, chests of drawers and shelves cluttering the bathroom at all.
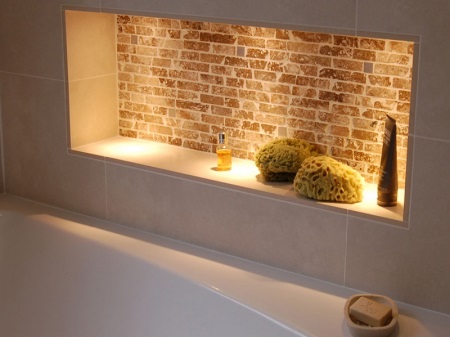
In addition to its main purpose, the niche in the wall can be used to organize spot lighting, as it is convenient to mount built-in lights.
Advantages
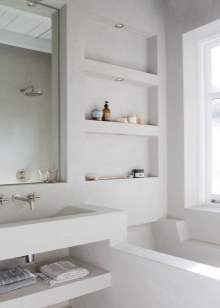
- The main function of the wall niche is the storage of all sorts of things. Depending on the size and location, it can be used as a shelf or a shelf. But unlike these pieces of furniture, the niche in the wall looks quite fresh and original, reminiscent of the stylistics of antiquity and classicism.
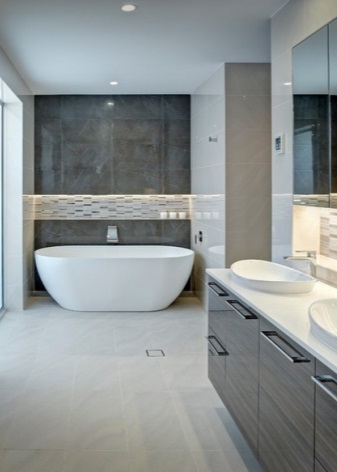
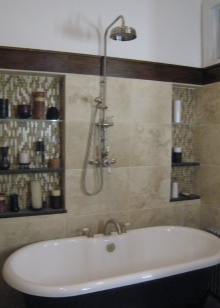
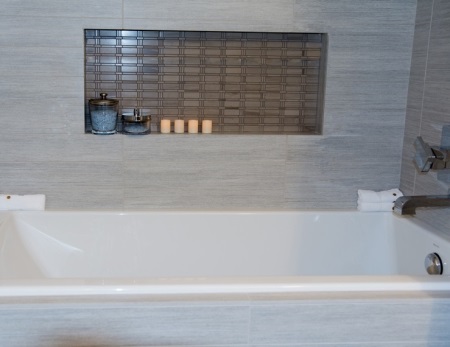
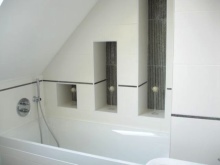
- The niche allows you to use the space that is usually left unused: for example, above the bathroom or over the toilet. If the room is equipped with built-in plumbing, all the lines to which are hidden behind a plasterboard wall, the wall niche is an excellent solution that saves space in a small bathroom.
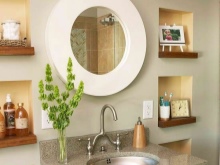
- If there is a large number of communications on the walls in the bathroom, which spoil the appearance of the room, it is easy to cope with this problem by hiding everything behind a false wall of drywall. And so that the useful space is not wasted, you should organize one or more niches in the wall. Even if you do not need additional storage space, niches can be used to decorate the interior, for example, to place candles or plants in pots in them.
Cons
- For inexperienced craftsmen, arranging a niche in the wall can become a real challenge. Make it, in general, is not so difficult, but to do this, you will have to properly make some calculations. In addition, you will need to go to a construction store to buy the necessary materials and tools. However, if there is no time or desire to deal with the repair, the construction of the niche can always be entrusted to a professional - an experienced master can easily cope with such a task.
- Compared with traditional solutions for storage in the bathroom, wall niches have limited functionality. Firstly, they do not protect things from dust and water splashes. Secondly, they are rarely deep enough to hold large items. And finally, things in the niches always remain in sight, so it is extremely inconvenient to store items of personal hygiene in them.
- Another disadvantage of the niche in the wall is that if you want to get rid of this architectural element, you will have to perform dismantling work. Therefore, when planning a niche in the bathroom, you need to be sure that in the next few years you will not want to get rid of it.
How to make a plasterboard niche?
As we said above, to make a niche from drywall with your own hands is easy enough, so if you have at least minimal construction experience, you can safely get down to business.
Let's consider the stages of work on the manufacture of such a niche.
The choice of material
Since we are talking about the bathroom, gypsum board must necessarily be moisture-resistant. It can be easily recognized by a special coating of blue or green shades. Such drywall resists moisture, so it does not show mold and signs of decay. In addition, you need to buy a metal profile, which will go to the construction of the framework of the structure. Profile should be of two varieties - guide and rack profile.
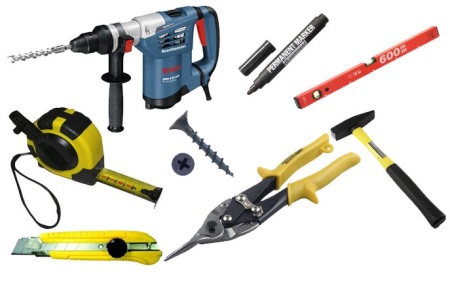
Preparation of tools
Depending on the material of the walls in the bathroom, you will need dowel nails or self-tapping screws. Self-tapping screws of a different size must be purchased for sheeting plasterboard. In addition, prepare a screwdriver, a cutter for working on drywall, a drill or a hammer, a hammer, a tape measure, an angle ruler, a building level and scissors for working on metal.
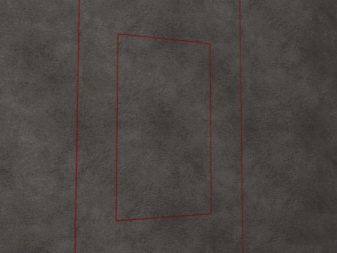
Creating a drawing
No special drawing skills are required. Just draw a sketch, carefully measure everything and once again make a drawing of the future construction with the indication of all the dimensions.
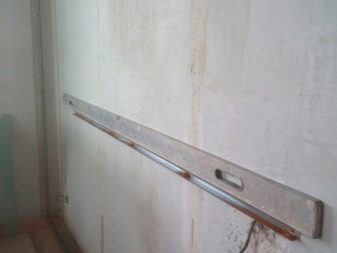
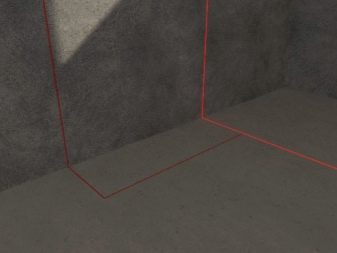
Preparatory work
The first thing you need to prepare the working surface. The part of the wall on which the niche will be located should be freed from the remains of building materials and dirt. Then, armed with a building level and a tape measure, draw a marking on the wall for the fasteners and guides. If you want, use a laser level - it will help make everything perfect.
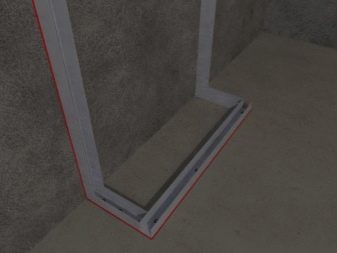
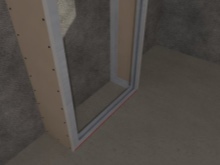
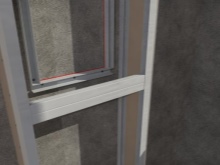
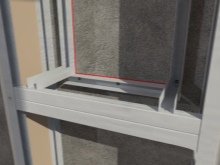
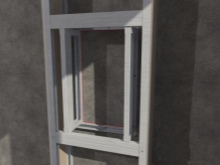
Building the frame
According to the markings, you need to fix the guide profile on the wall. Make sure that the guides do not deflect, otherwise the construction will warp. The profile is attached to the wall with self-tapping screws or dowels. Then, a mullion profile is inserted into the guide profile, with a spacing of no more than 60 cm. The smaller the distance between the segments of the support profile, the stronger the final design will be.

Installing the communications
If the wall niche will serve, including for hiding pipes or wires, then after assembling the frame you need to take care of the communications, as the next stage of access to them will be closed.
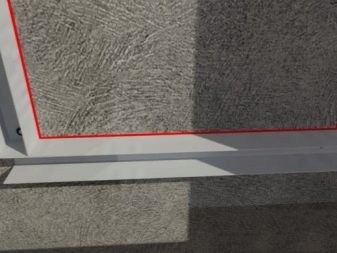
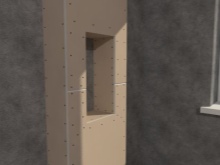
Cladding with plasterboard
Once the framing is complete, most of the work is left behind. With a pencil or marker, a kind of "pattern" is drawn on the sheets of gypsum board, according to which the necessary parts are cut out with a sharp cutter. Then attach the parts to the metal profile with self-tapping screws. The optimal distance between the screws is 10-15 cm. Carefully join the sheets at the corners to make the construction look presentable.
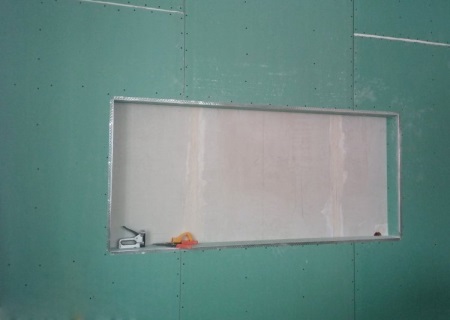
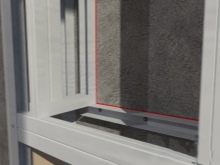
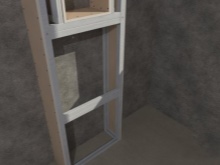
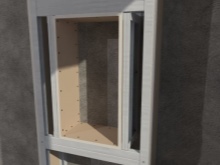
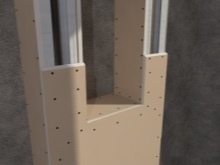
In the following photos you can see the entire sequence of the process.
Finishing works
At the final stage, the resulting construction needs to give a neat appearance. To do this, the surface should be putty, eliminating all the shortcomings of the material and flaws in the work. On top of the plaster, paint is applied or ceramic tiles are glued.
Design and decoration
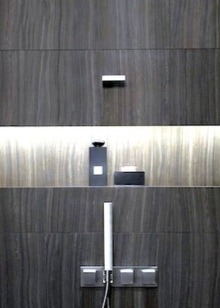
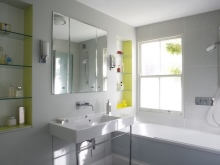
There are an infinite number of options for decorating the wall niche. If you prefer that this element does not stand out, you need to perform it in the same colors or using the same finishing materials as the entire bathroom. If your goal is to draw attention to the niche, you can highlight it with a contrasting color scheme and textured material. Experts do not advise making dark niches on a light background, as this creates the effect of holes in the walls.
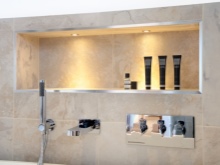


Draw attention to the objects located in the niche, you can, organizing backlighting - LED strip or built-in spotlights.
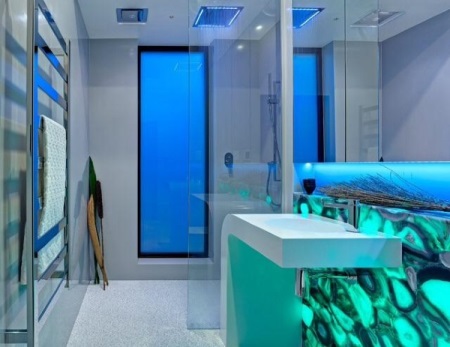
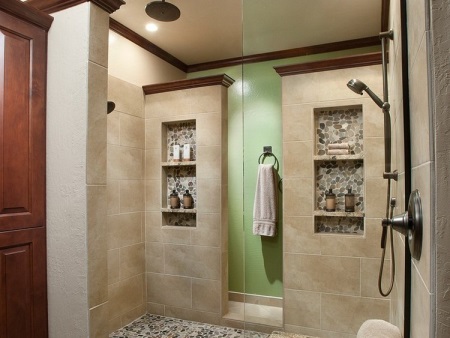
Thinking about the appearance of the niche should take into account many important points - its size, shape and depth. The niche can be rectangular or with a rounded top, resembling an arch vault. Sometimes it's more appropriate to make two narrow niches instead of one wide. The space in long niches can be divided by using transparent glass shelves - it looks very effective.
Tips
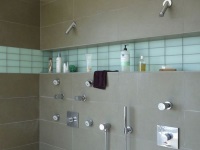
- If the niche is located in close proximity to the source of water, such as over a bath or inside a shower, it is better to design it with a slope so that the bottom and the shelves freely drained of water. This will prevent puddles from forming in the niche.
- For shelves in the niche, you should choose special tempered glass, which is highly durable and resistant to corrosive detergents. If you do not want glass with a greenish tint, ask the sellers of glass with minimal iron content in the composition.
- In a home with young children, alcove shelves are better made of a stronger and less hazardous material than glass. For example, securely fastened shelves made of artificial stone will be able to stand, even if your kid decides to use the wall niche as a ladder. In addition, such shelves look extremely beautiful.