How to turn a barn into a bathhouse?
If there is a desire to build a bathhouse, but there is not enough space on the plot for this construction, you can convert an old barn. The process is not complicated, but painstaking. In order for the sauna to turn out comfortable, and all communications worked properly, many nuances must be taken into account even at the first stage of planning.
Knowledge survey
Before proceeding directly to the construction work, it is necessary to determine the requirements. They are as follows:
- the desired capacity - how many people the bathhouse will be designed for (in the case of simultaneous visits);
- comfort conditions;
- the final view of the bath outside and inside.
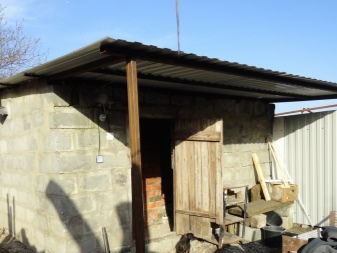
To decide, it is necessary to examine the existing building.
Already at this stage it should be found out what area can be used. The optimal option is a bathhouse with an area of 6 square meters, with a steam room of 2 square meters.
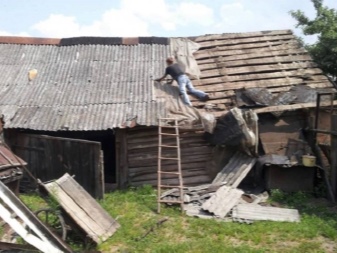
Eliminate all defects
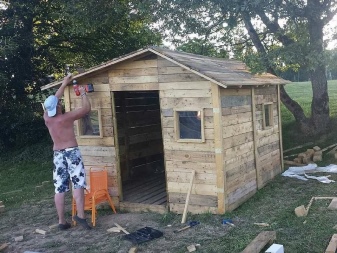
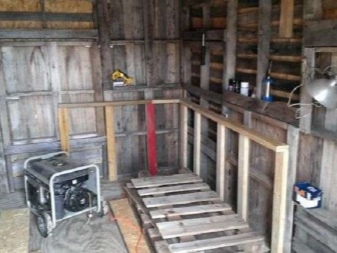
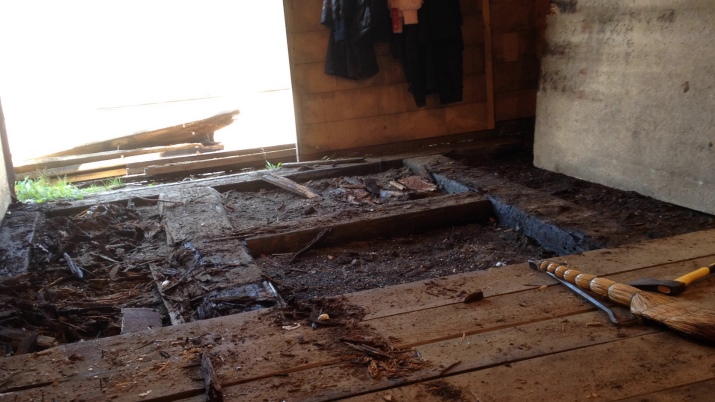
The next stage of construction consists in the maximum elimination of existing defects. So, To make a good bathhouse out of a barn, it is necessary to prepare the space. To do this, the entire area allocated for construction must be freed from the existing debris. It is also necessary to get rid of items and furniture that used to be in this room. This point is better not to ignore, so that then in the process of these things do not get distracted.
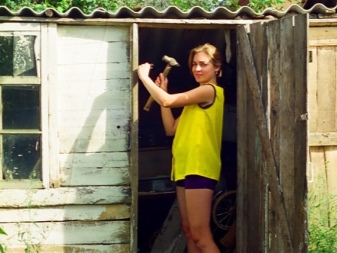
If there are any flaws in the walls, ceiling and floor, you should try to eliminate them. For example, it is better to replace rotten boards with good ones. Caulk all the cracks. Another important point is to prepare everything you need. This includes not only tools, but also the materials that are planned to be used during construction work.
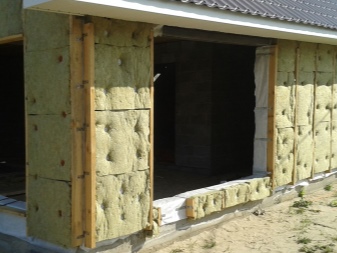
Insulating the walls and ceiling
When the barn will be freed from debris, and all existing defects are eliminated, you can move on to the main process. And, the first thing to do is to insulate the floor and walls of the future bathhouse. It is necessary to begin with the floor. If it is wooden, it is better to remove the old boards. The bottom should be well concreted, and then lay structural tiles on the ready surface. It is very important that this material has a specific rough surface. Even if the water and soap make a mess on it, it will be quite difficult to slip.
At the same stage, you should make special planks to be placed on the floor. If necessary, they can then be removed and put back in place.
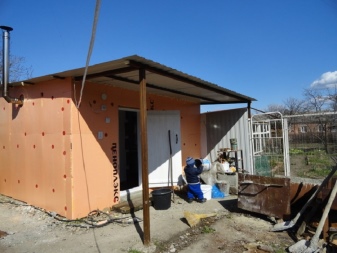
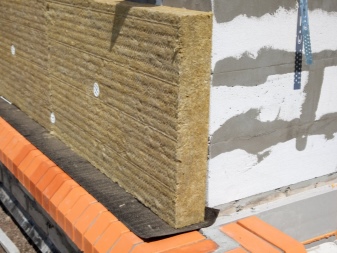
The walls must be necessarily insulated. The material that will be used as insulation can be different. It all depends on individual preferences and construction budget. The cheapest are foam blocks. The insulator is placed in the space between the outer and inner walls of the bath. At the same time, the inner wall can be made of brick stone, house blocks or concrete type.
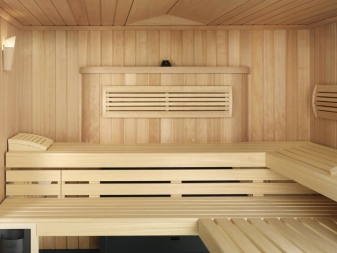
Interior finish
Once the insulation work is completed, you can move on to the more interesting part - the interior decoration of the room. Experts in the field of construction strongly recommend using aspen boards for finishing baths, the thickness of which should be at least 6 cm. You can also use spruce planks. The finishing materials are also subject to strict requirements. The wood must be:
- clean;
- dry;
- Without rot, mold and other fungi.
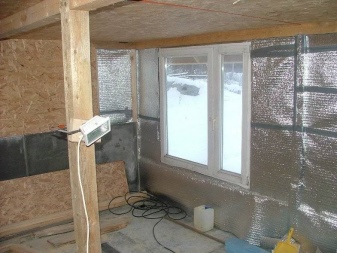
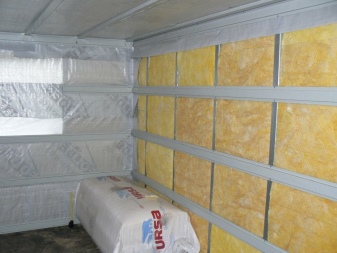
From the beams to make a framework step by step. On the walls, if possible, it is better to install waterproofing and vapor barrier boards. They also need to be covered with wood.
If we talk about finishing the ceiling, it also needs to be mounted from the same boards with which all the walls were sheathed. But for this board is better to saw along the board into 3 equal parts.
As a result, the ceiling should be covered with so-called slats. In the process, it is important not to deviate from the original project, because then redo something is always very problematic.
The next step is to take care of the shelves for lying. They can also easily be built with your own hands. The material is the same boards. To stay in the bath was as comfortable as possible, the width of the shelves for lying should be at least 70 cm. In this case, the boards should be perfectly smooth to avoid possible future injury to the skin on the existing jagged edges.

Next, you must install the prepared stove, cold water tanks and ventilation. The next no less important stage is to conduct electrical wiring. For lighting, you need to use light bulbs with low power, as well as a special cable that has double insulation.
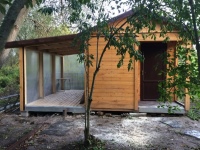
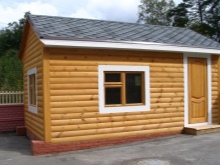
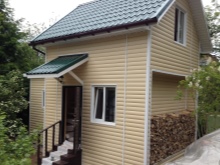
The outer walls of the bath can also be finished as desired. As materials can be used all the same wood, siding or a relatively new material called block house. If everything is done correctly, such a bathhouse will be warm, comfortable and durable.

How to remodel an old building for a bathhouse, see below.


